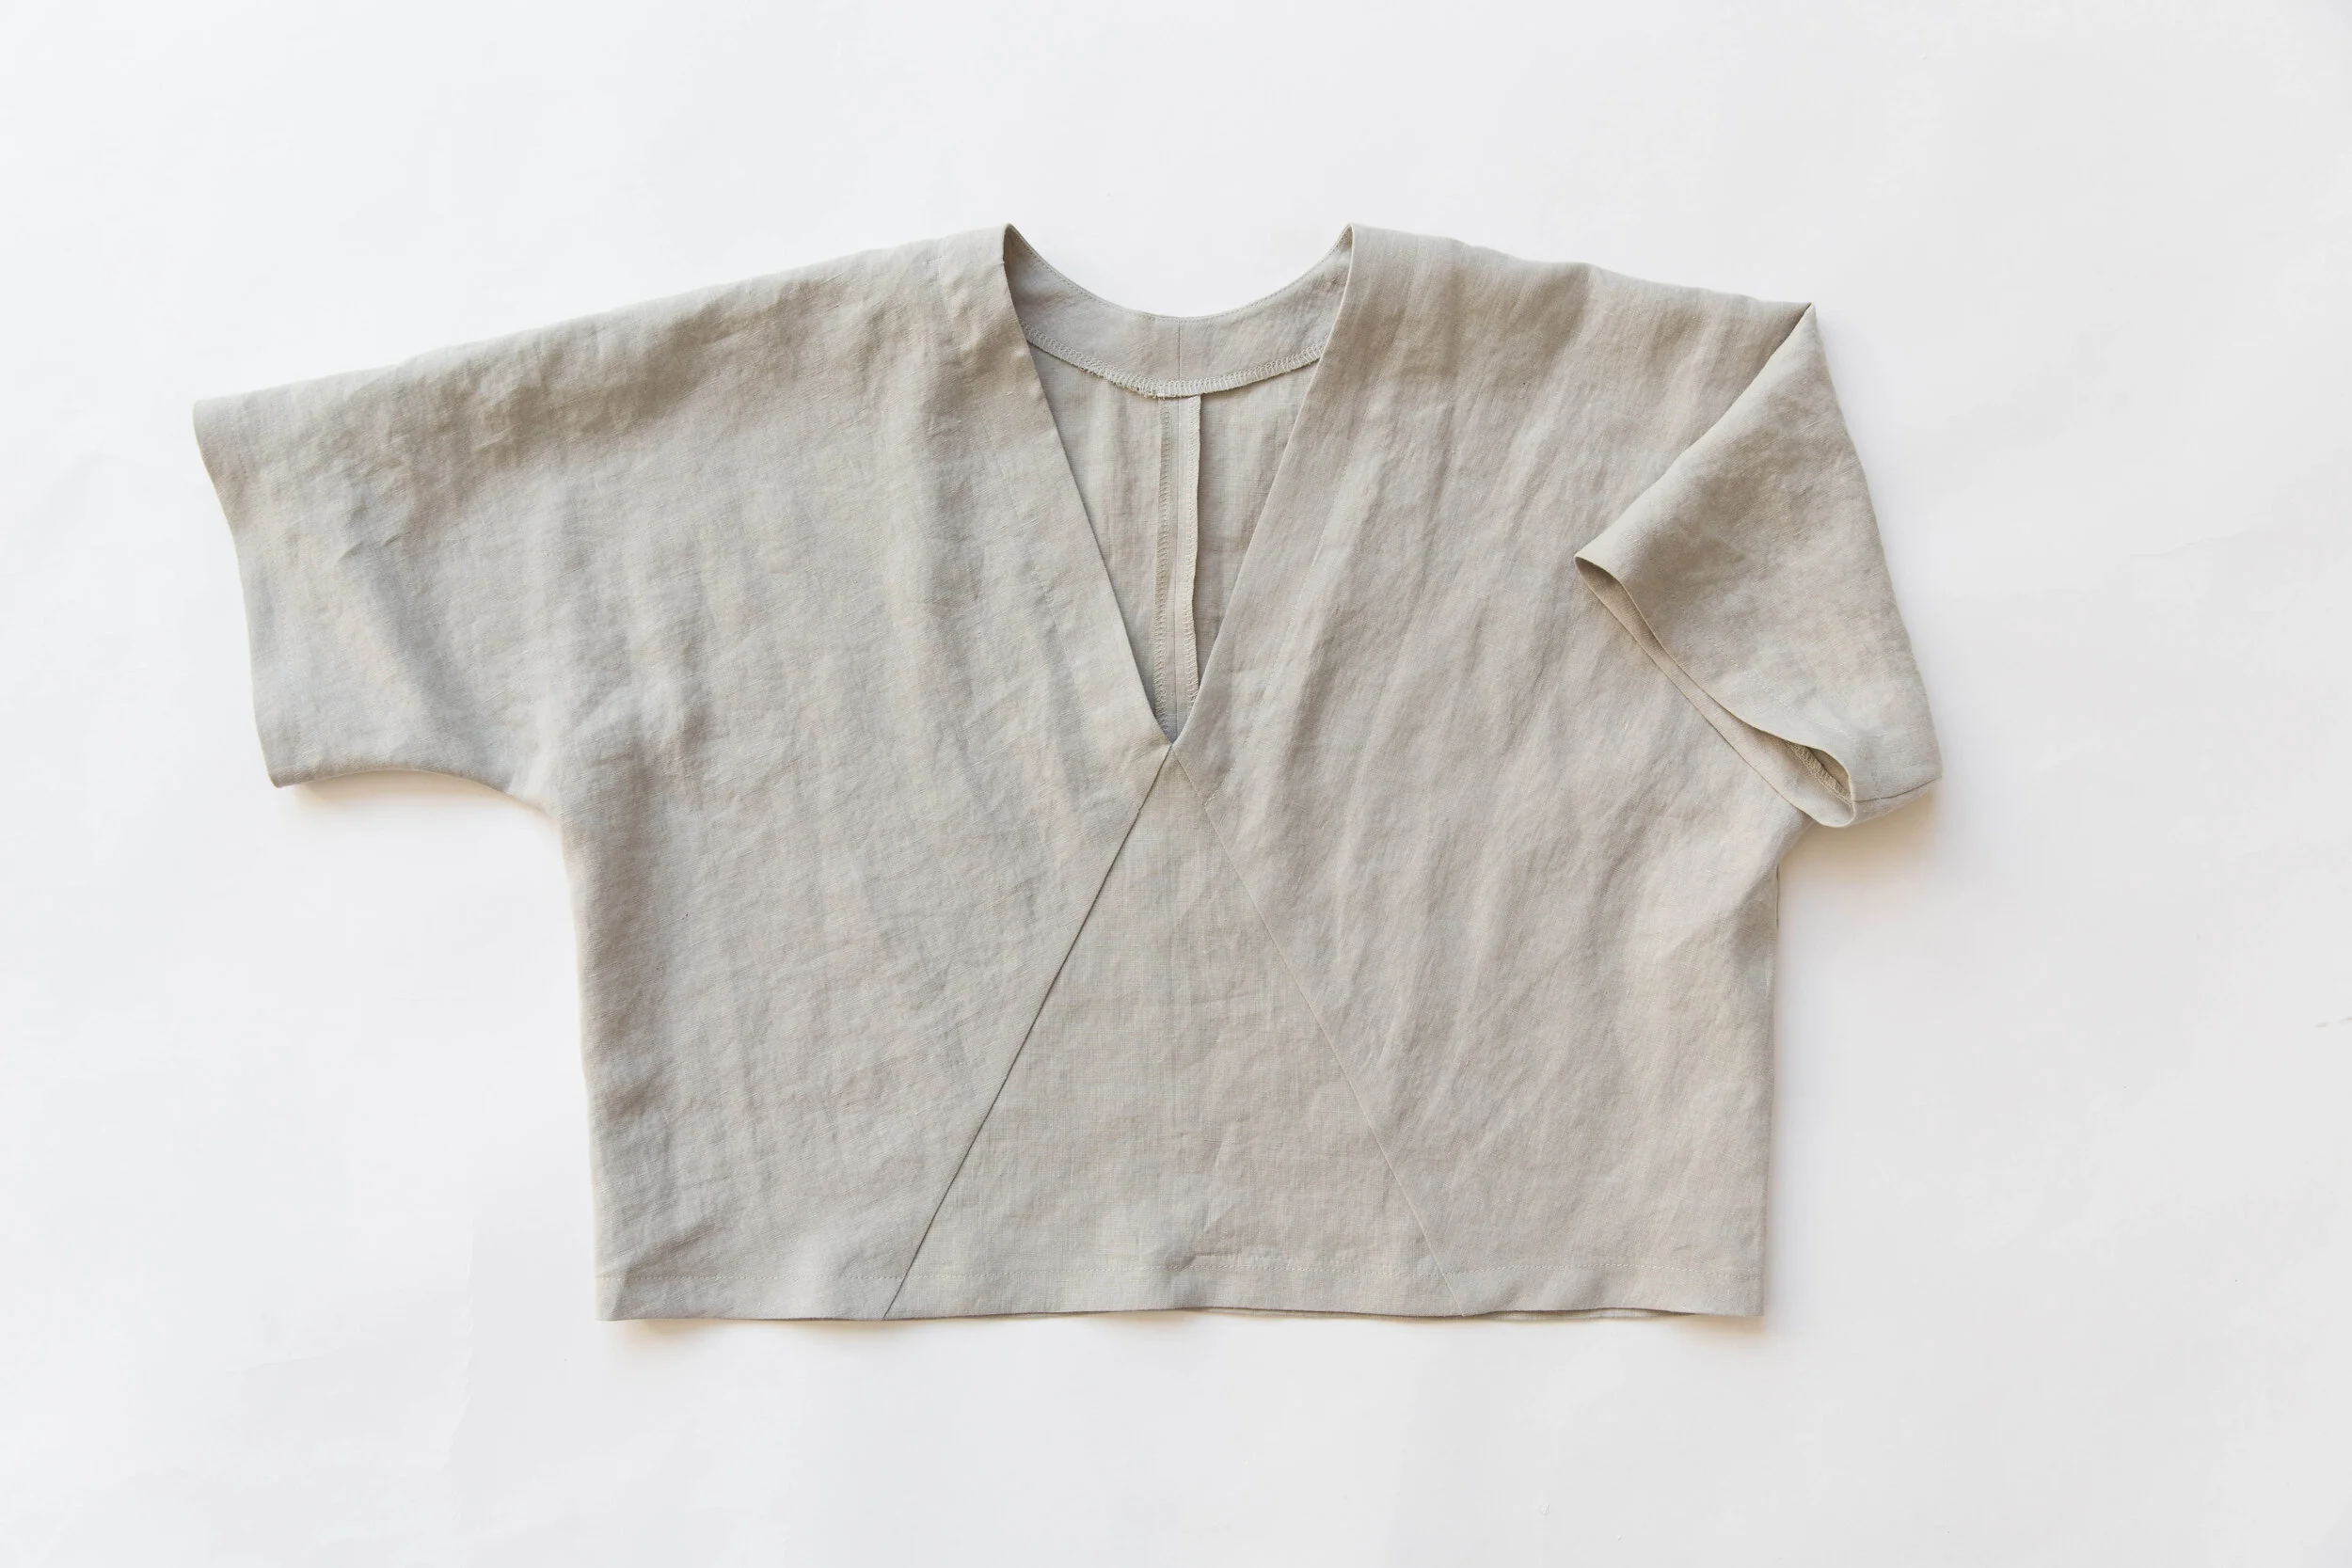


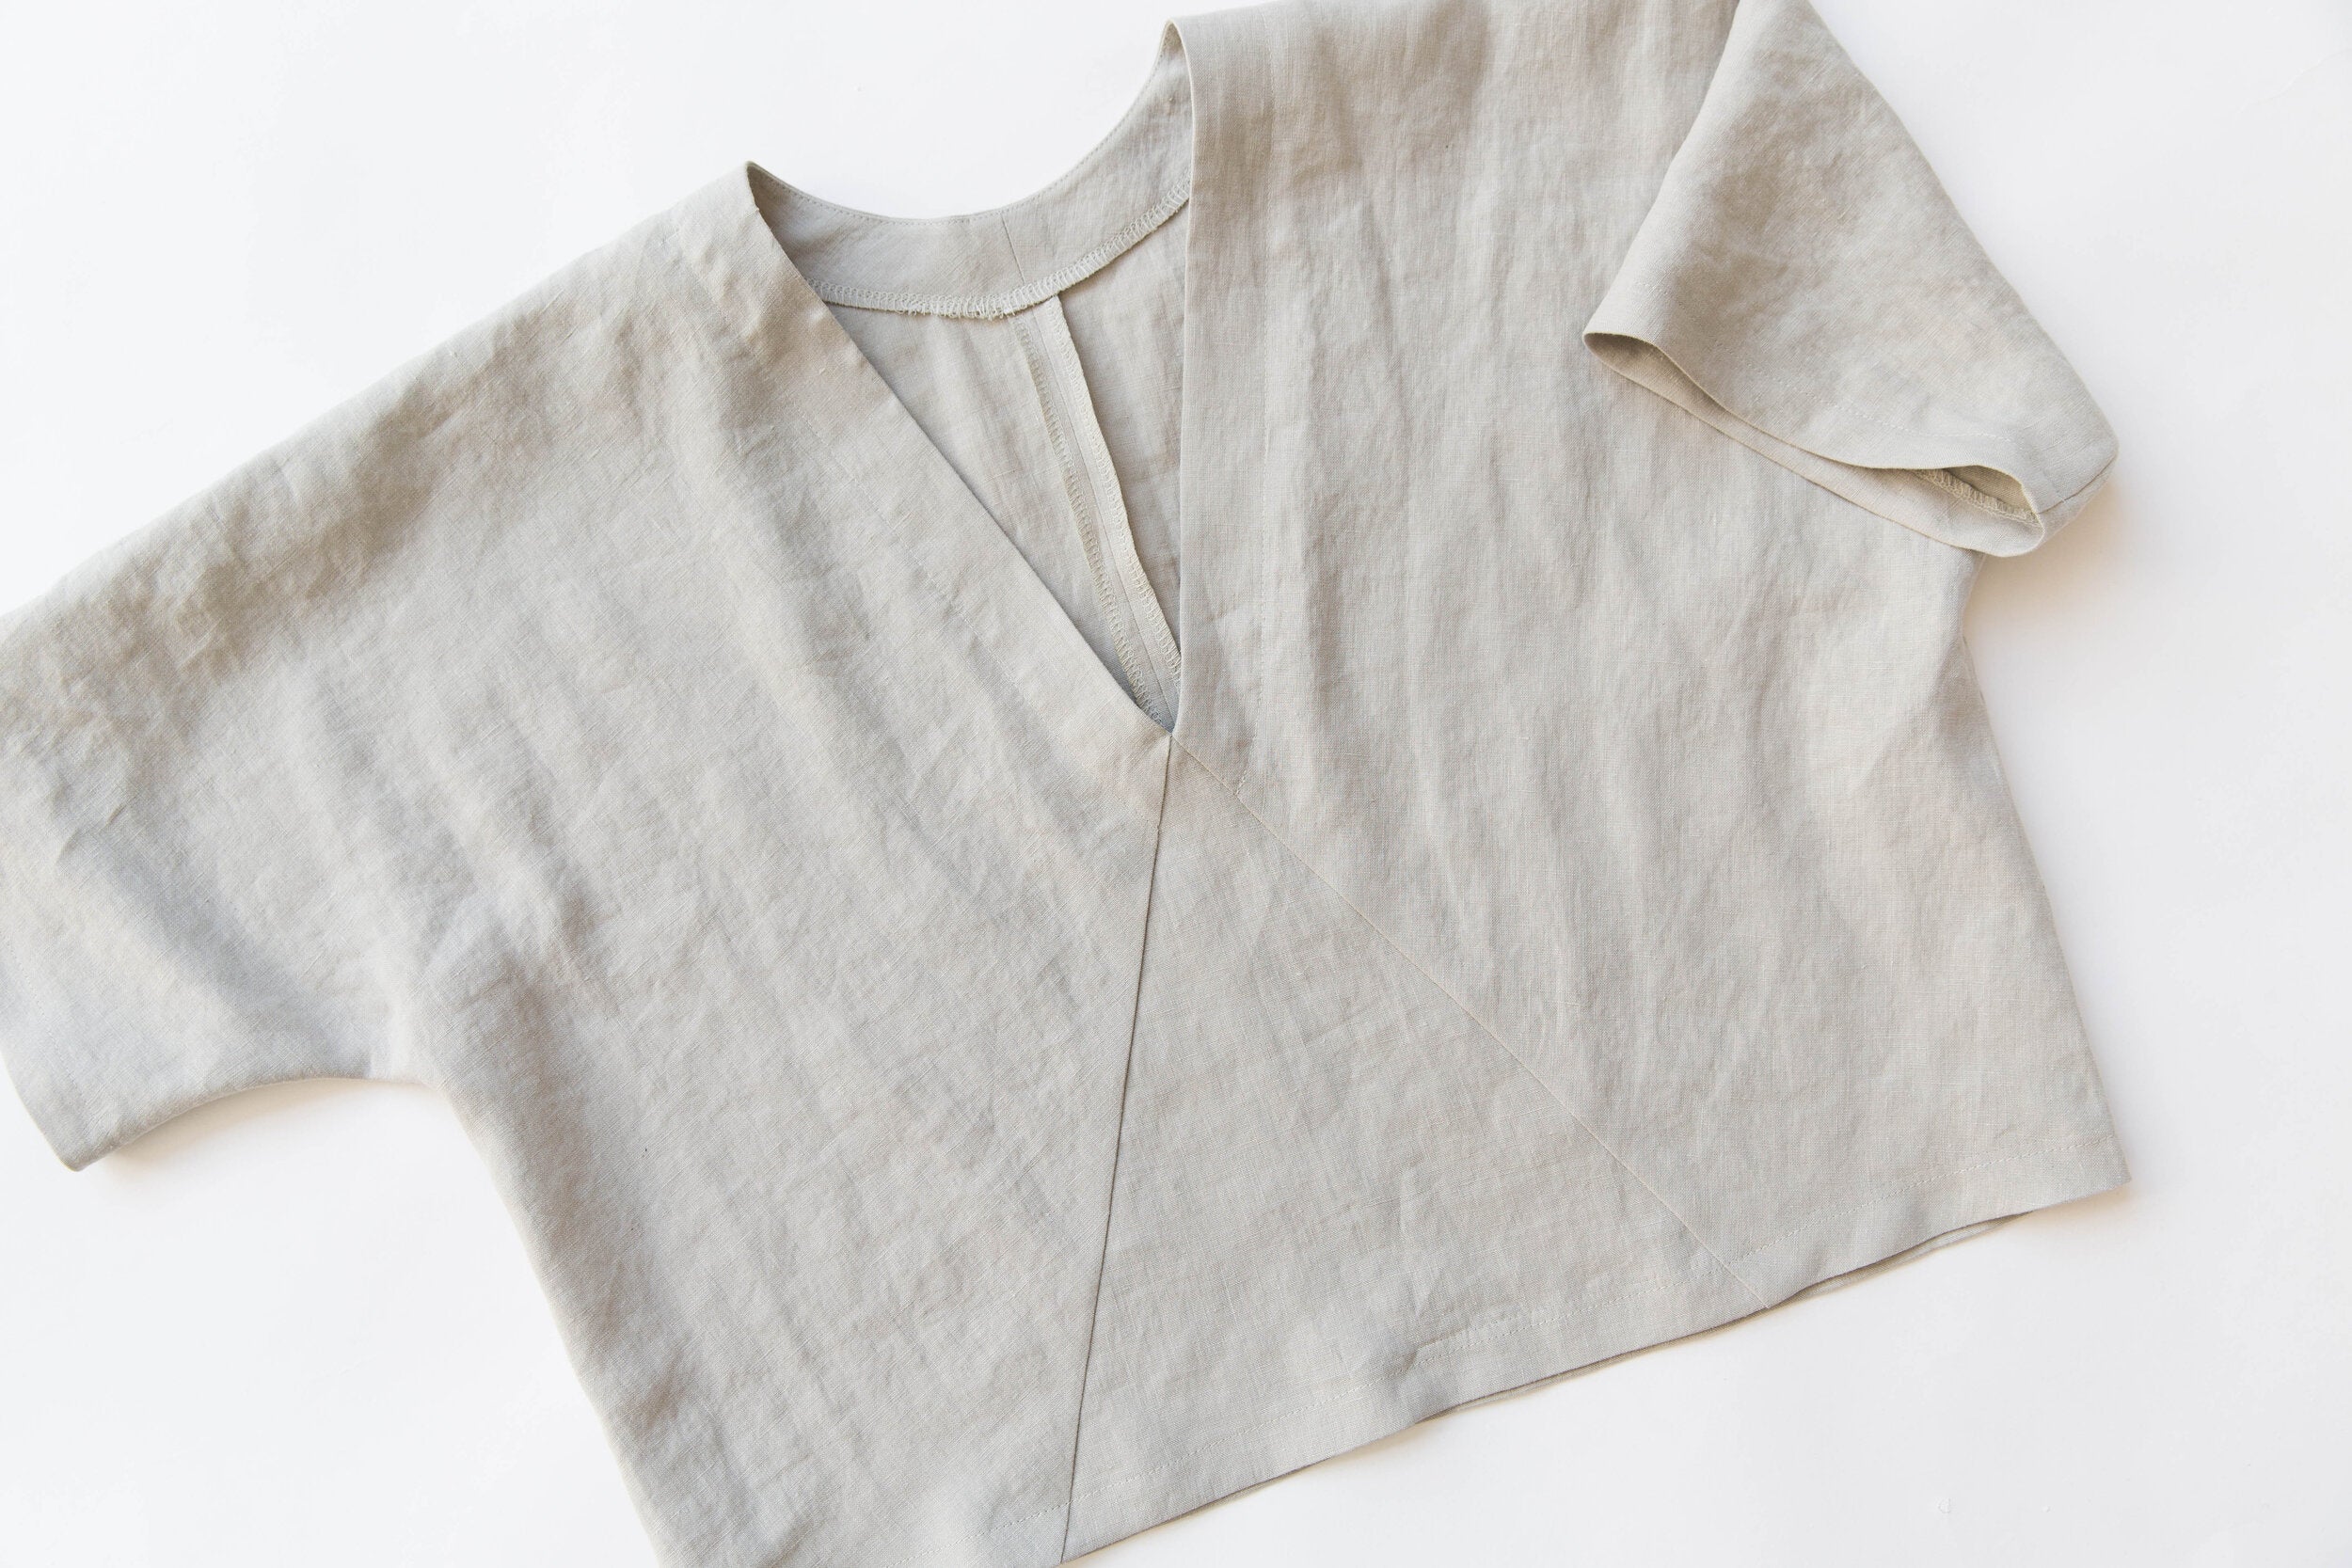
The Pinnacle Top - Variation 1

Step 1
On the wrong side of front triangle piece, mark in your stitch line at the top edge, on both sides with tailors chalk. The seam allowance is 1cm/0.39”.

Where these lines intersect is where you will start your stitch line.
 Your piece should look like this.

Step 2
Mark in the stitch line on your front body piece where the neck meets the front triangle. Do the same on the other front piece.

Step 3
Place your front triangle piece onto your front body piece with right sides facing. Pin together matching the marked point of triangle to the marked point of body piece. Also pin together at notch and bottom edge of triangle.

Step 4
Insert your needle into the marked point on triangle piece, making sure it also intersects the marked point on front body piece. This is your stitch line start point.

Stitch down to bottom edge of triangle.

Neaten seam allowance (this can be done with an overlocker or zig zag stitch). Press seam allowance toward body section.


Step 5
Now you need to match up that same top point on the other side. Pin at top point, notch and bottom edge.

Stitch together, stopping your stitch line at the same point.

Neaten seam allowance. Press toward body section.


Step 6
Neaten centre back seams.

Step 7
Pin centre back seams together with right sides facing. Stitch.

Press seam allowance open.


Step 8
Fuse neck facing. Fold neck facing in half with right sides together and stitch centre back seam. Press seam allowance open. Neaten the outside edge of facing. On the wrong side of neck facing, mark in the stitch line 1cm/0.39” in from the inside edge. Find your point where the stitch lines intersect.

Step 9
Place a ruler or tape measure between the point you just marked and the inside pointed edge of facing. Measure up 1cm/0.39” from your marked point.

Clip the seam allowance up to the mark you just made.

Step 10
Place your neck facing over neck line with right sides facing. Pin together, making sure that the marked stitch line point on neck facing lines up with the top point of triangle.

This point is where you need to start your stitch line.

Step 11
Insert your needle through the two intersecting points of body and neck facing. Stitch right around neck facing until you reach the same point from the other side.


Step 12
Clip your seam allowance right up to stitch line being careful not to clip through the stitches.

Trim seam allowance in half all the way around.

Step 13
Press seam allowance toward facing and under stitch in place. Turn neck facing through to the inside and press well.

Step 14
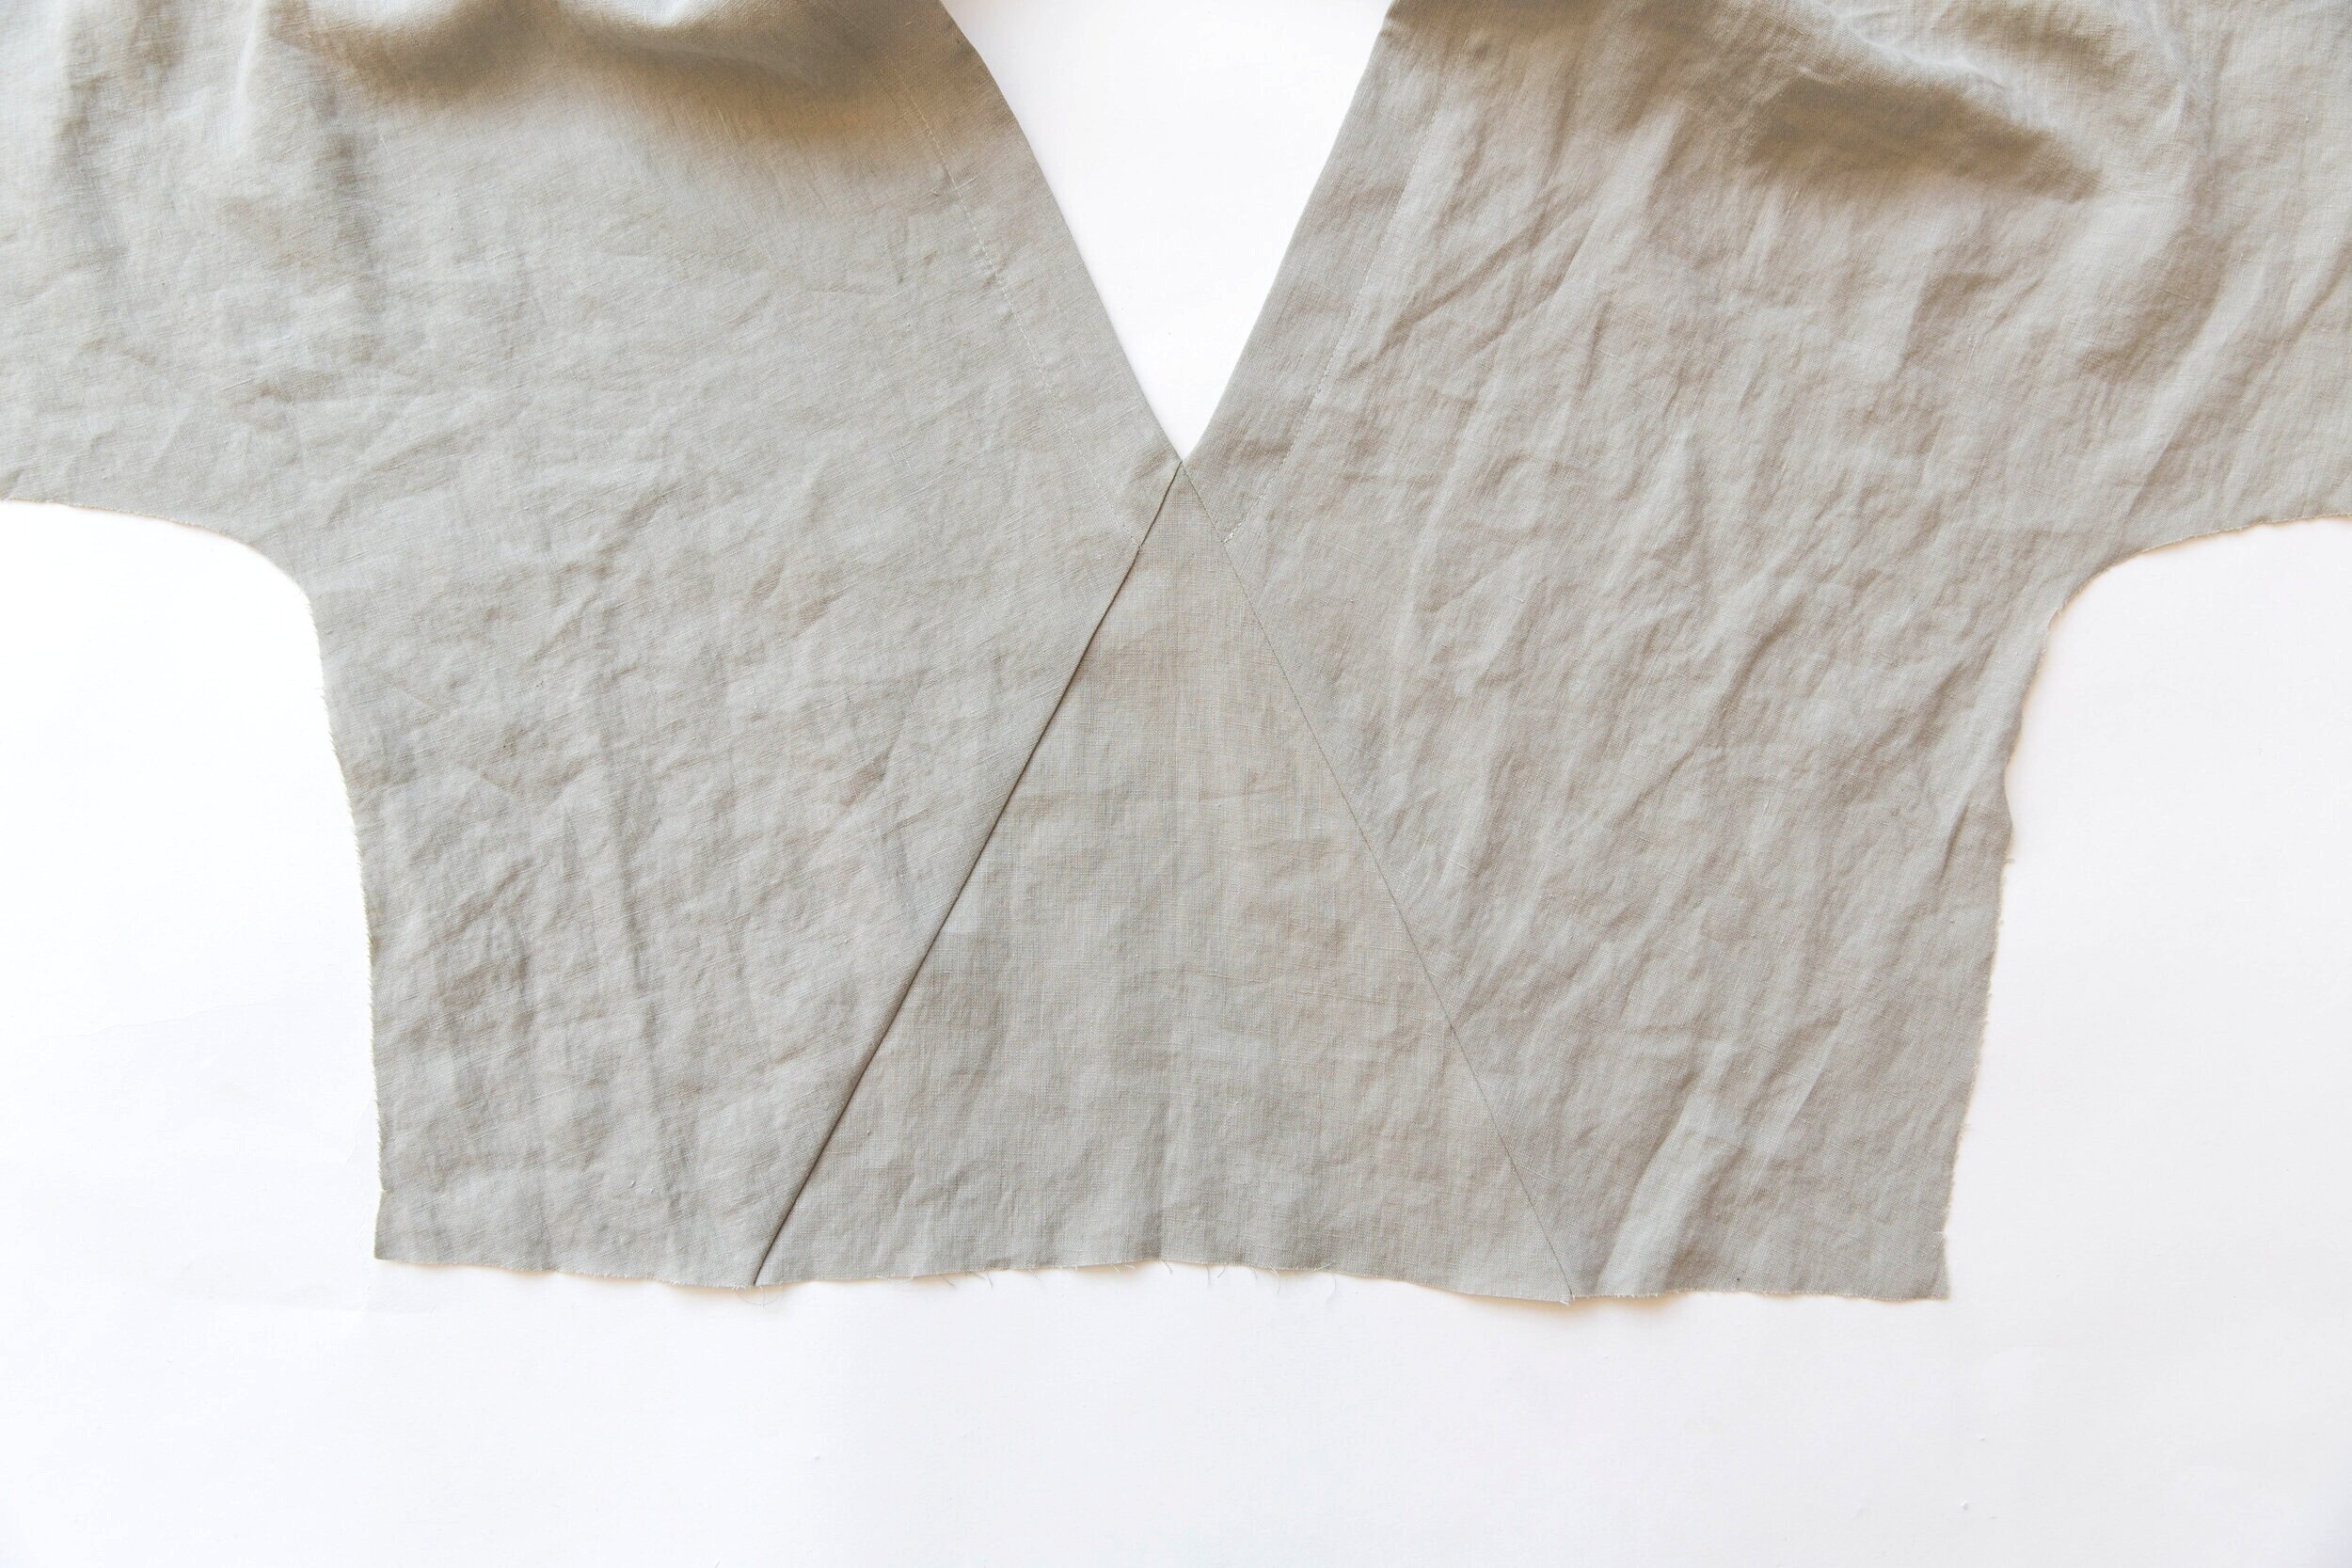
Pin outer edges of neck facing in place. Topstitch along edge, starting and stopping your stitch line at the edges of front triangle.
Step 15
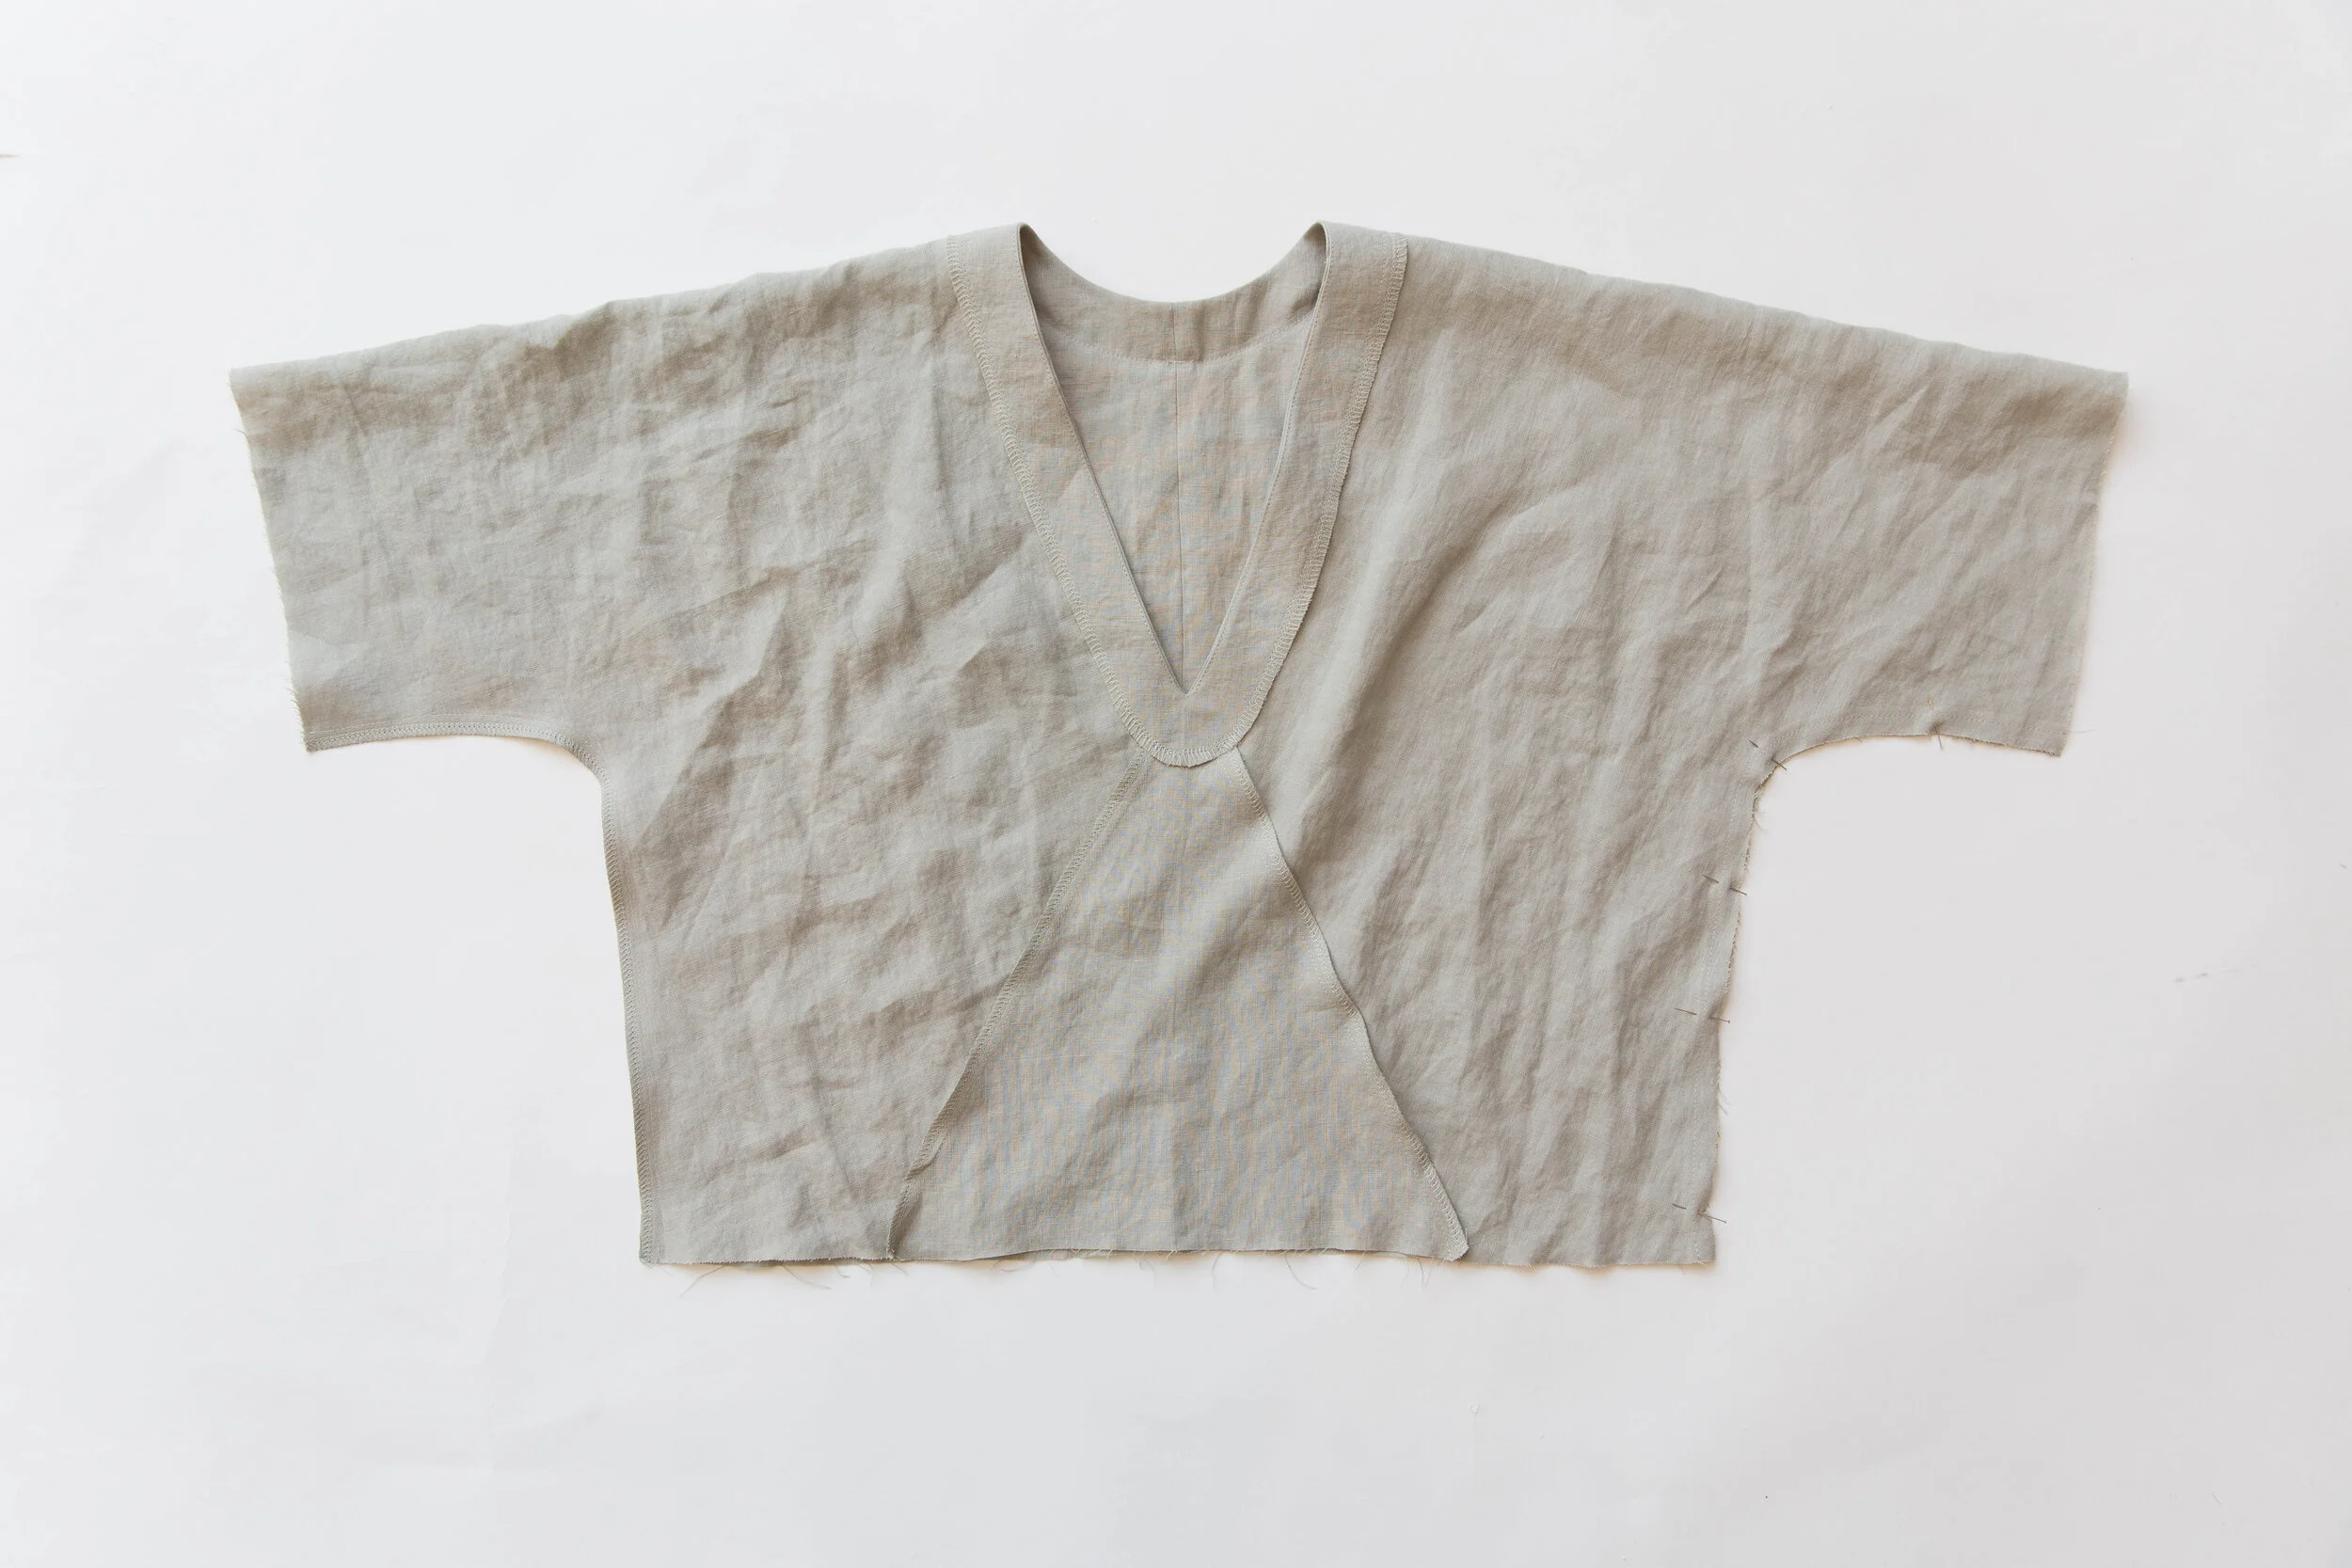
With right sides facing, pin underarm/side seams together. Stitch. Neaten seams.
Step 16
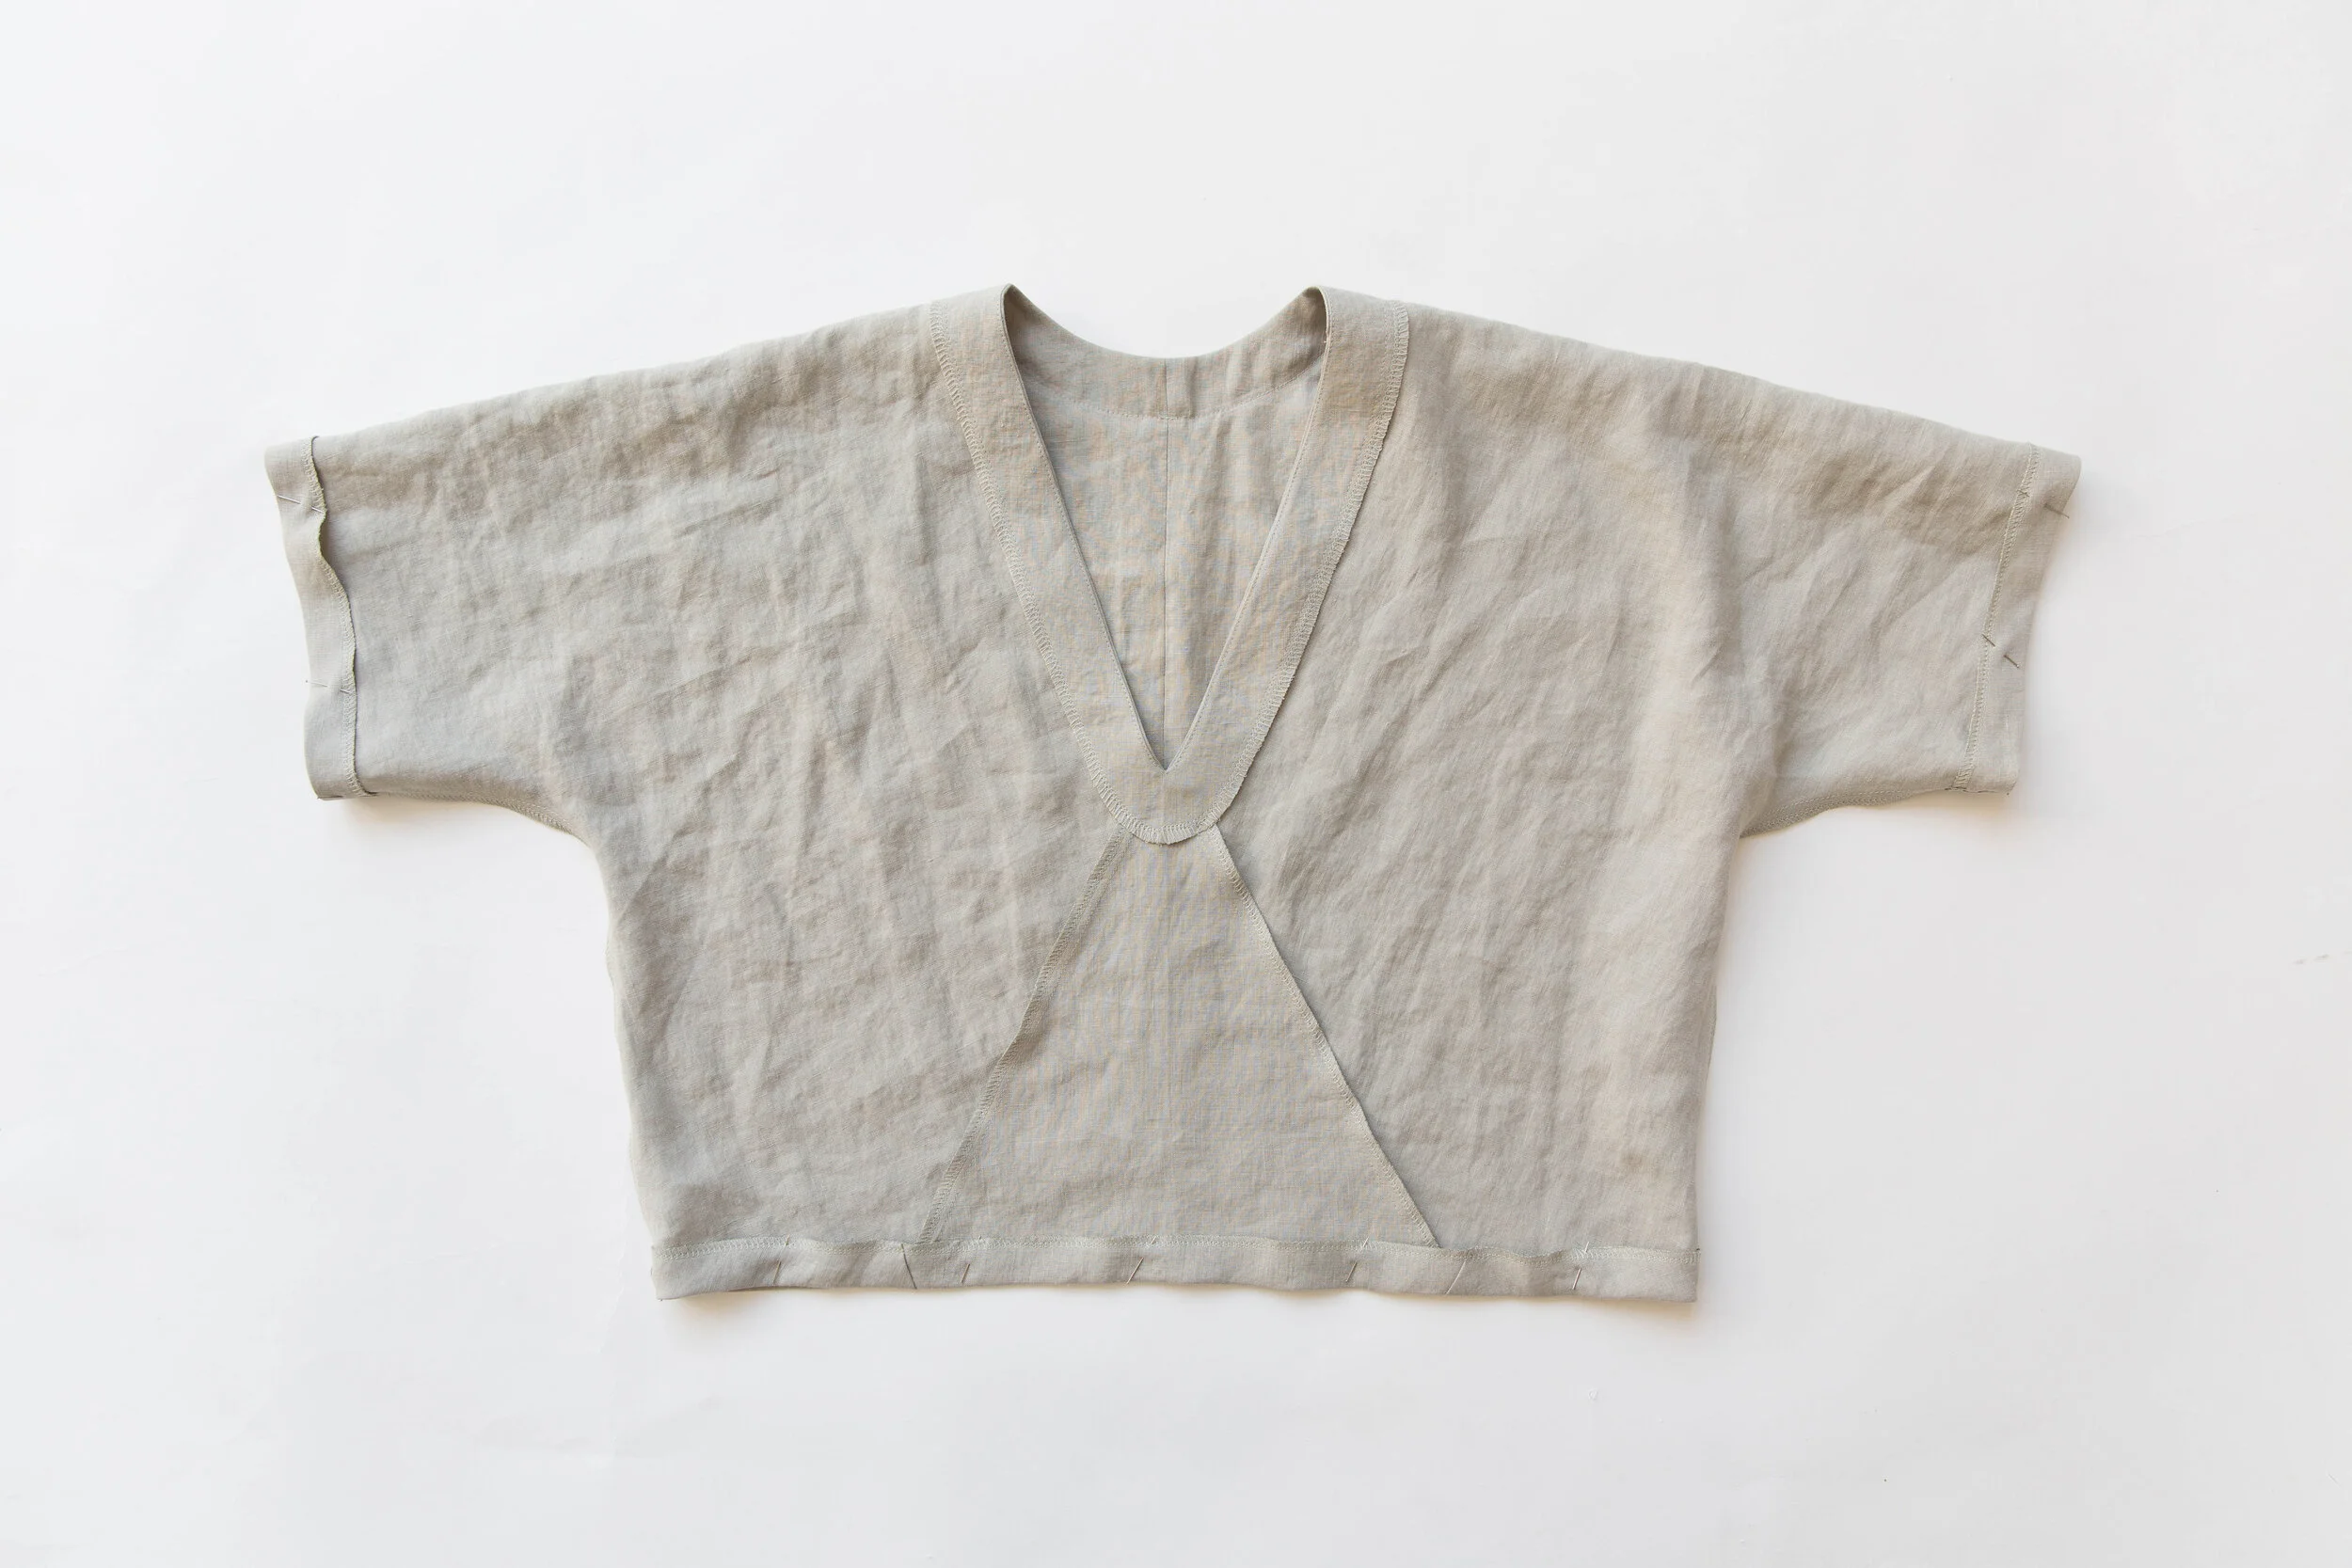
Fold hem allowances up at notches for both sleeves and hem and pin in place. Stitch. Press.