



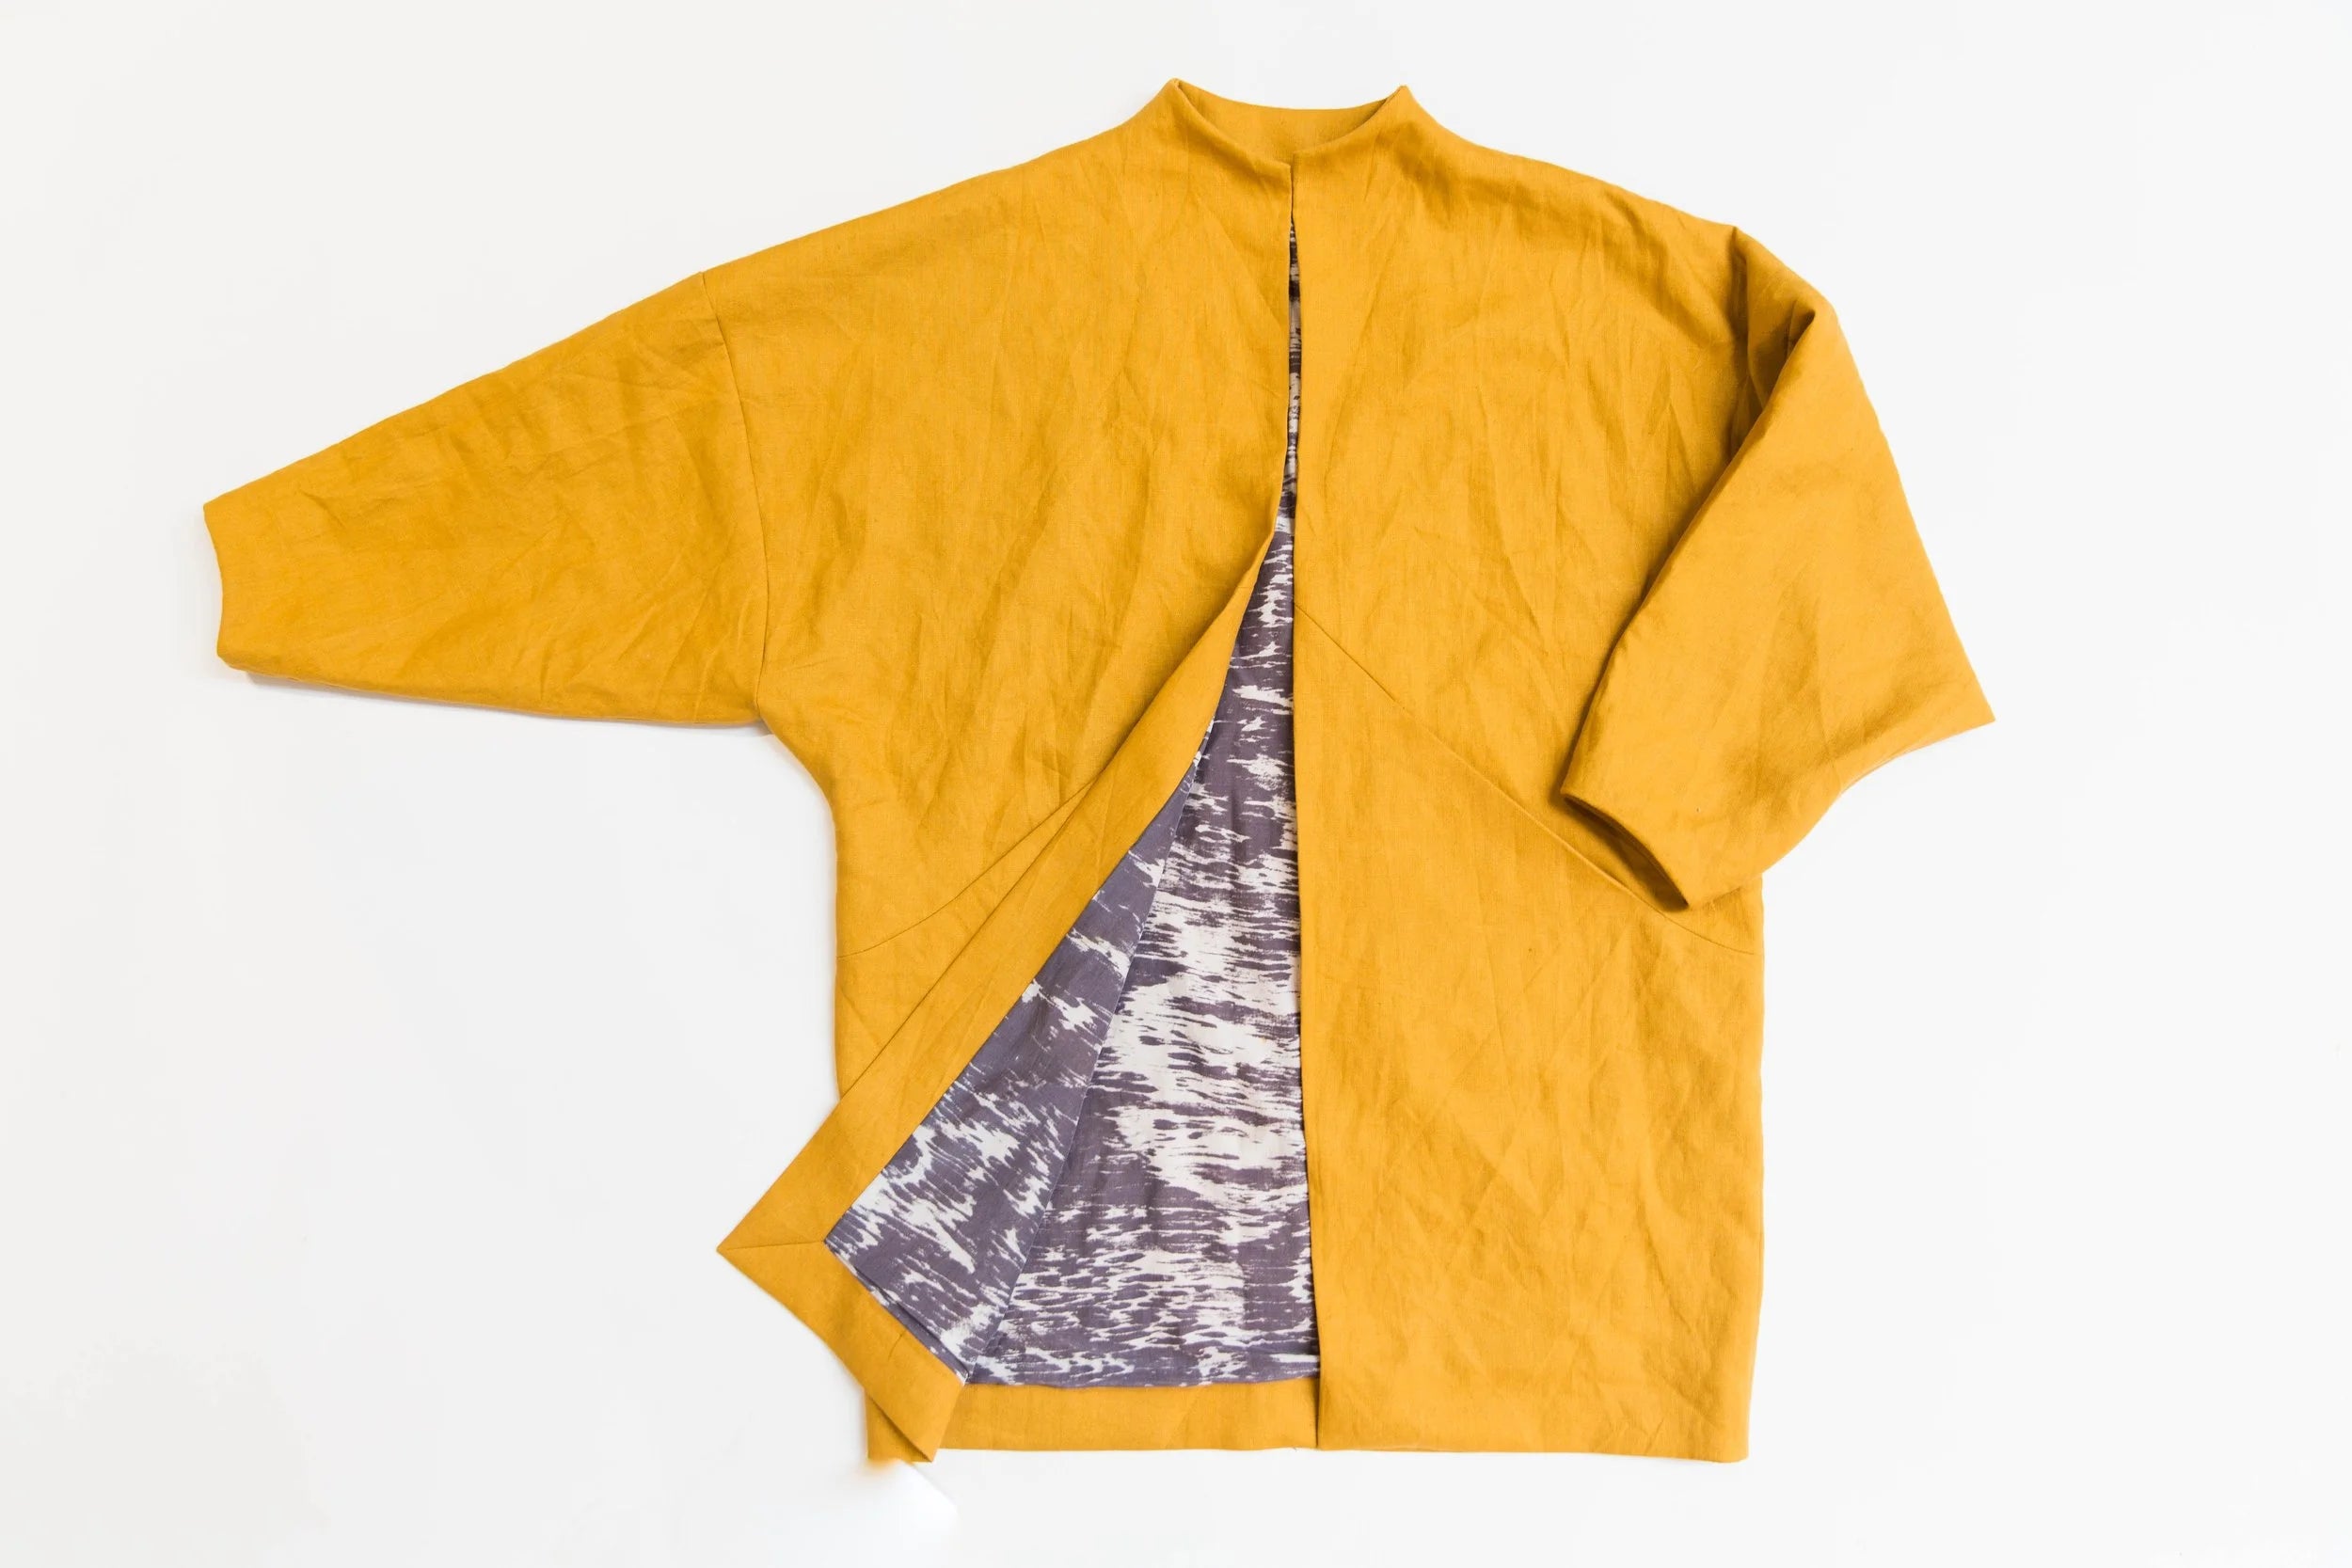
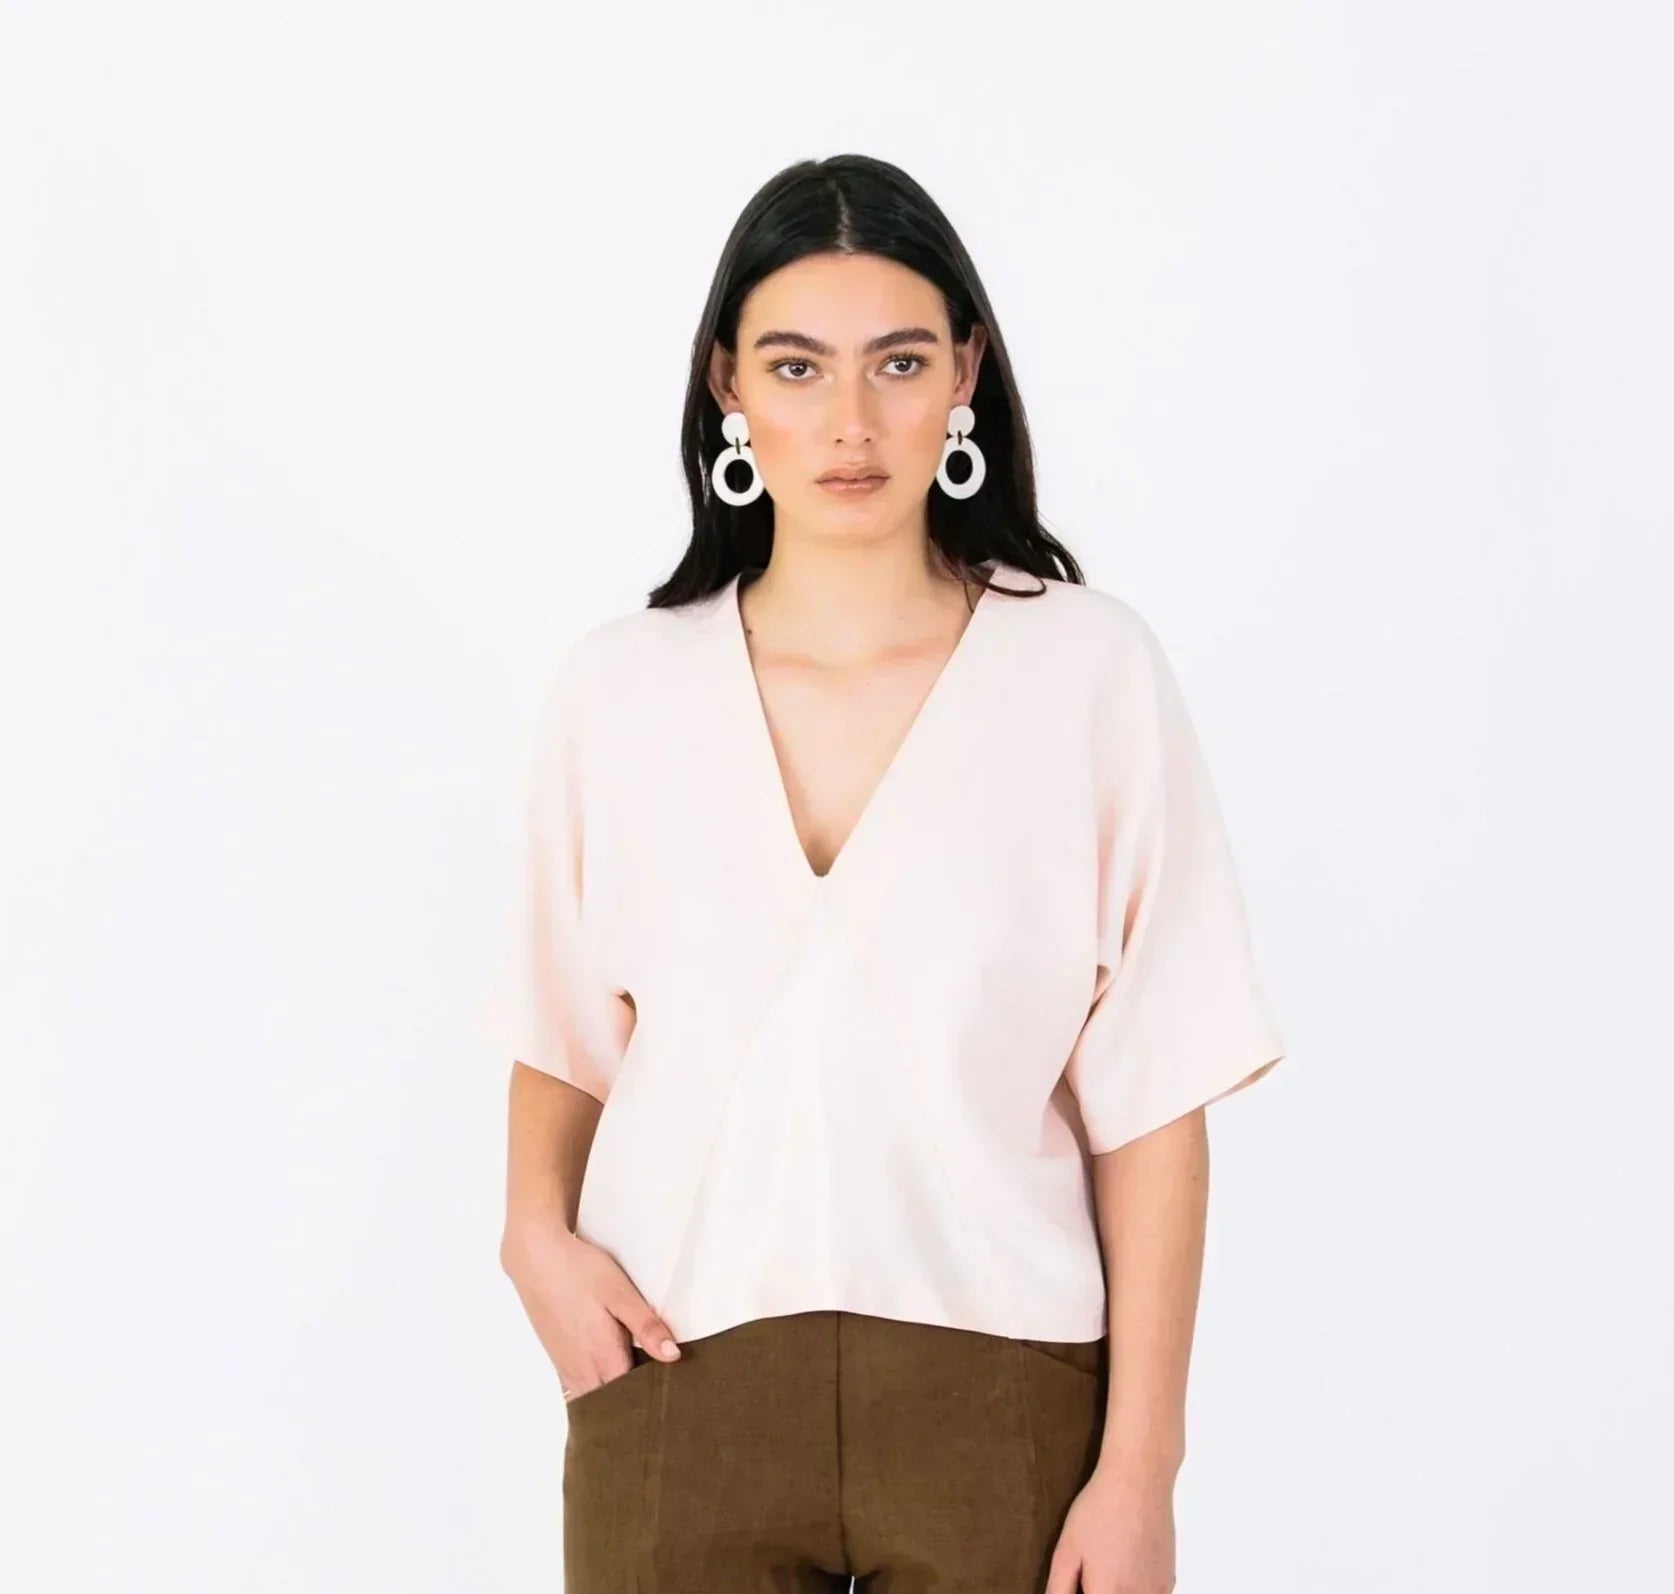
Article: How to raise the V neck on the Pinnacle Top
How to raise the V neck on the Pinnacle Top

STEP 1
Front Body Piece
Tape the front body piece to a new sheet of paper.

STEP 2
Draw a straight line continuing hemline toward centre front. With a set square, square a line up from hemline to meet the centre front point of neckline, extending your line up above.

It should look like this.

STEP 3
Measure upwards from your neck point the amount you want to raise it and mark.

STEP 4
Draw a line from this new point up to the top notch on neckline.

STEP 5
Draw a straight line from your new neck point down to the hem line. Transfer the notch onto the new line. Trim excess away to create your new front piece.

STEP 6
Lower Triangle
On a new piece of paper, draw a straight vertical line. Place the lower triangle piece onto this line. Square across from the fold line of front triangle piece about 8cm/3” from top edge. Cut across line on lower triangle piece.

STEP 7
Open up triangle piece the same amount you raised the V keeping the fold line of triangle on your straight line.

STEP 8
Re draw the side of triangle. Draw a straight line from the top edge to the hem line. Transfer notch onto the new line. Cut out your new piece.

STEP 9
Neck Facing
Square a line out from the neck notch of neck facing. Cut through the line.

Step 10
Place the bottom section of neck facing onto the new neckline of top piece.

Step 11
Now place the top section of neck facing onto the back neck of top piece, lining up the centre back necklines. This will overlap the bottom section of neck facing. Tape the top and bottom sections together in place. Trim excess away.