



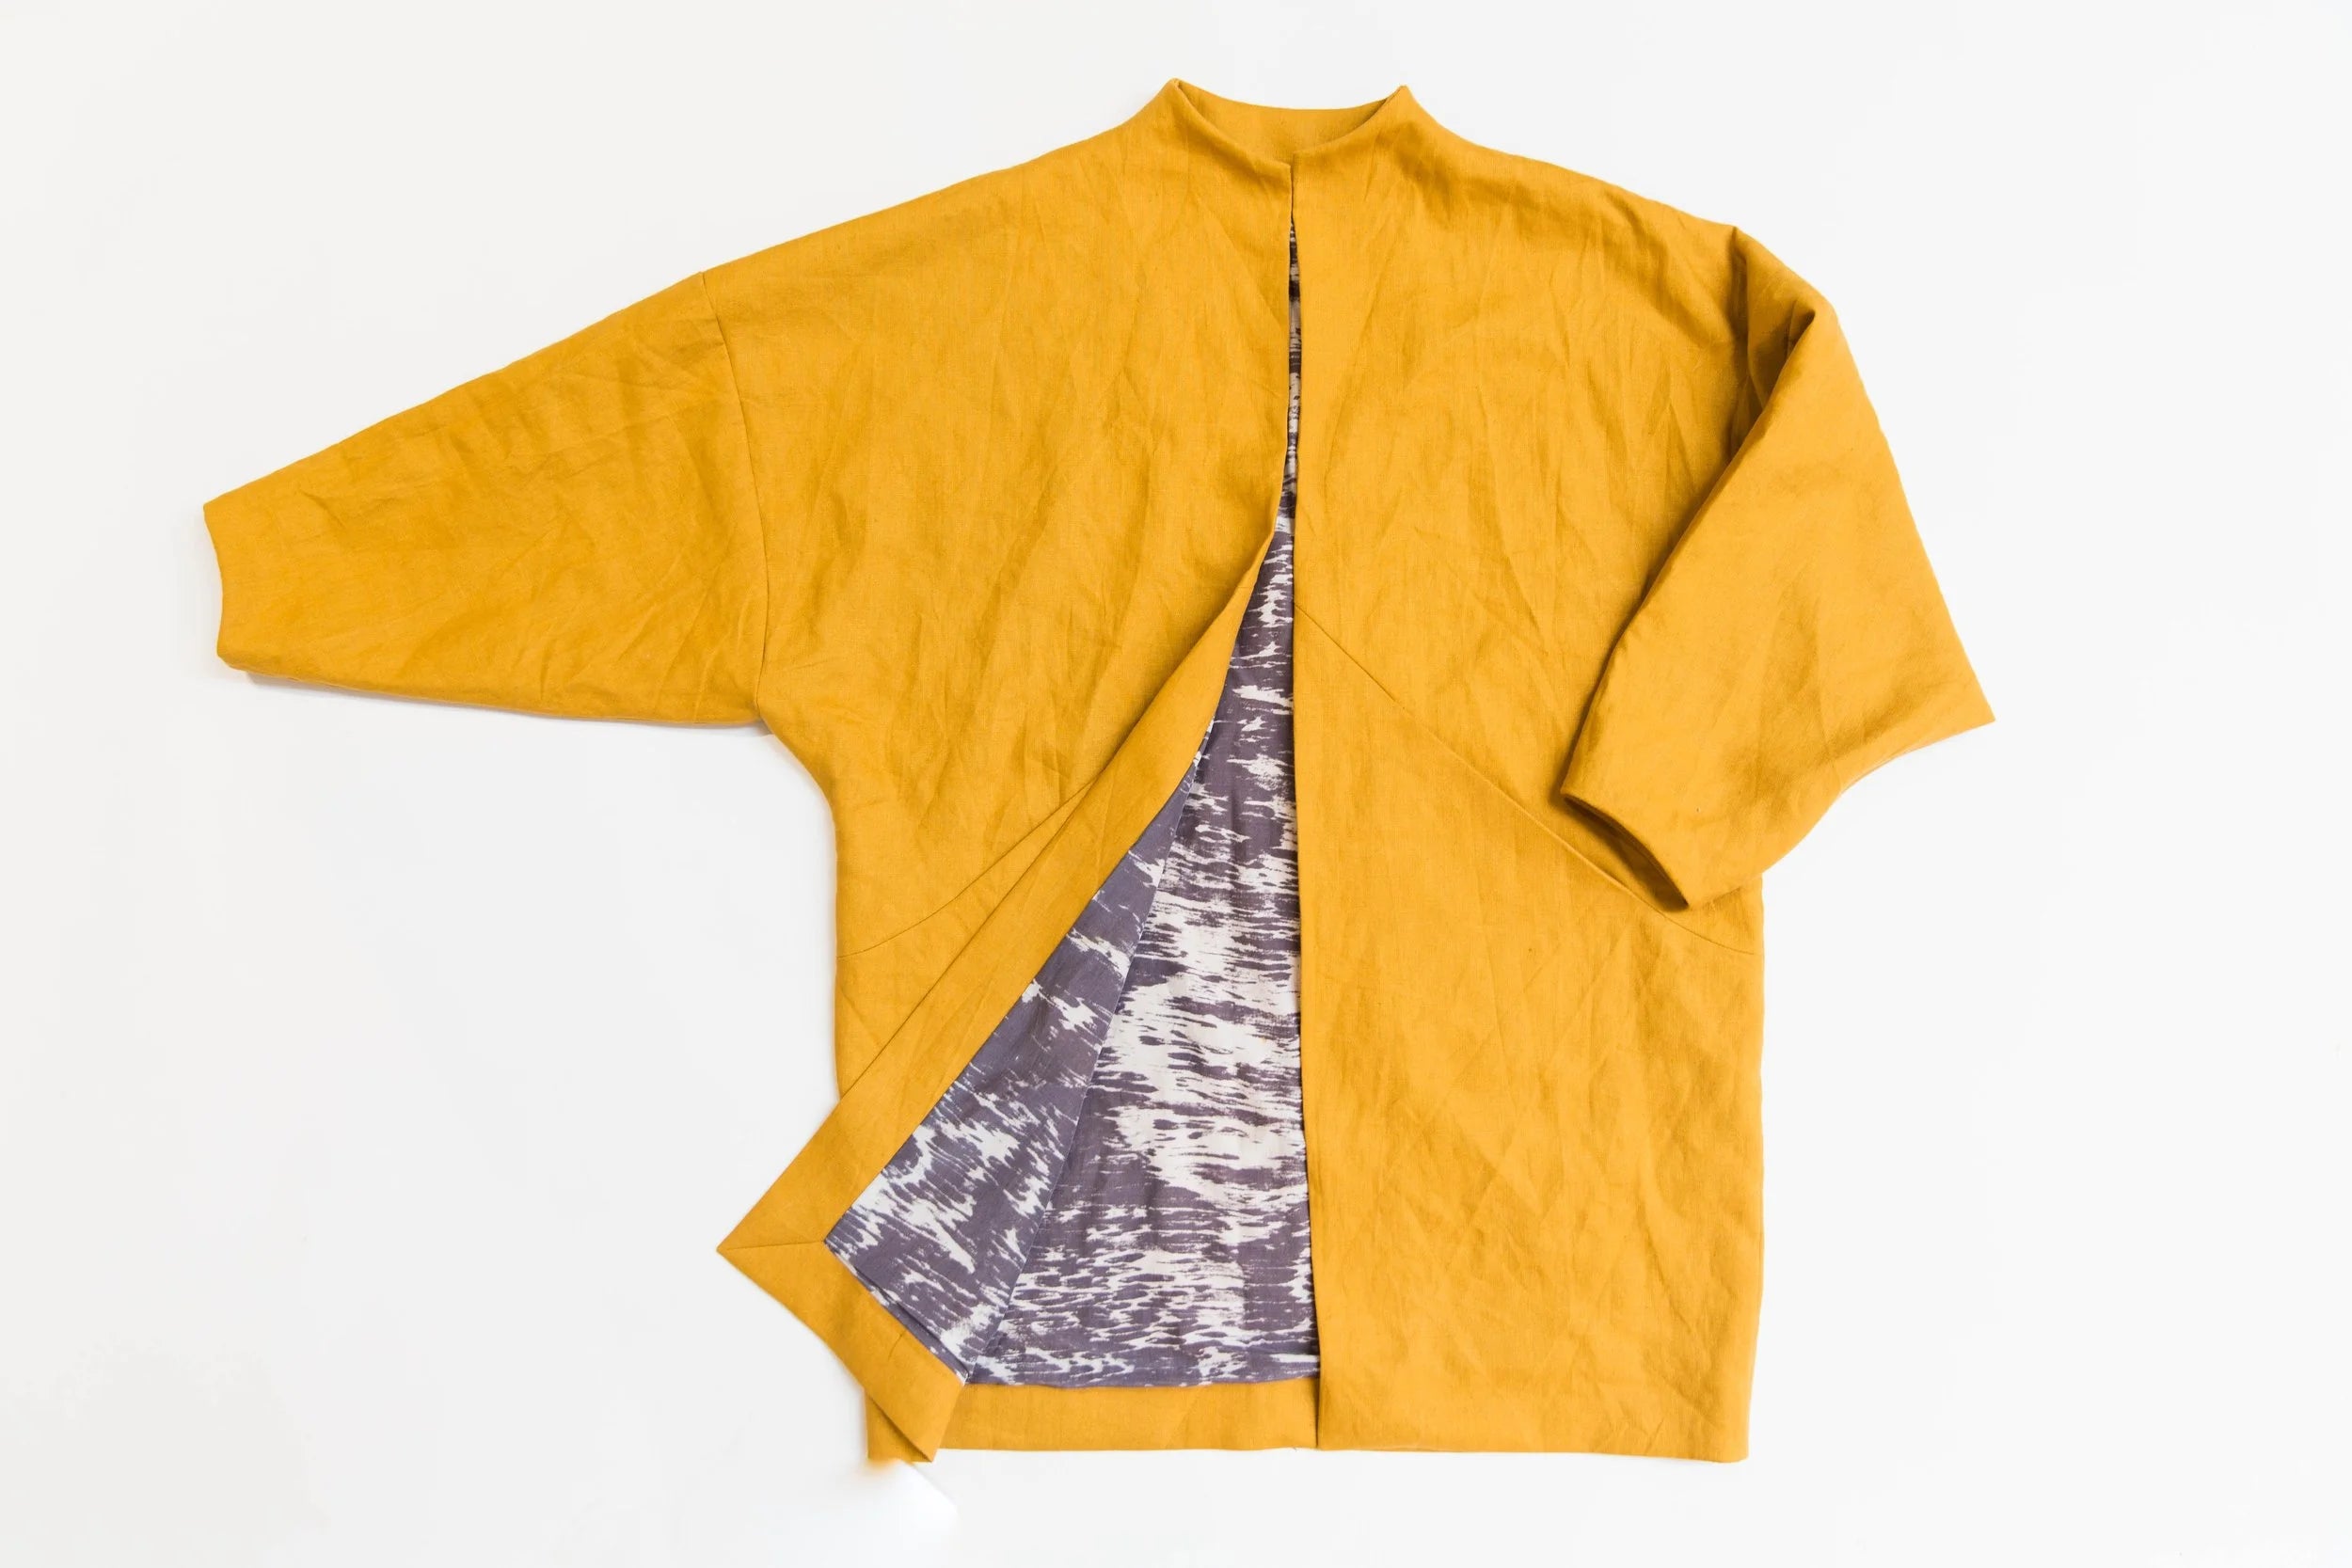
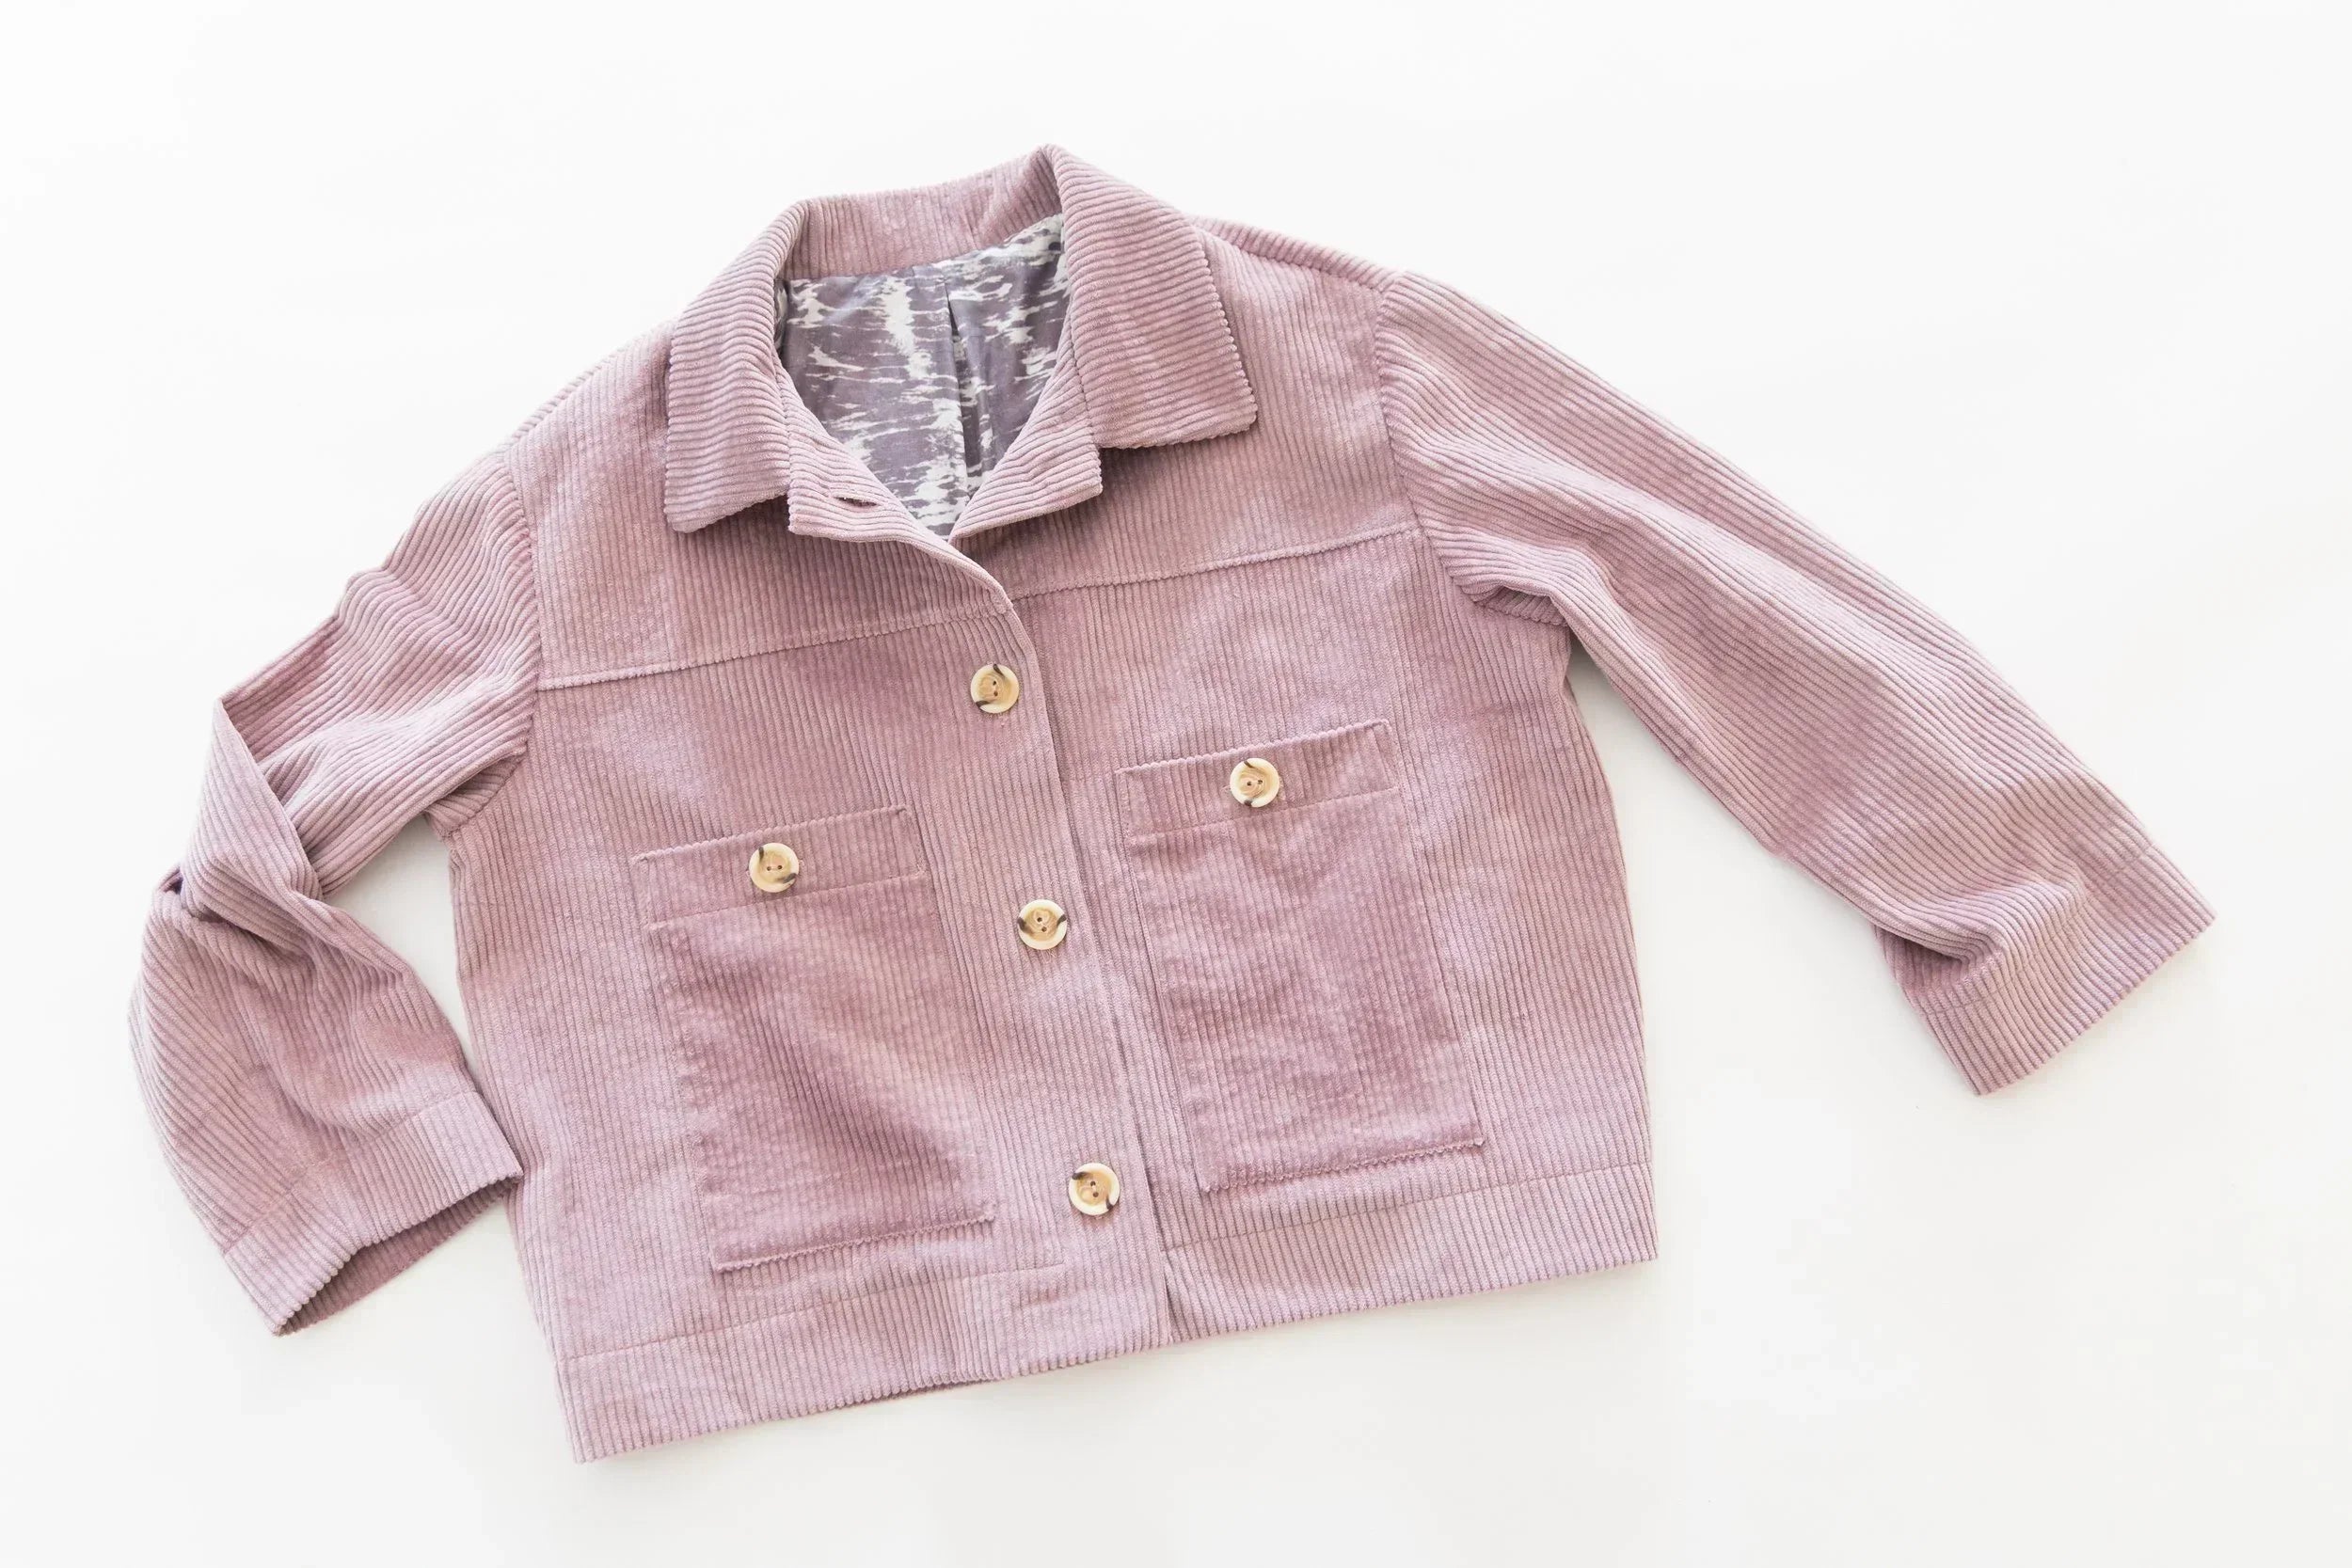
Article: Stacker Jacket - With Patch Pocket
Stacker Jacket - With Patch Pocket

Fusing
Fuse front and back yokes. Using 6cm wide strips of fusing, fuse
both the hem and centre front edge of lower fronts, the edge of back hem and both sleeve hems. Fuse collar piece.
With patch pocket fusing (piece 14), fuse the top edge of patch pockets above notches.


Step 1
Neaten the top edge of pocket, then fold down (at notches) so that right sides are facing and stitch down along side seams. Clip corners and turn through to right side. Press.
Press remaining edges and bottom corners in 1cm/3⁄4”. If you would like to button your pocket, find the centre point of your pocket and sew your button hole onto your pocket.


Step 2
Transfer pocket placement marking from your pattern piece to the right side of front piece (piece 2) with tailors chalk or pins. Align patch pocket with markings and pin in place. Edge stitch pocket on along side and bottom edges, creating a small triangle of stitching at each top edge for reinforcement. Press. Repeat for other side.


Step 3
Place front yoke and front piece together with right sides facing. Stitch together. Trim seam allowance in half and press towards yoke. Top stitch in place. Repeat for other side.


Step 4
Place back yoke and back piece together with right sides facing. Stitch together. Trim seam allowance in half. Press seam allowance toward yoke and top stitch in place.

Step 5
Pin fronts to back at the shoulder and side seams with right sides facing. Stitch together. Press seams open.


Step 6
Fold sleeve in half with right sides facing and stitch seams together. Press seam open. Turn through to the right side. Repeat for other sleeve.

Step 7
Pin sleeve and armhole together with right sides facing matching notches and lining up sleeve seam with back yoke seam. Stitch around armhole. Pull through to right side.
TIP: If you stitch with your
sleeve on the underside,
the differential feed on your sewing machine will help ease your sleeve into the armhole.


Step 8
Pin under collar pieces together at centre back seam with right sides facing. Stitch. Press seam open.


Step 9
Pin collar and under collar pieces together with right sides facing. Stitch around side and top edges as illustrated. Trim seam allowance in half and clip around corners. Turn through to the right side and press, holding the bottom edges of the collar and under collar together. The stitch line should roll toward the under collar. Baste bottom edges together.


Step 10
Pin your finished collar piece right side up onto the neck edge of jacket, lining up edges of collar with notches. Baste in place with a 5mm seam allowance.


Step 11
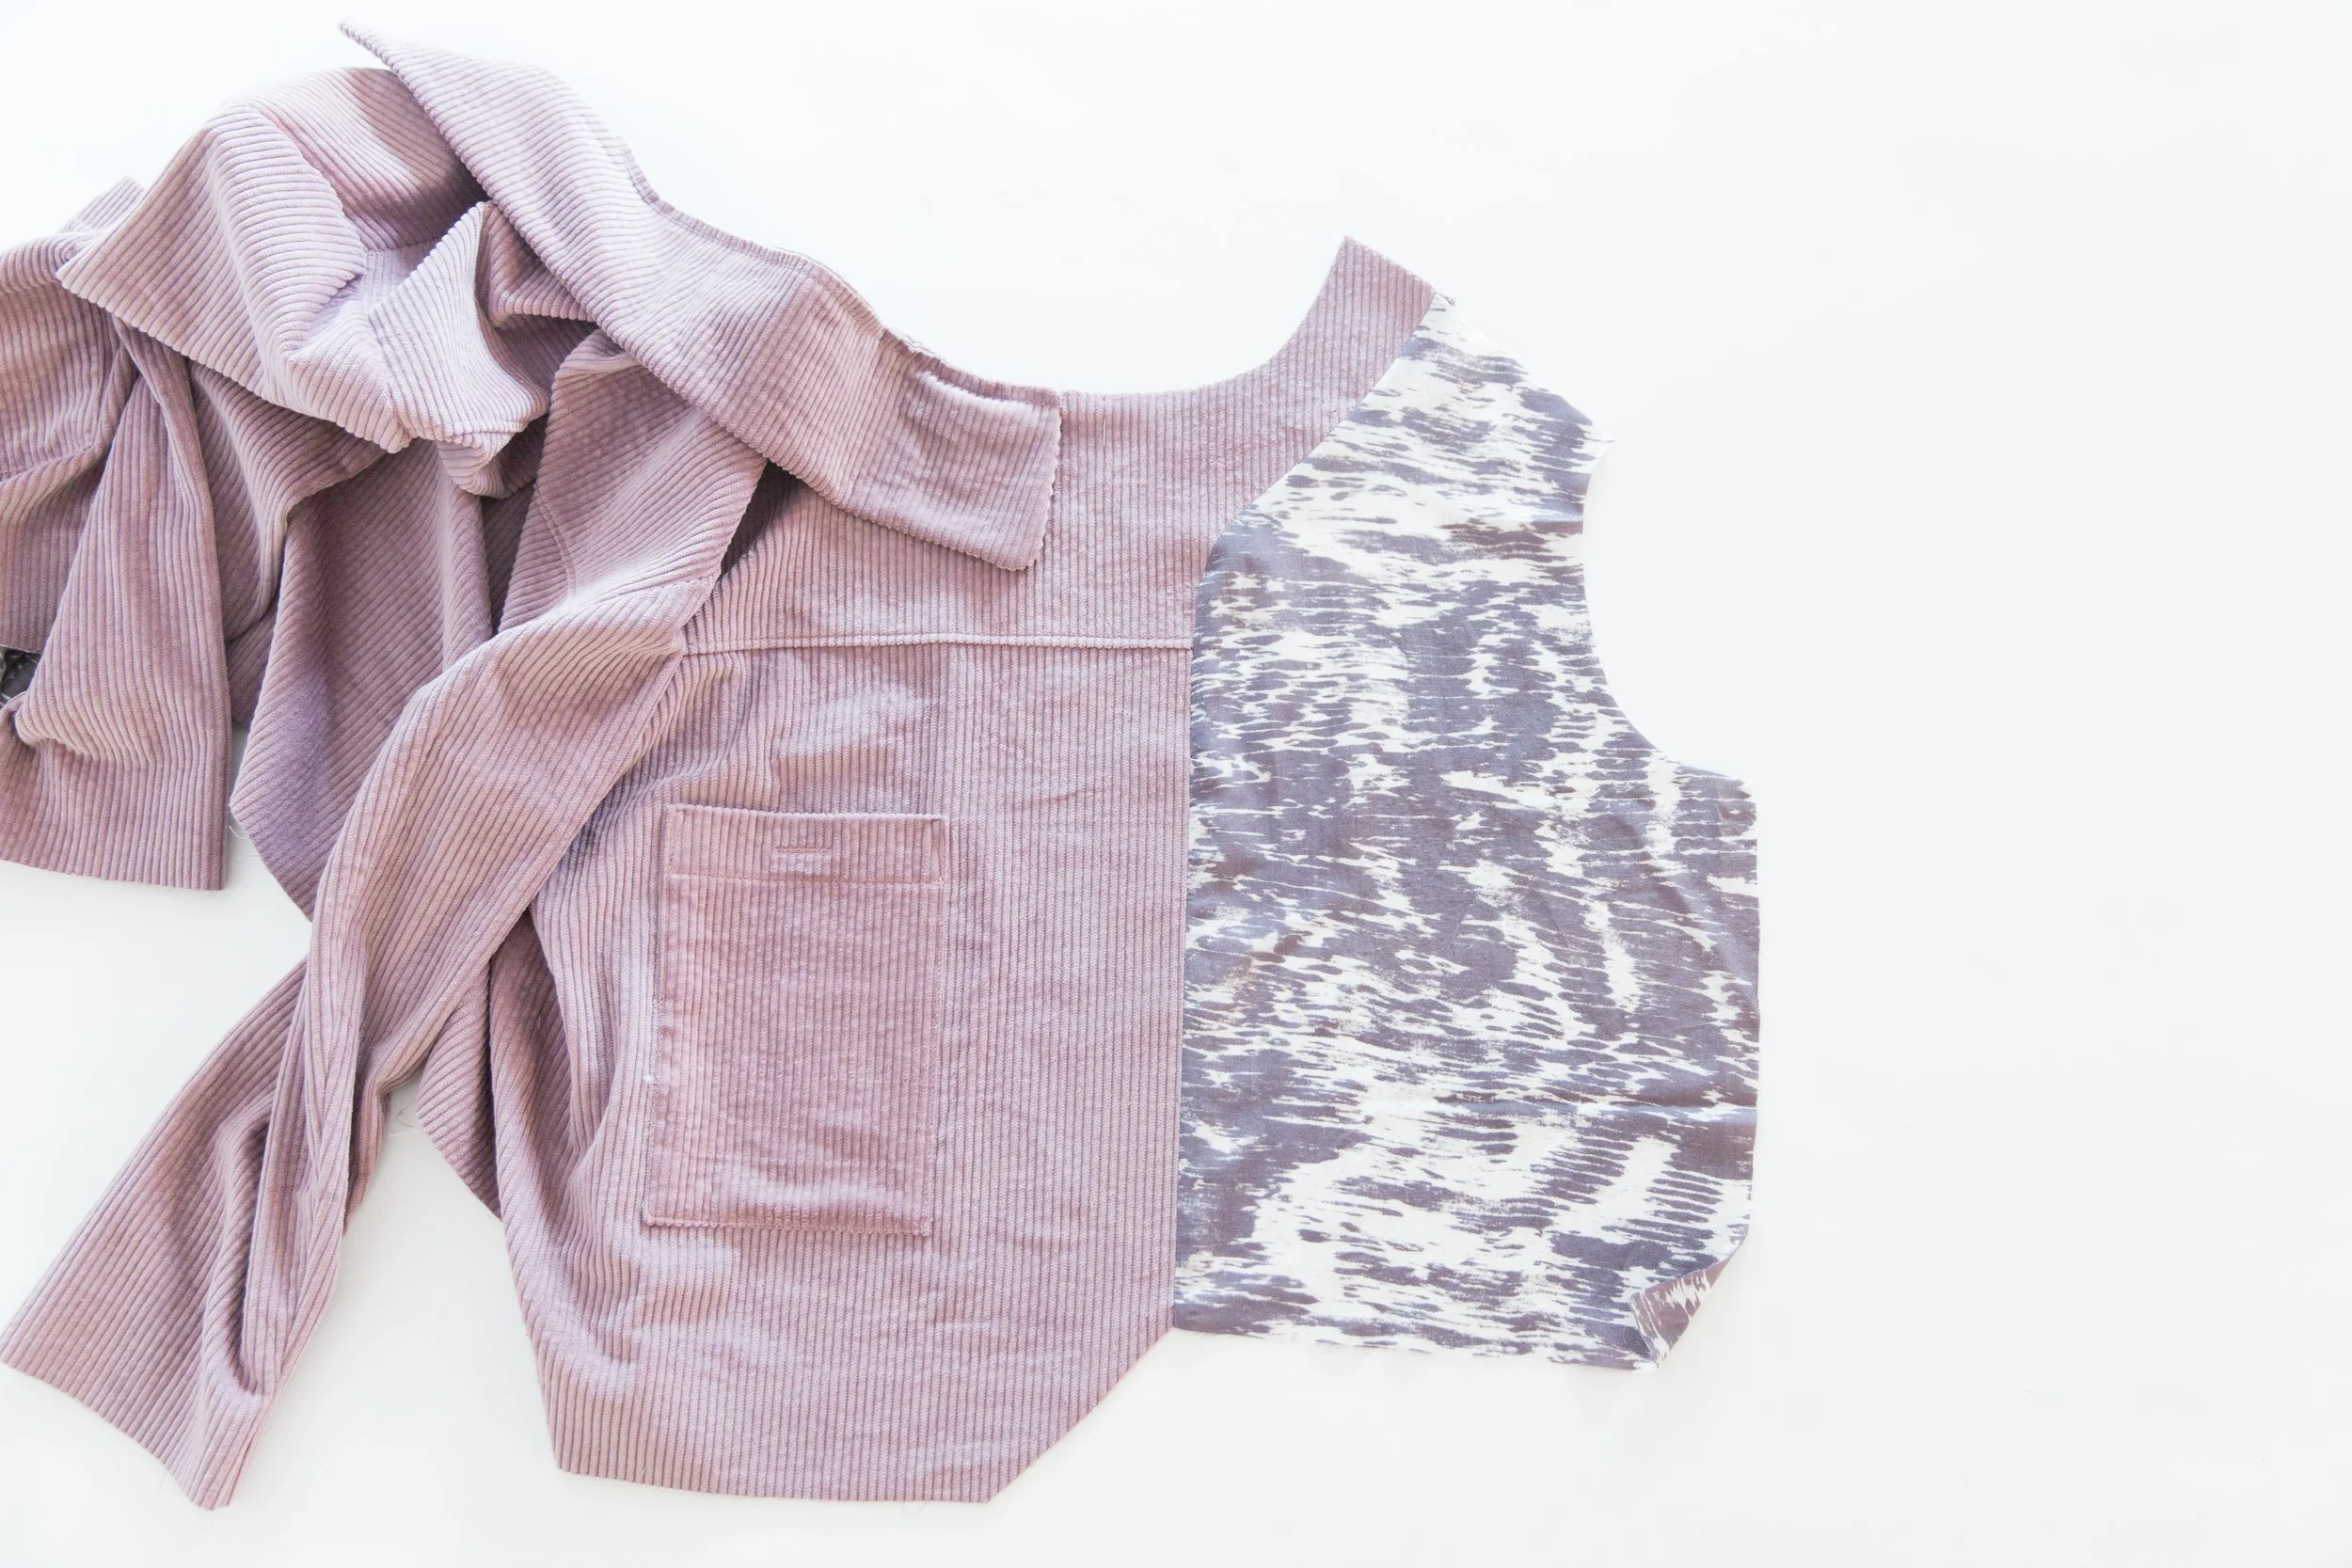
Pin your front lining piece to front jacket along centre front and around curved edge of neck facing with right sides together, matching up notches. Stitch, finishing your stitch line 1cm/0.39” up from bottom edge of lining. Trim seam allowance in half. Press seam allowance toward lining. Repeat on other side.
Step 12
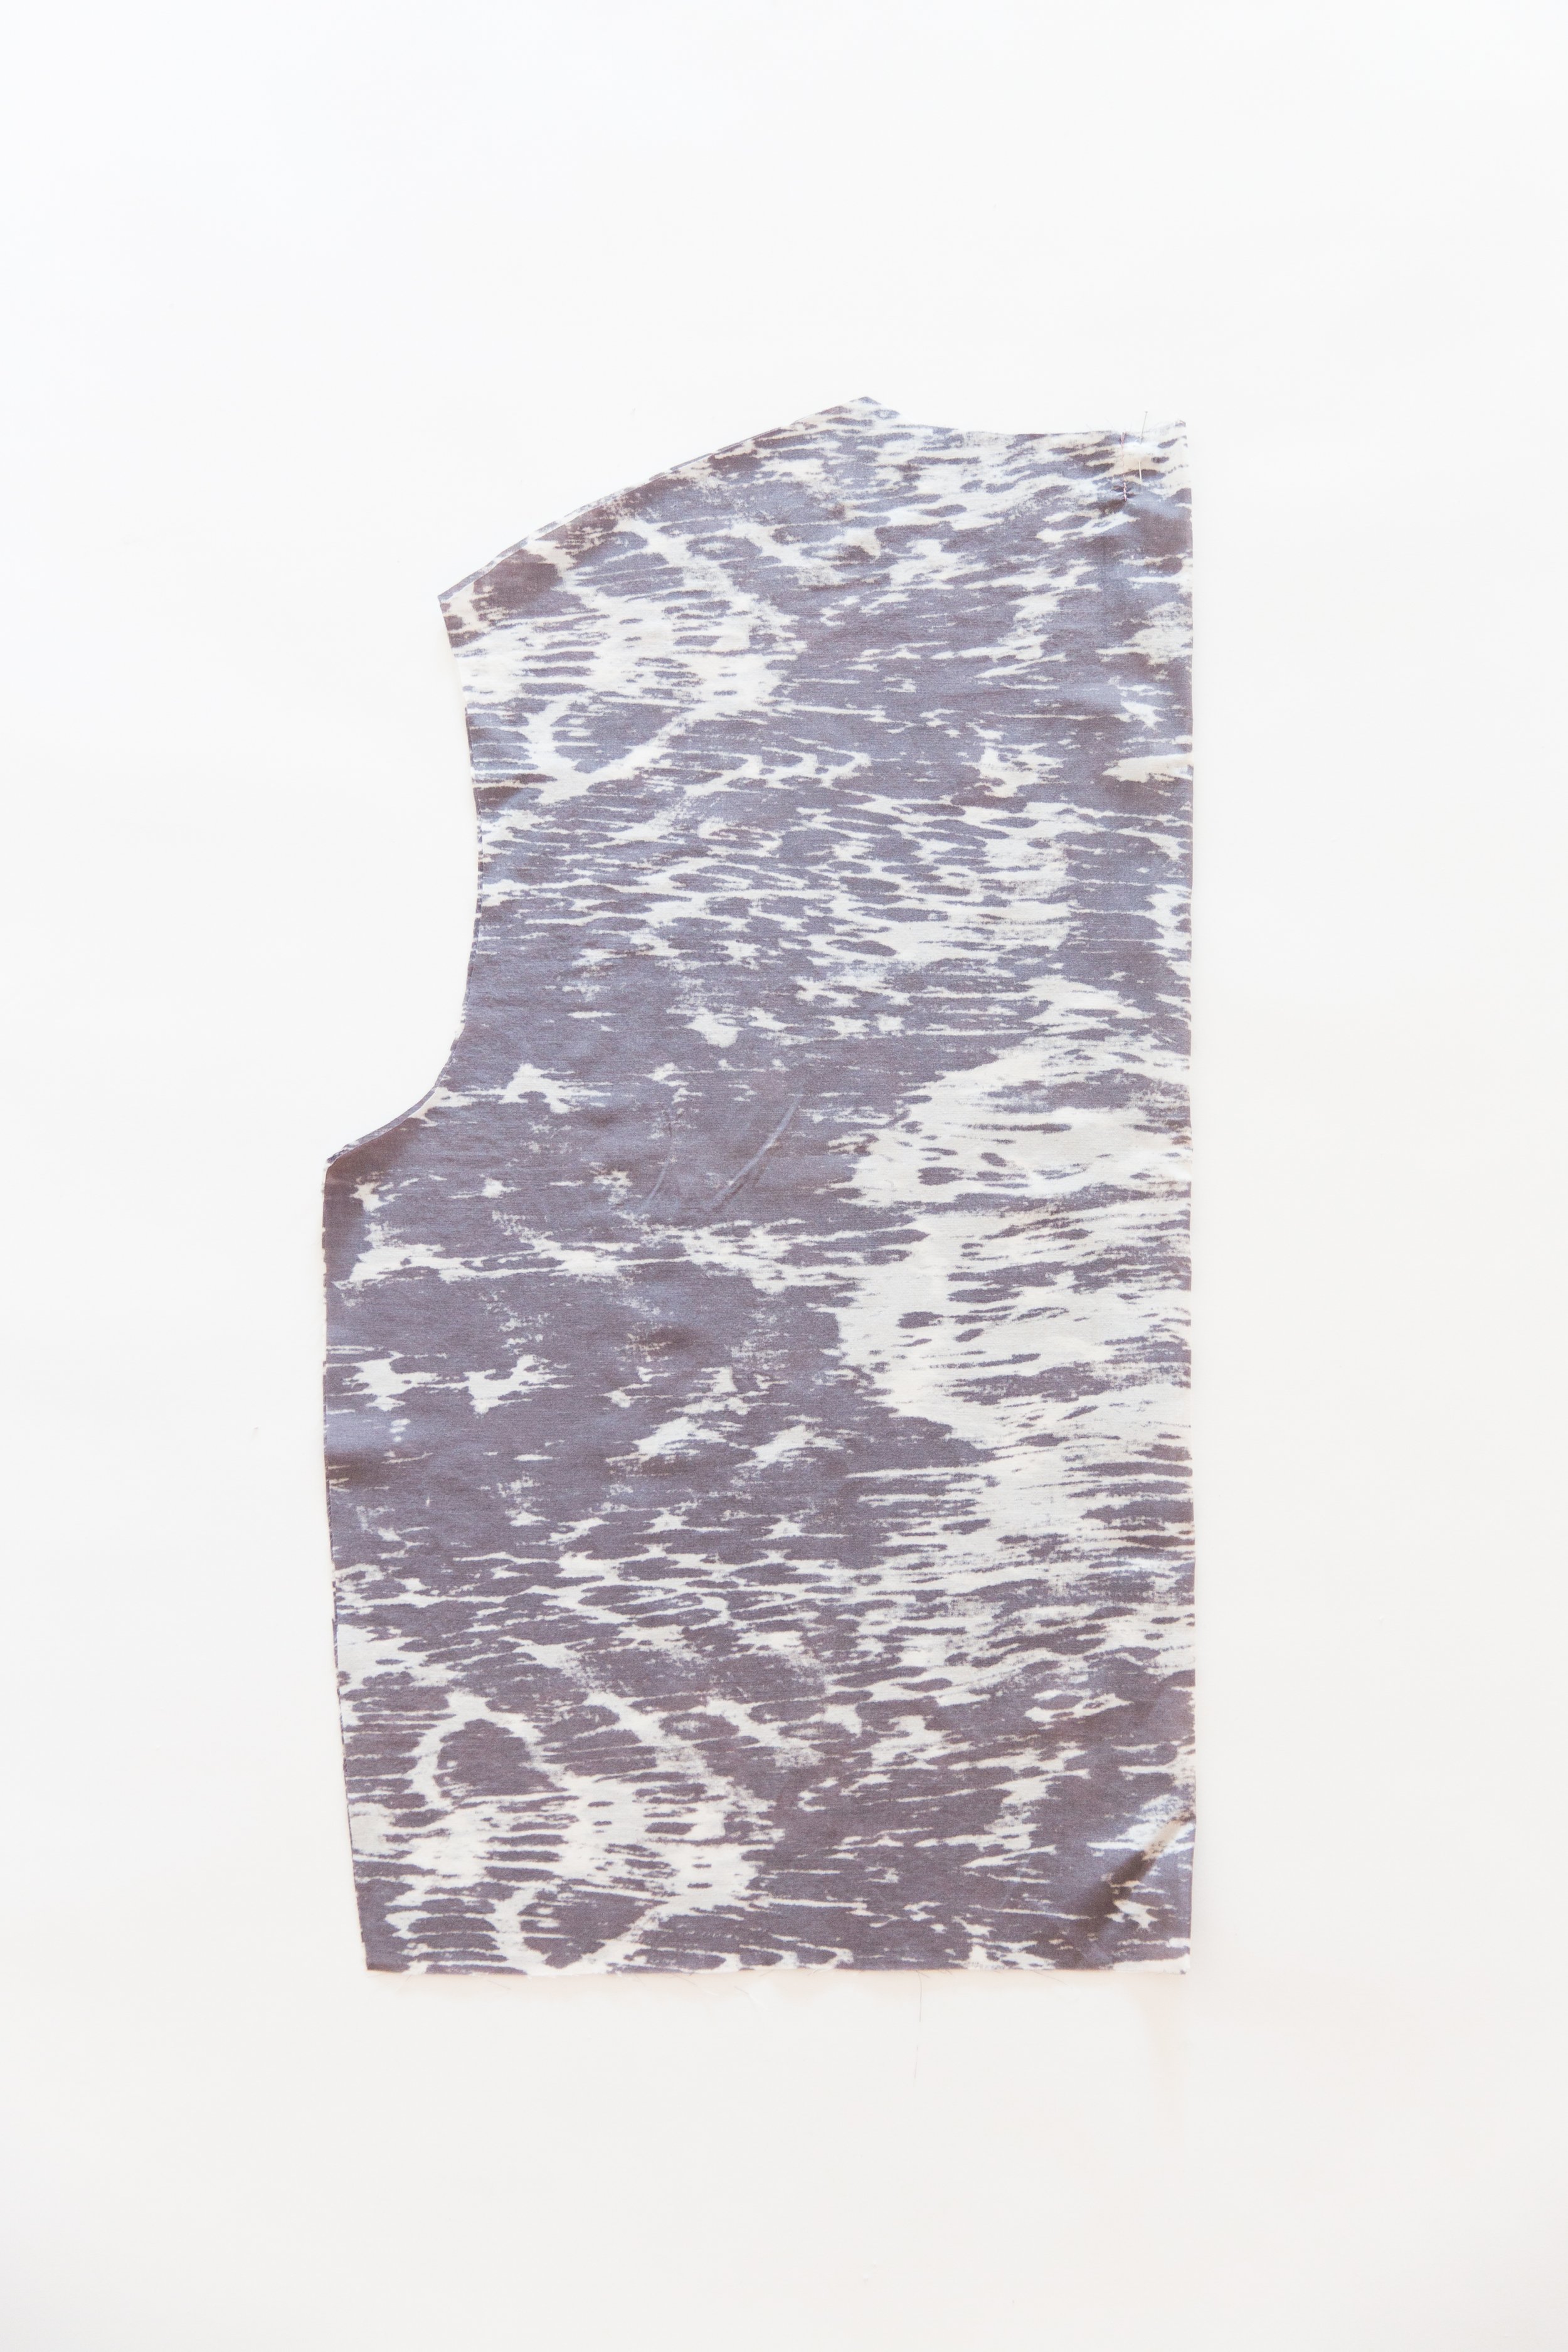
Fold back lining in half with right sides facing, lining up notches on neckline. Stitch down 2.5cm/1” from notches.
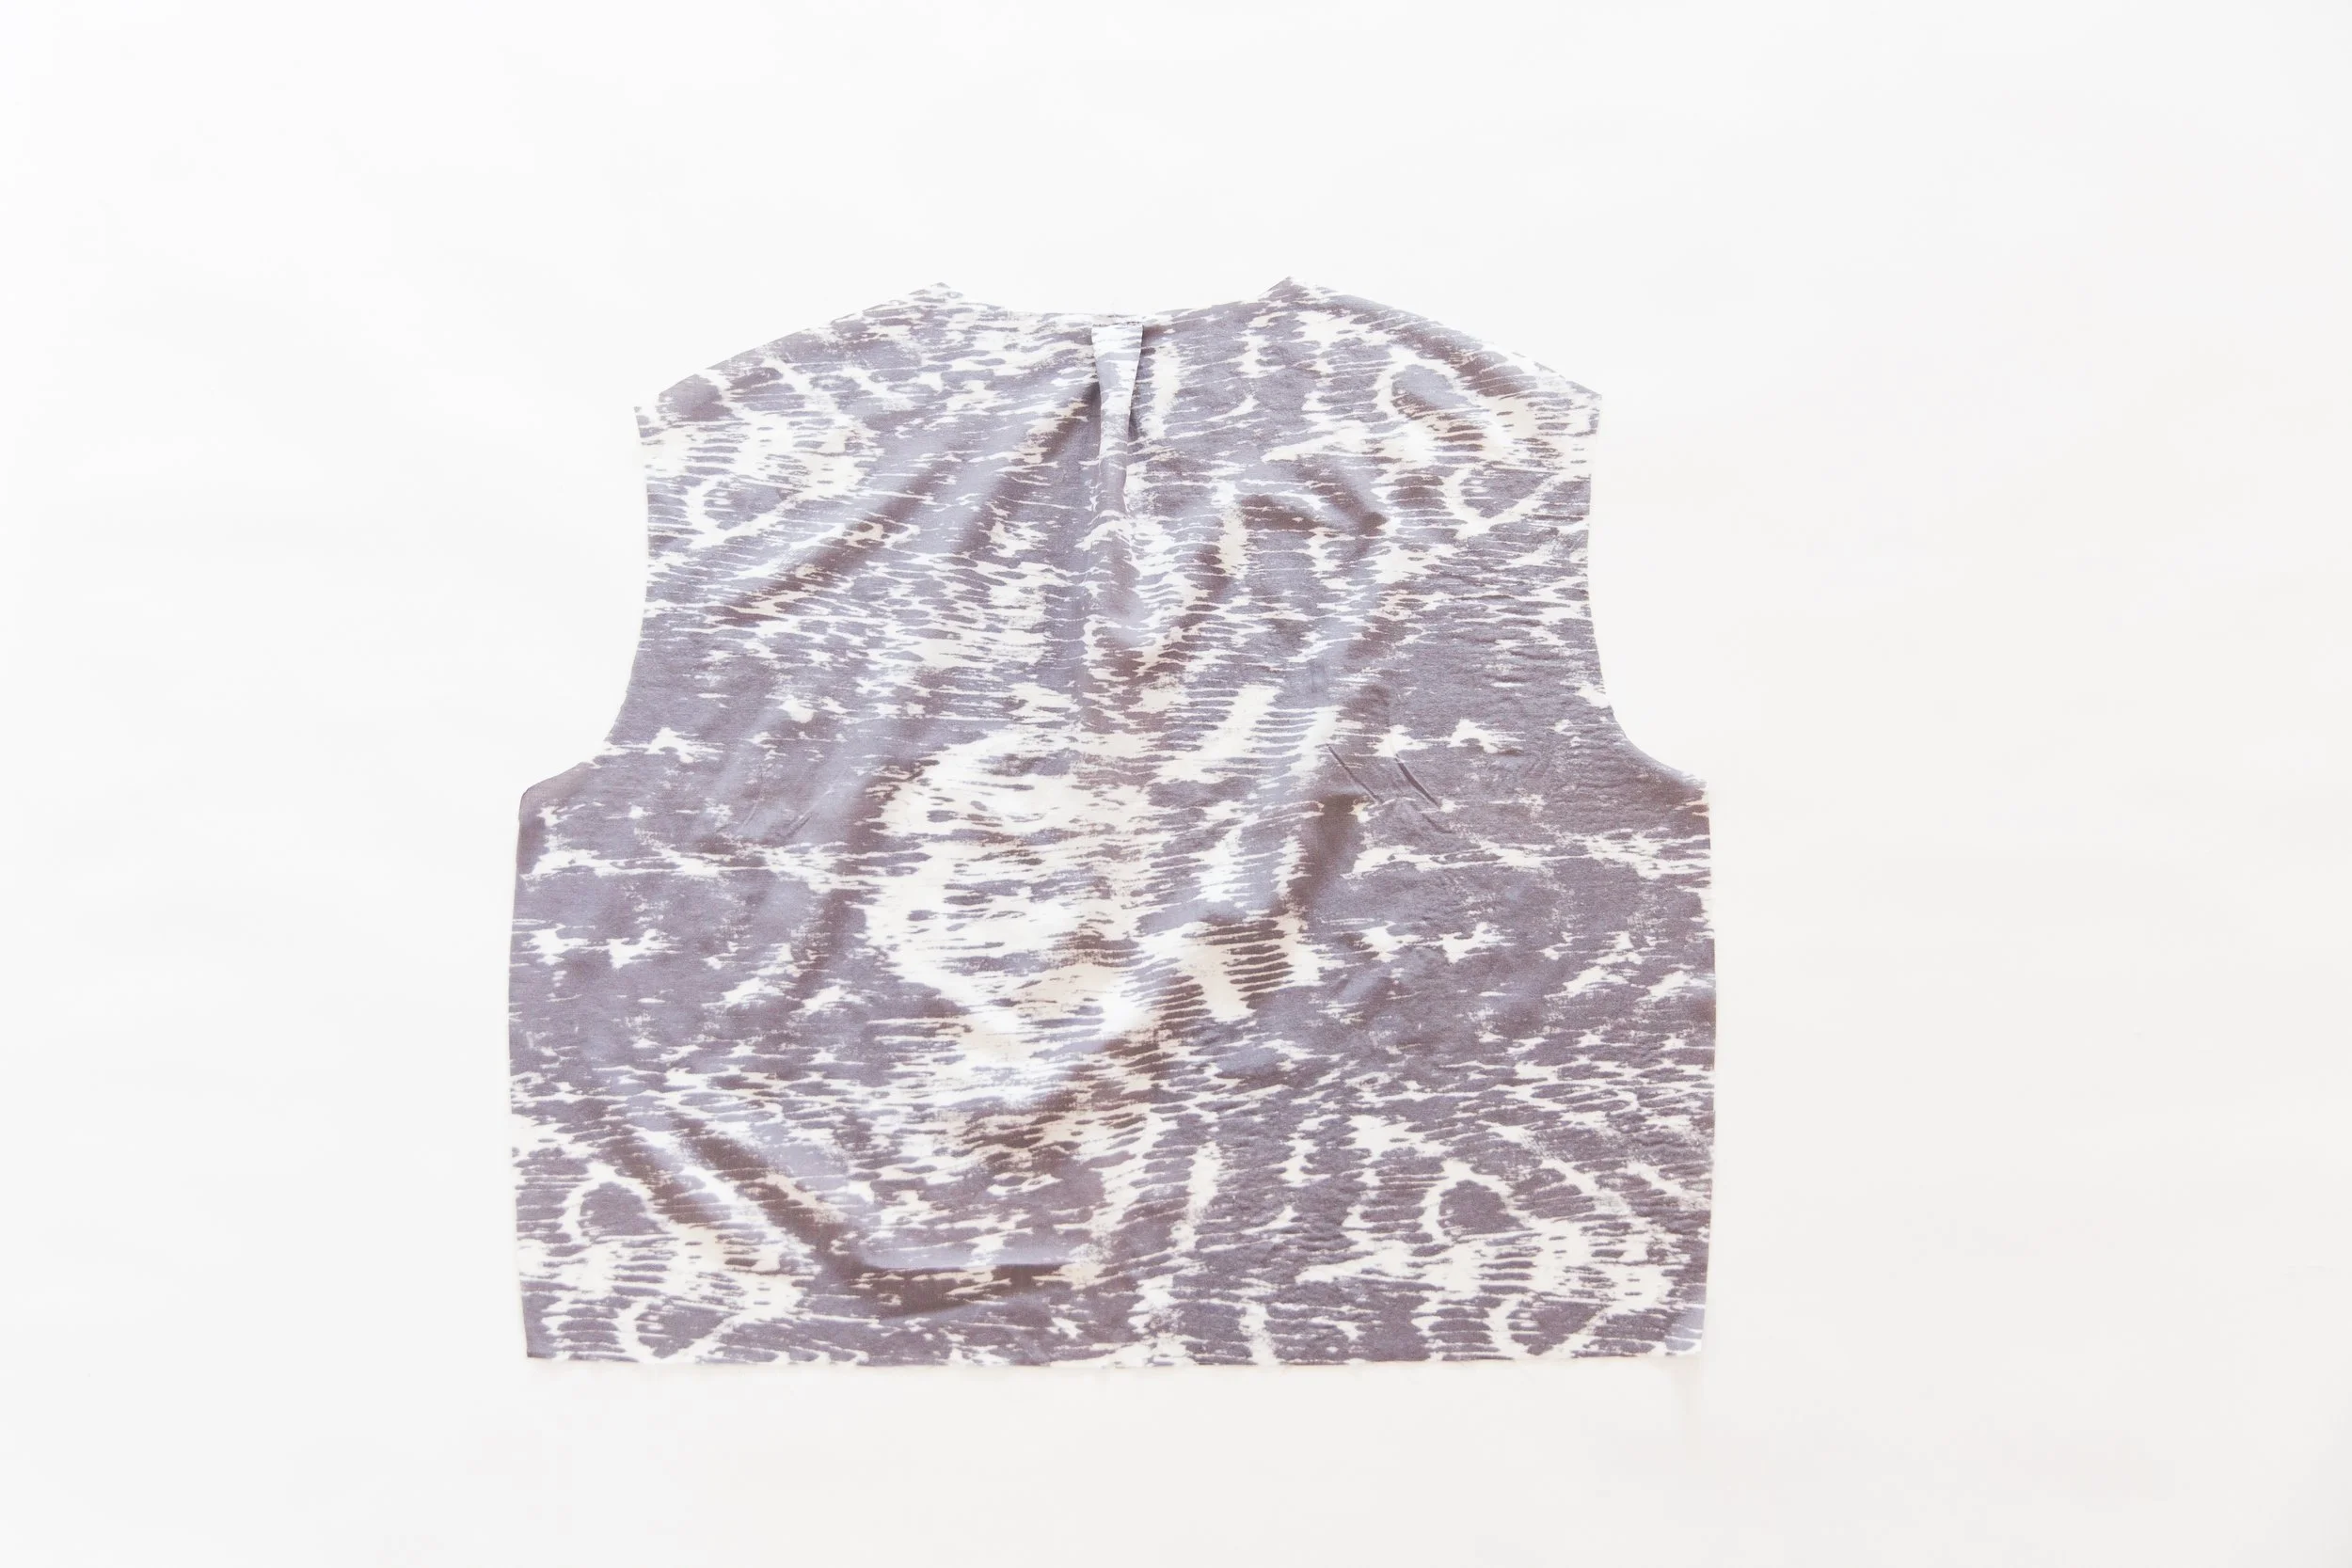
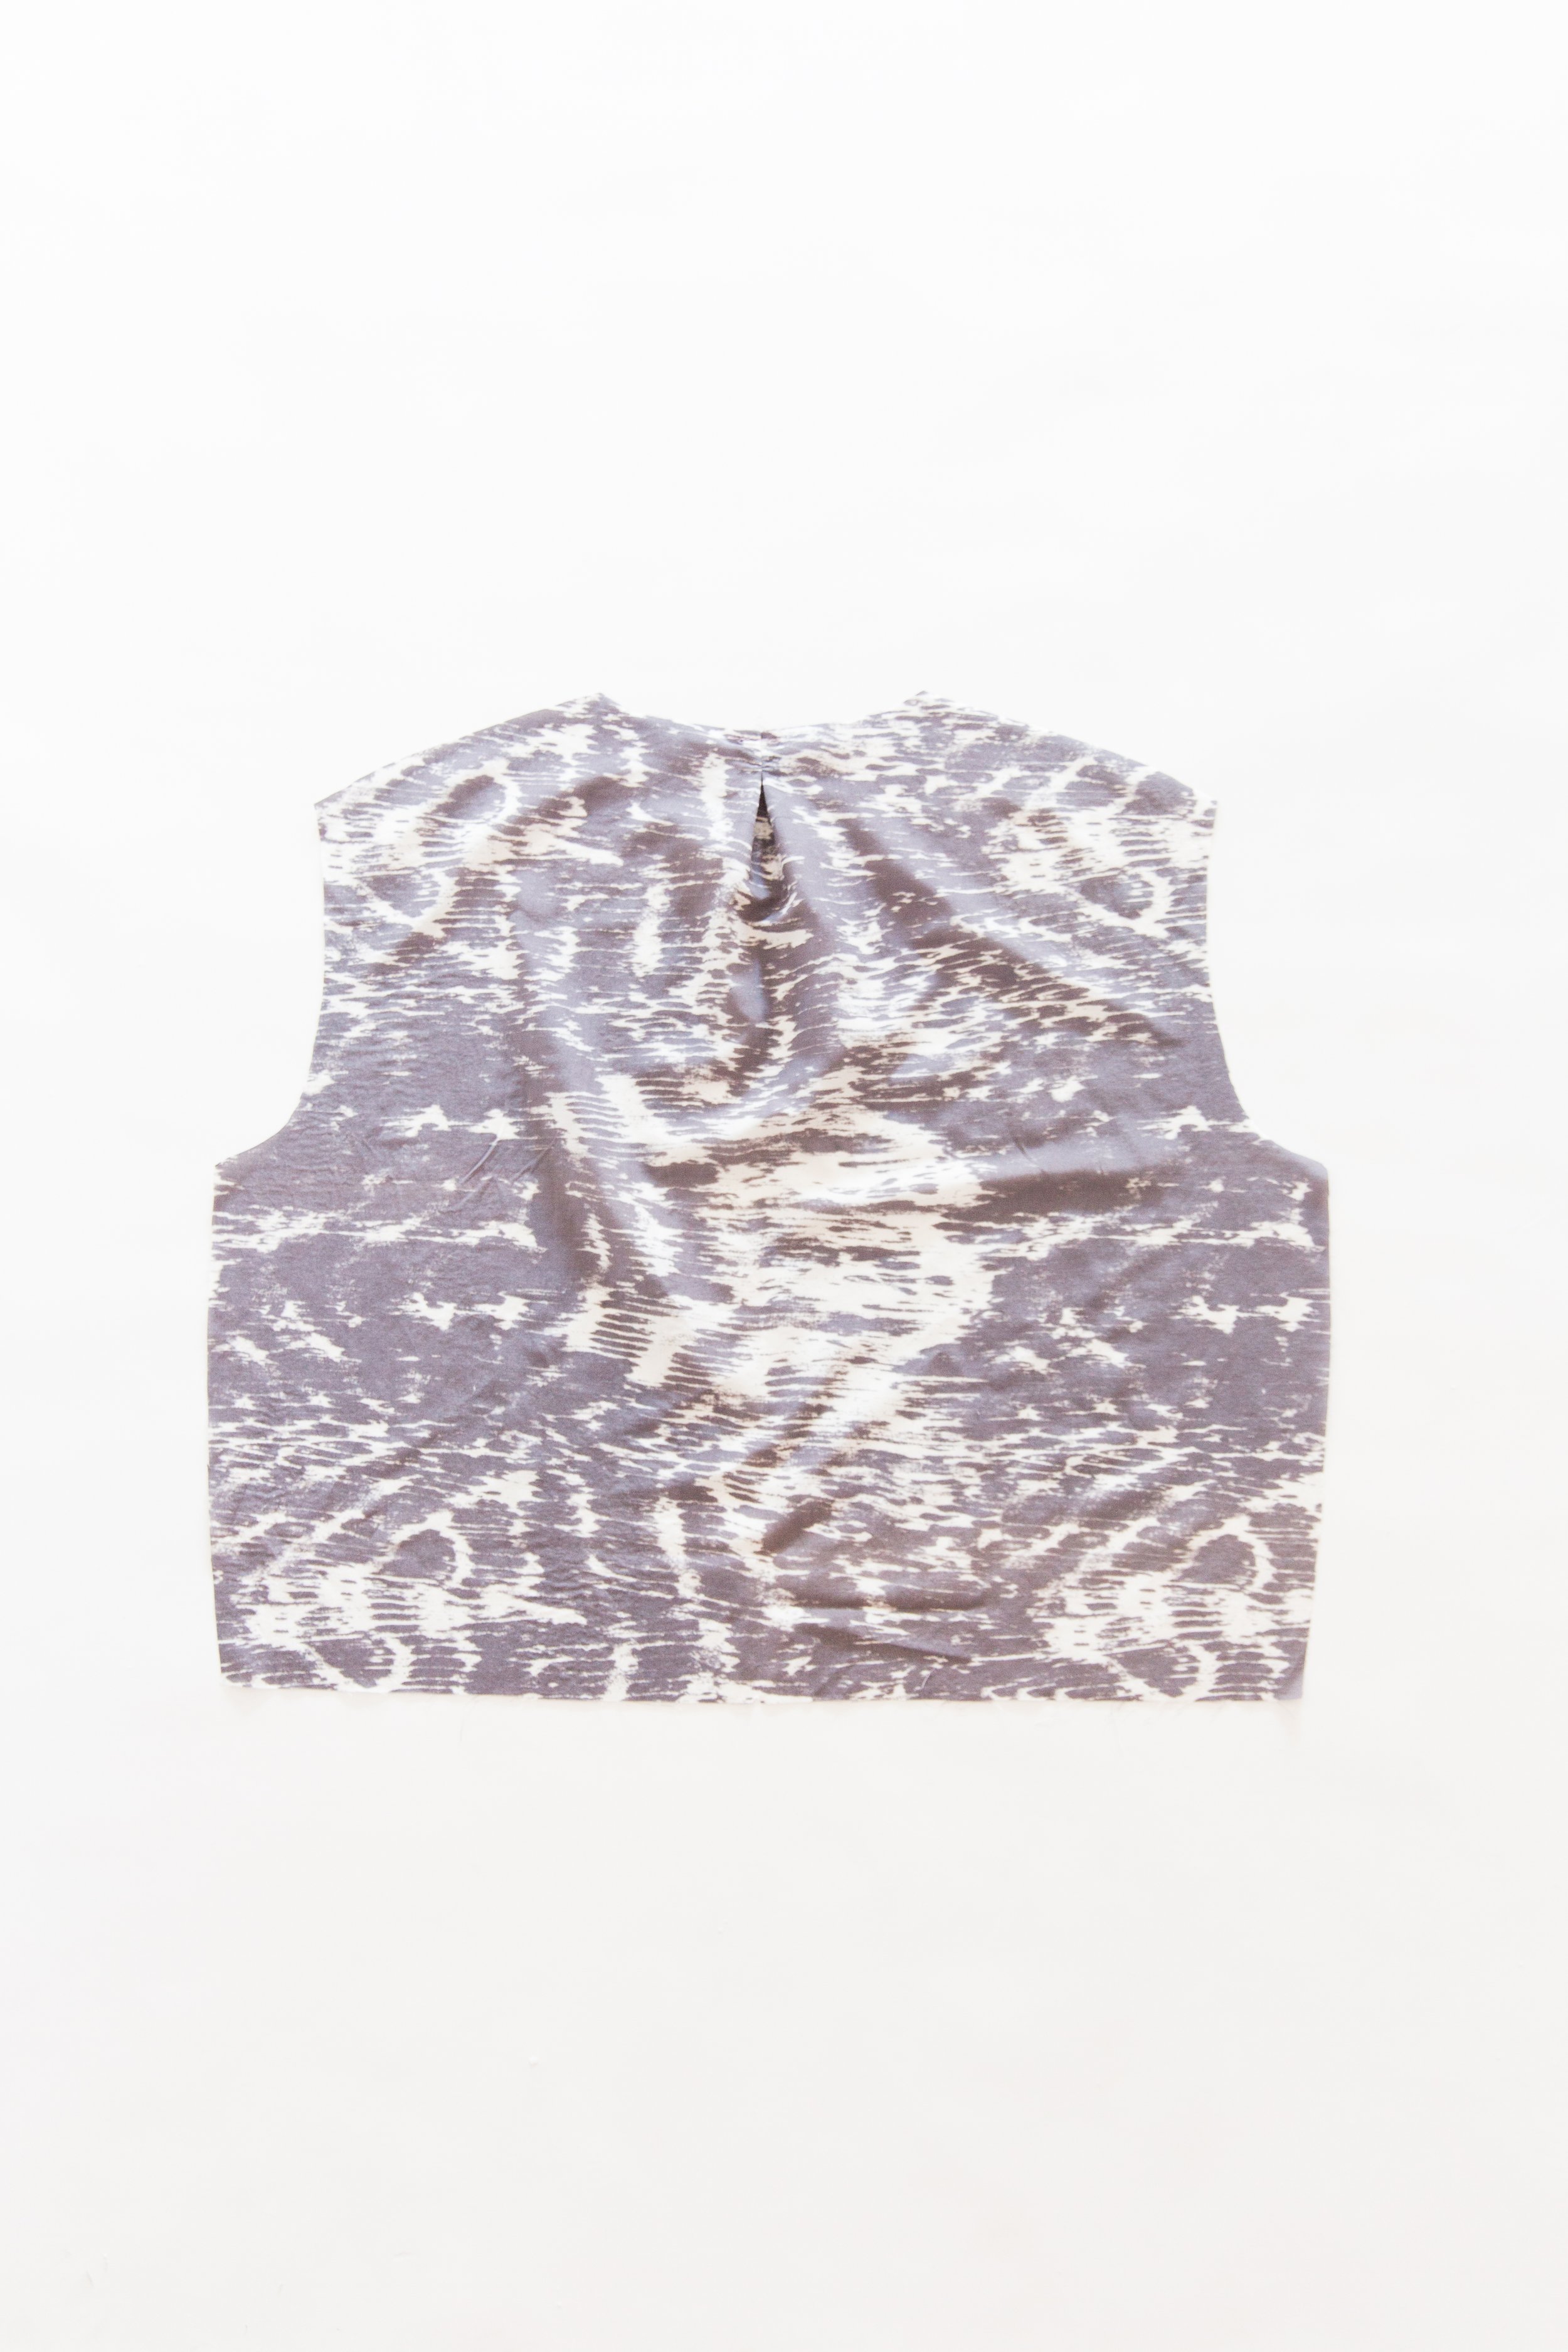
Step 13
Open out, and evenly distribute pleat on each side of stitch line. Stitch in place 5mm/0.2” from top edge.
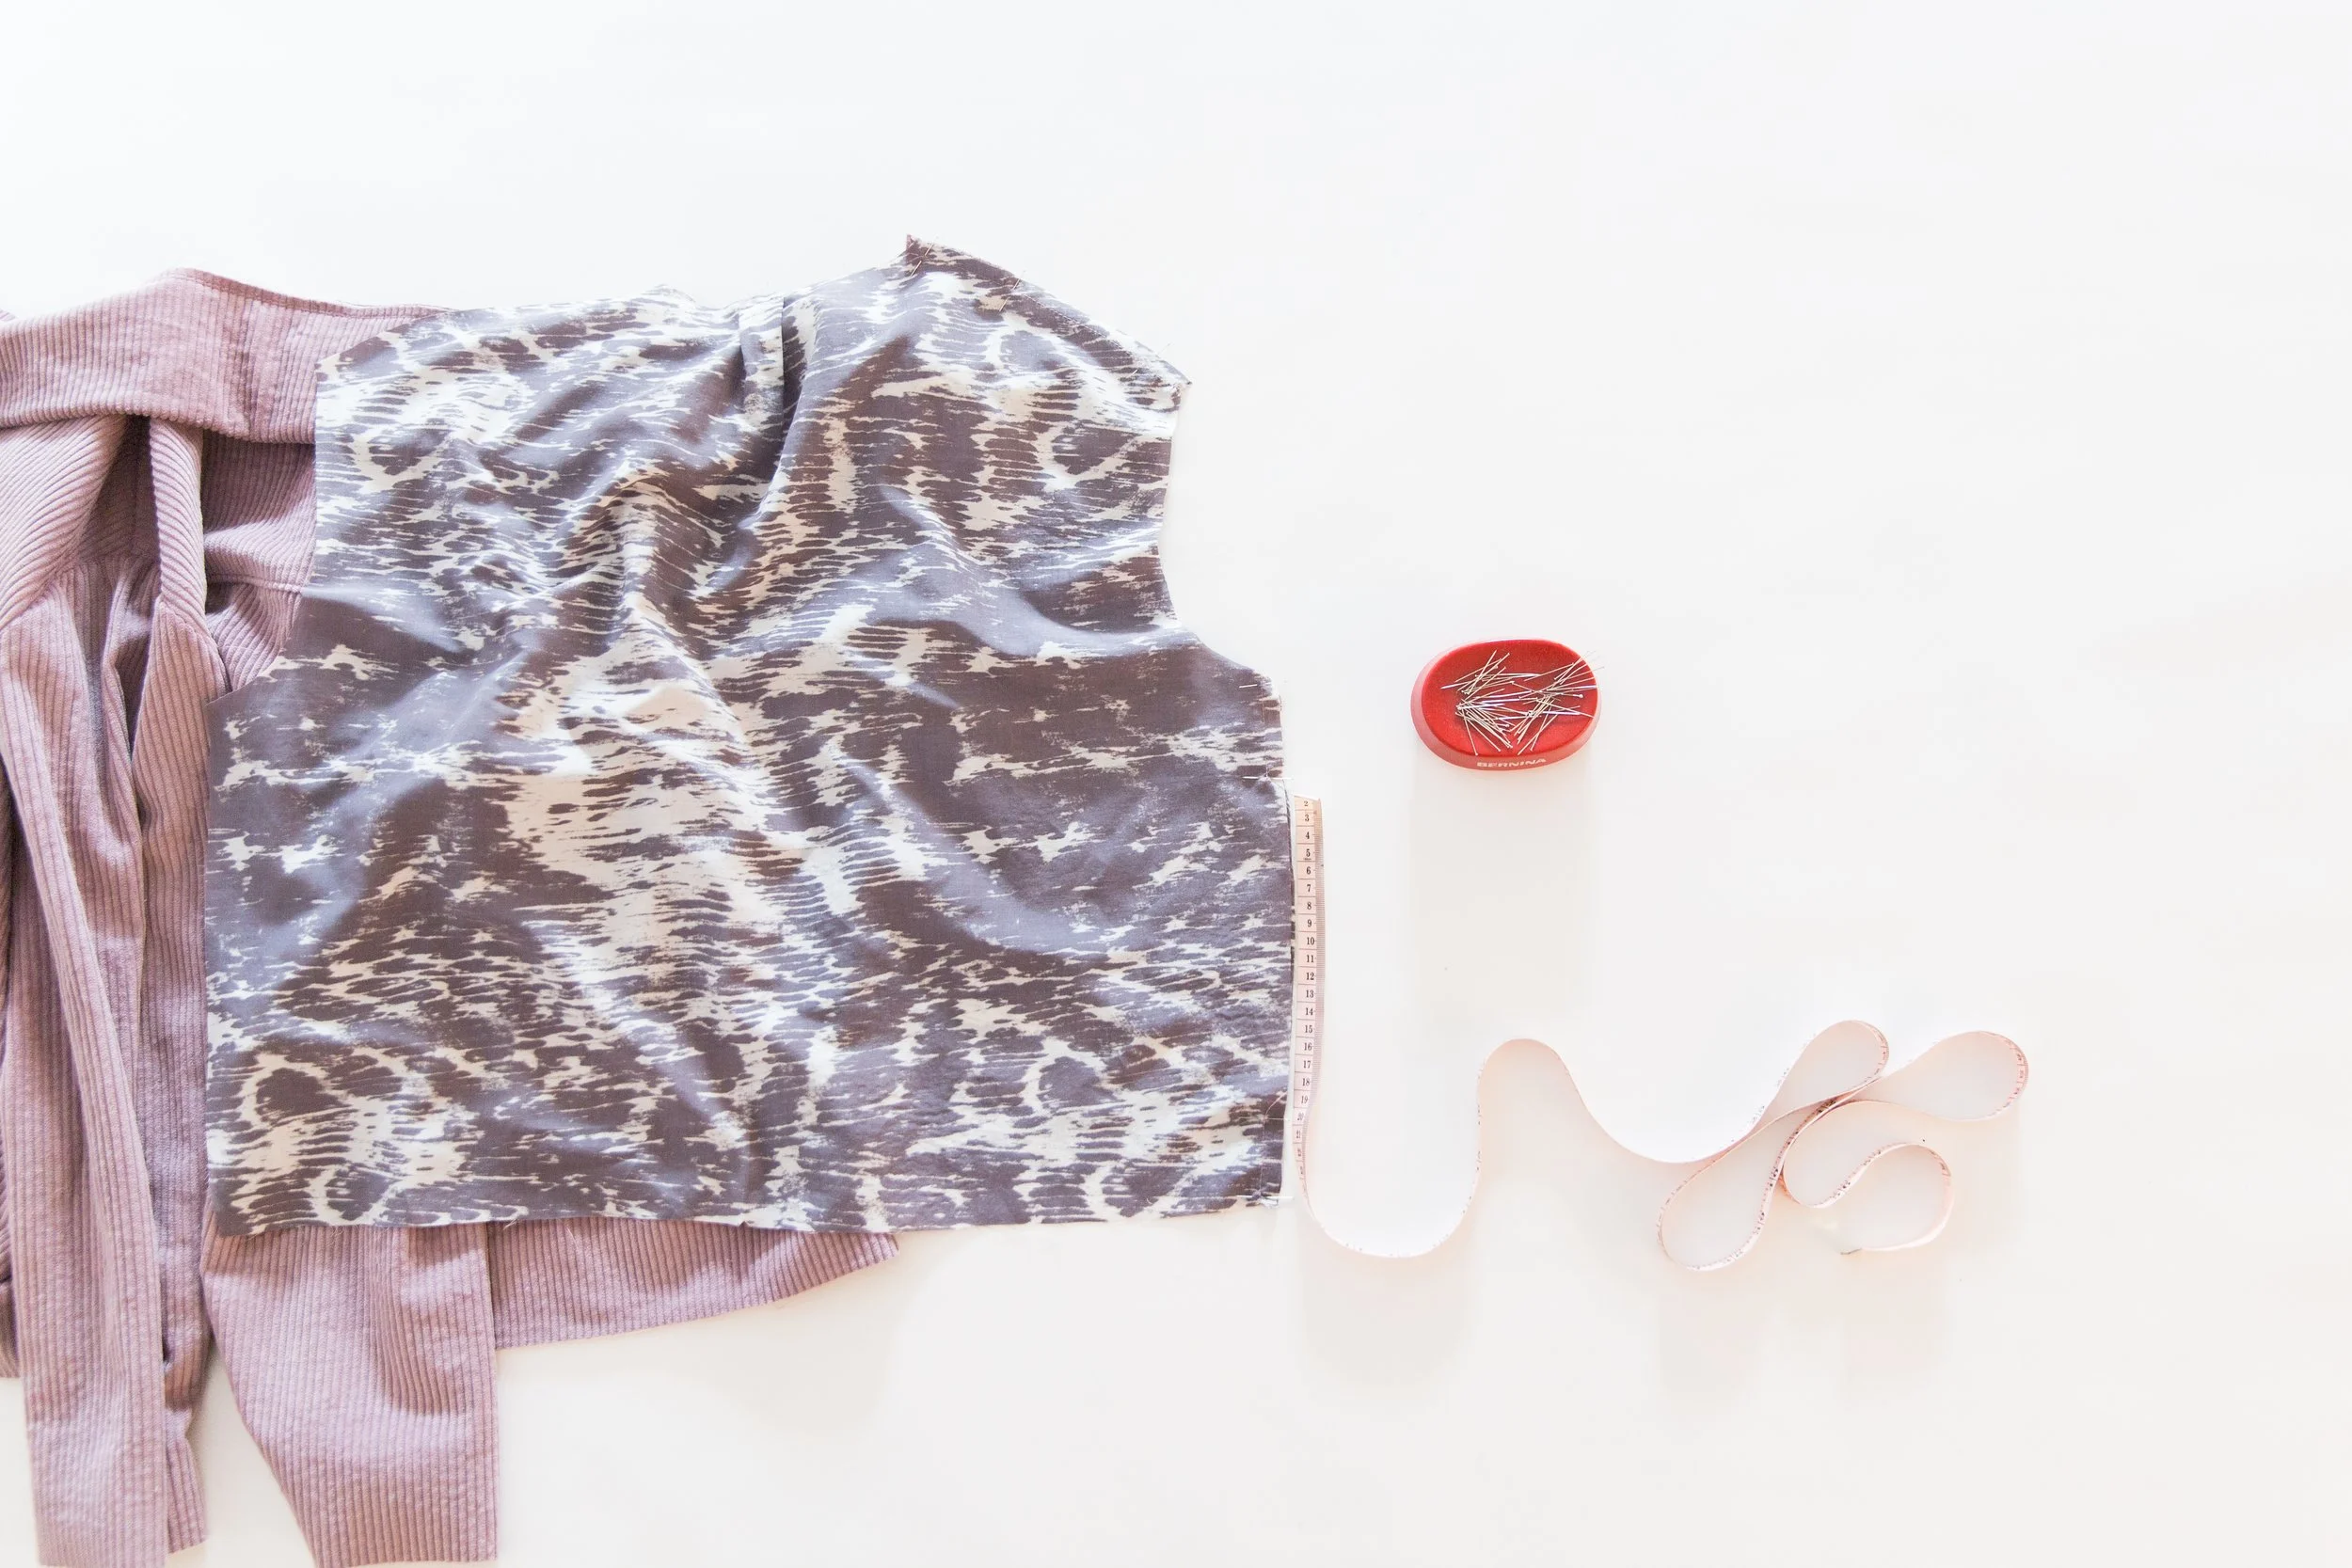
Step 14
Pin back lining to front lining at shoulders and side seams with right sides facing. Stitch together, leaving a 20cm/8” gap on one side seam only. Press seams open.
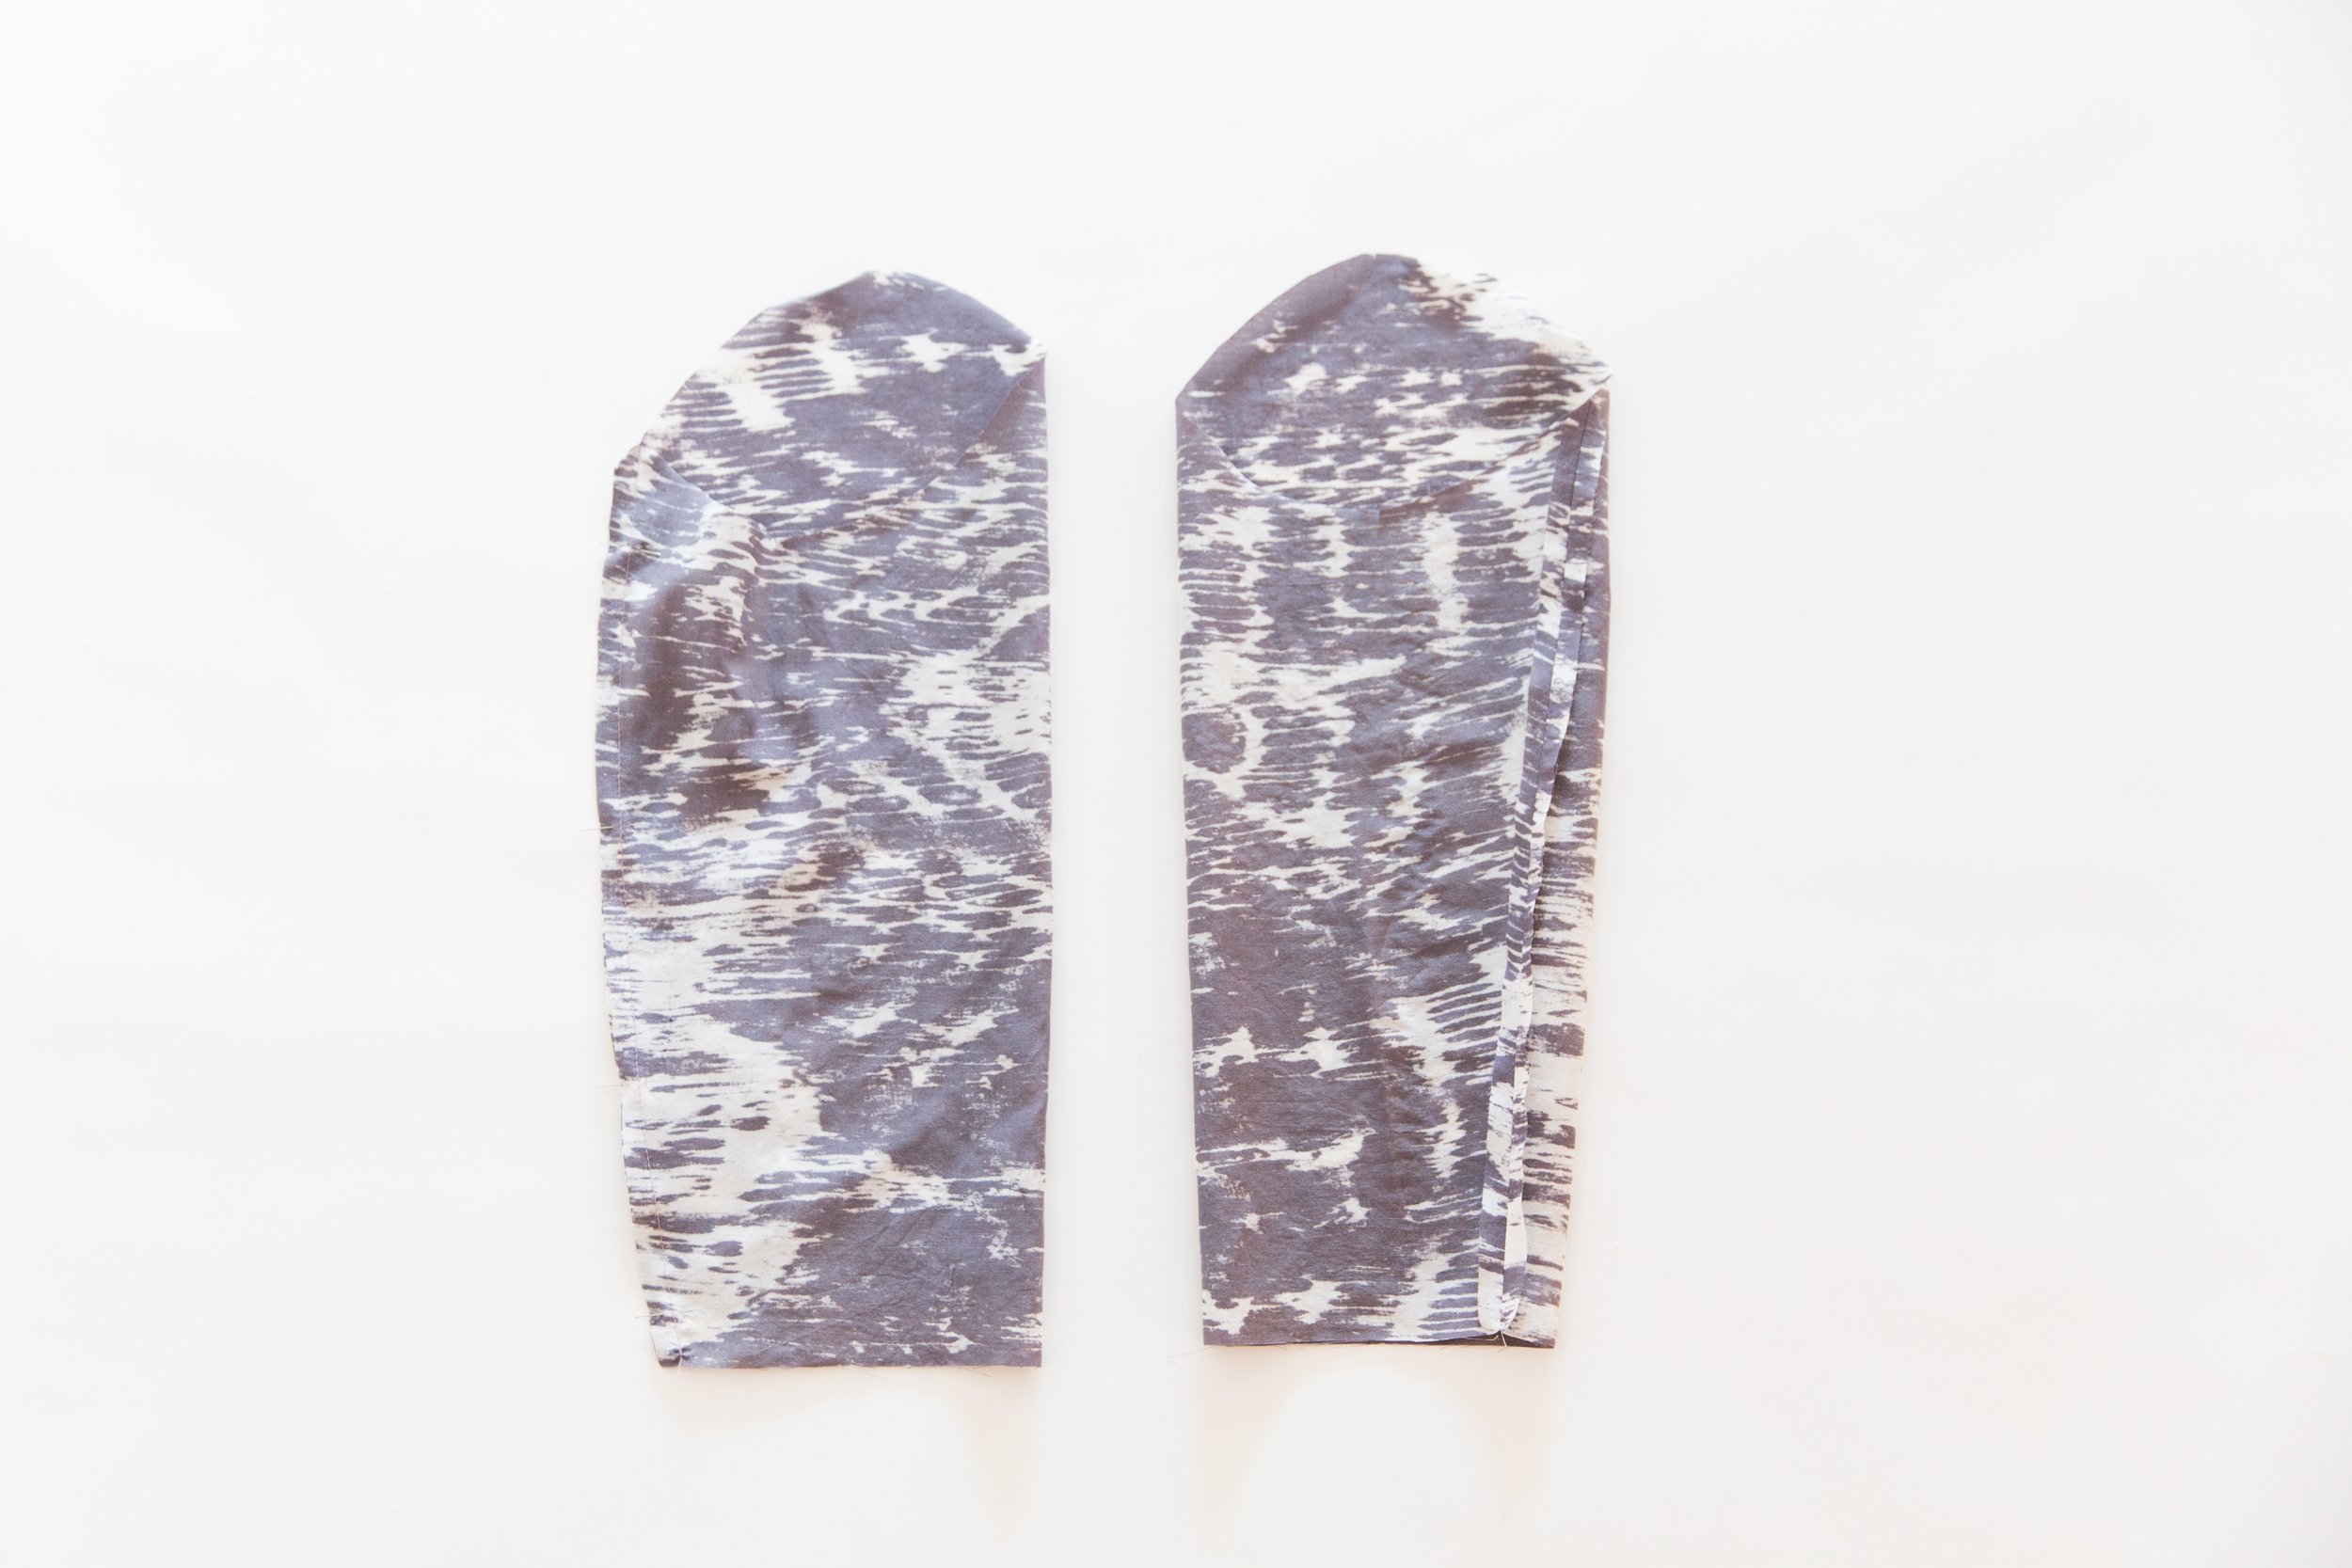
Step 15
Fold sleeve lining in half with right sides facing and stitch seams together. Press seams open. Turn through to the right side.
Step 16
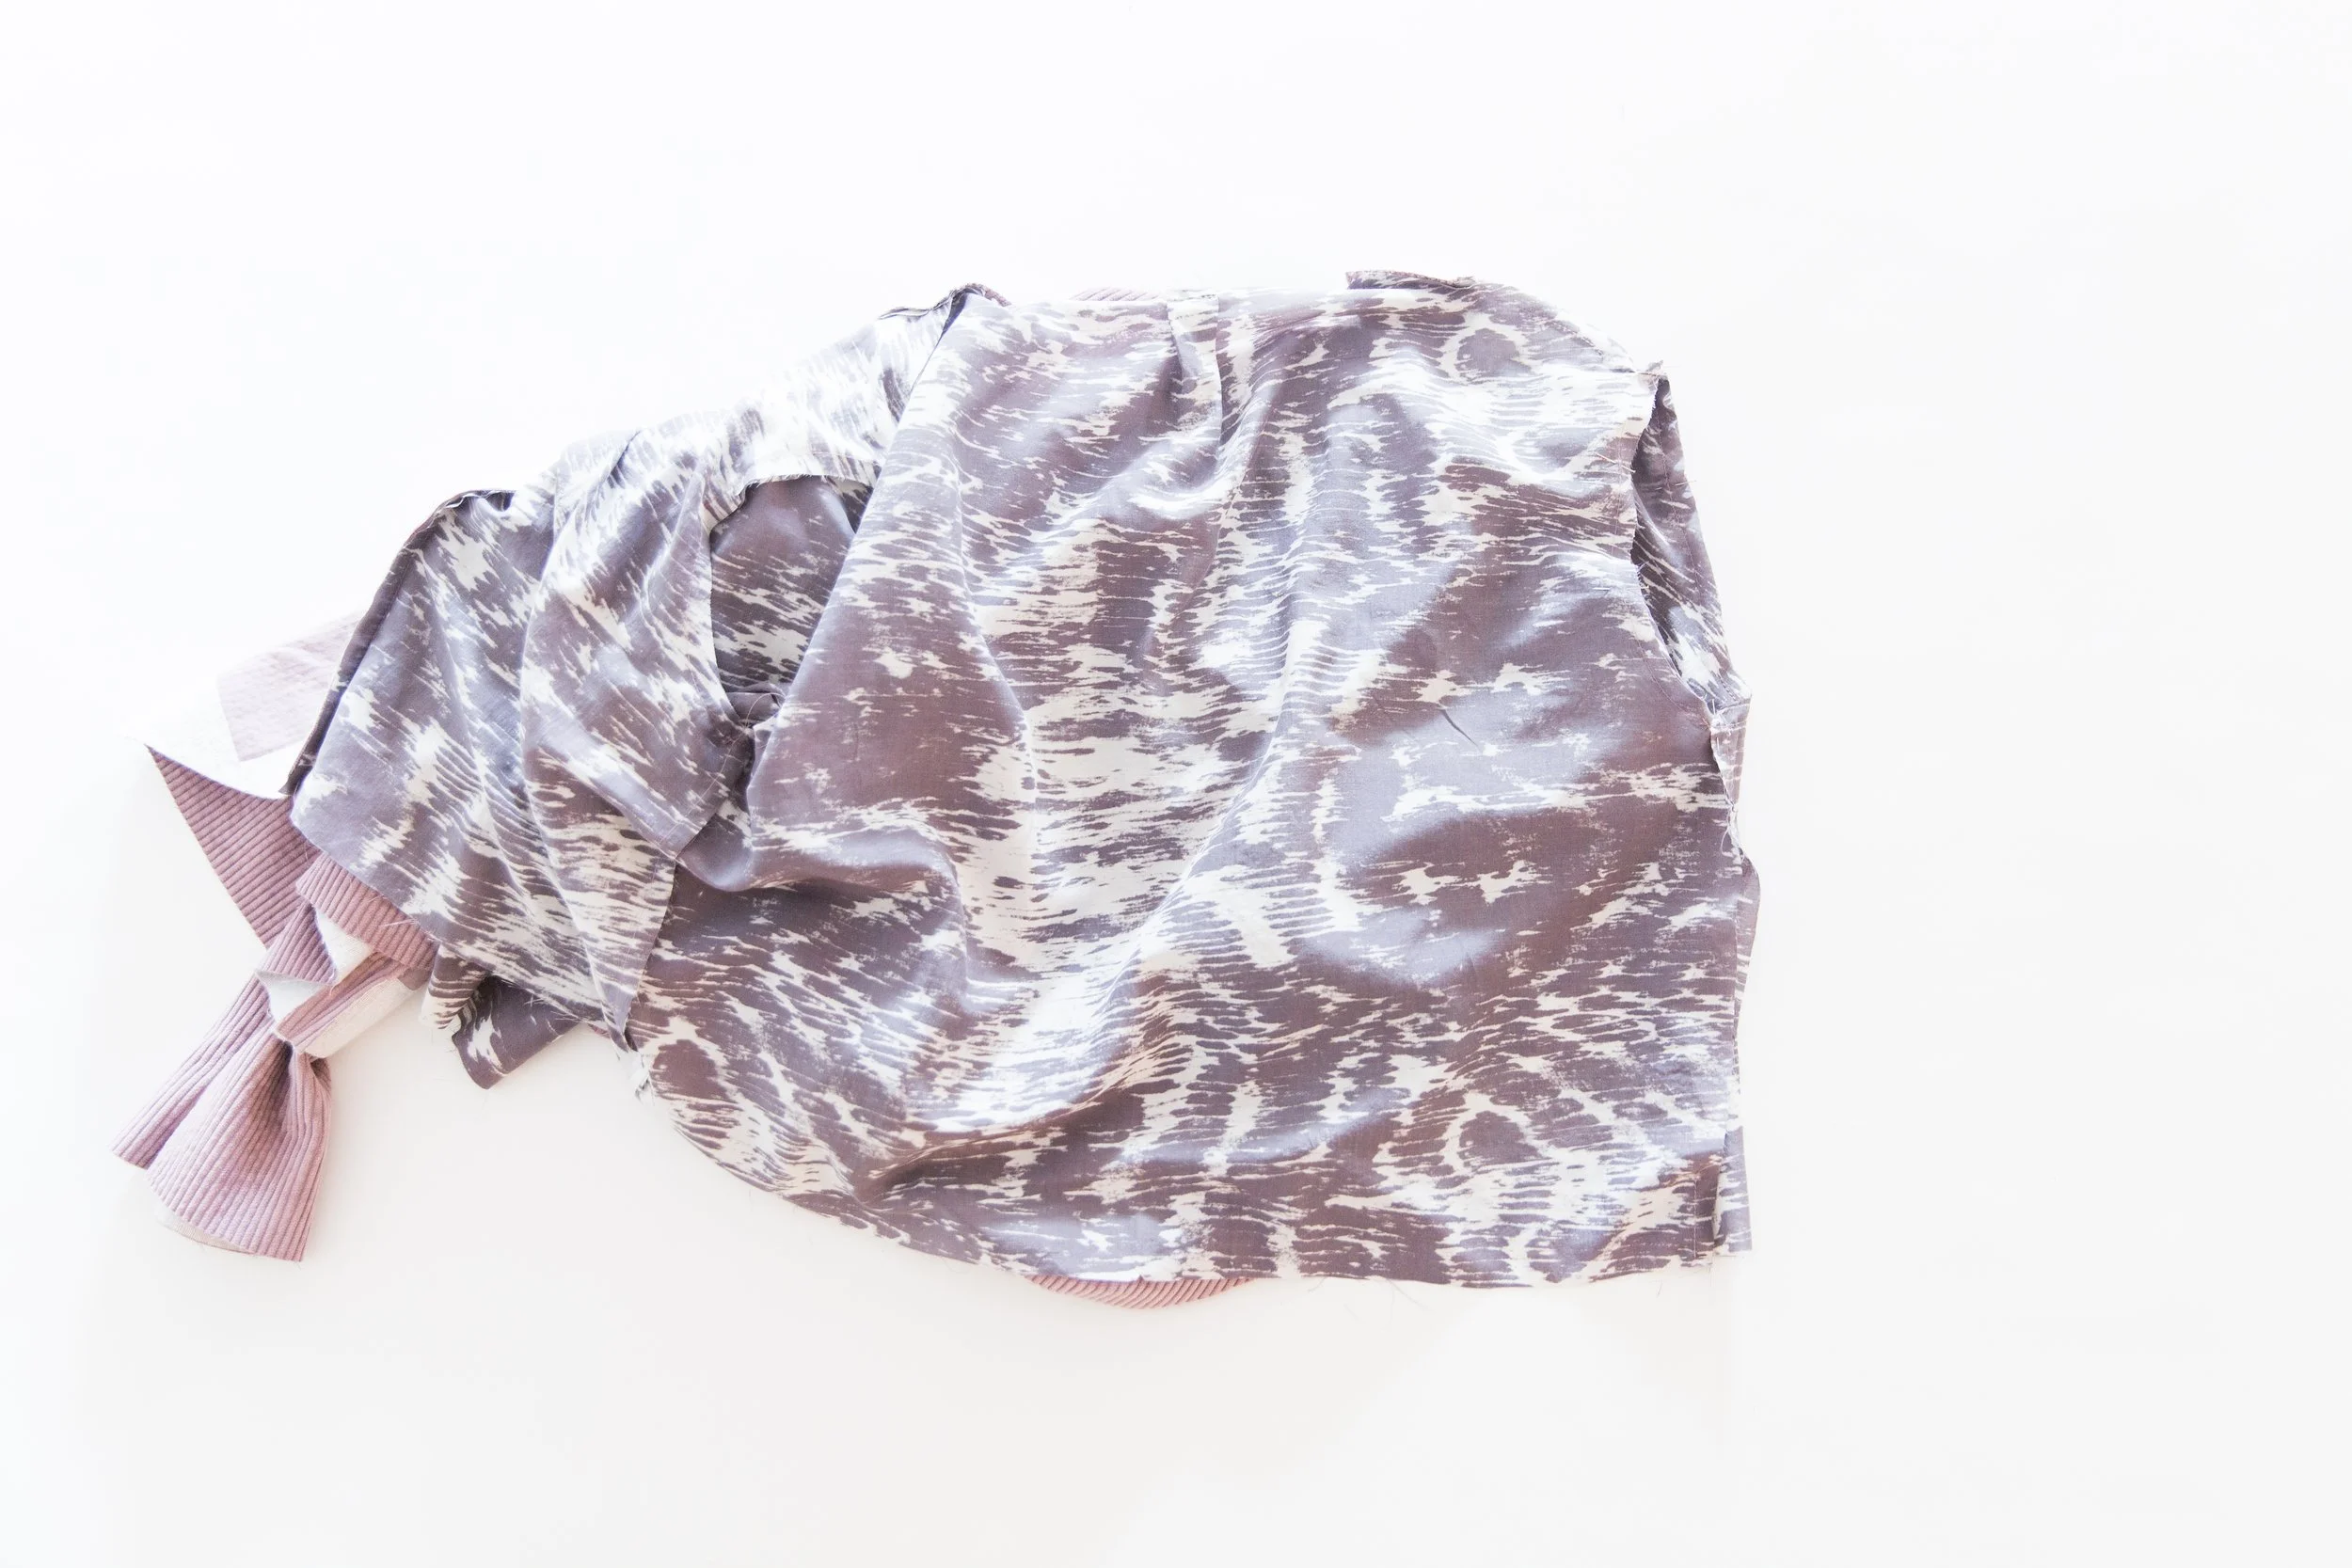
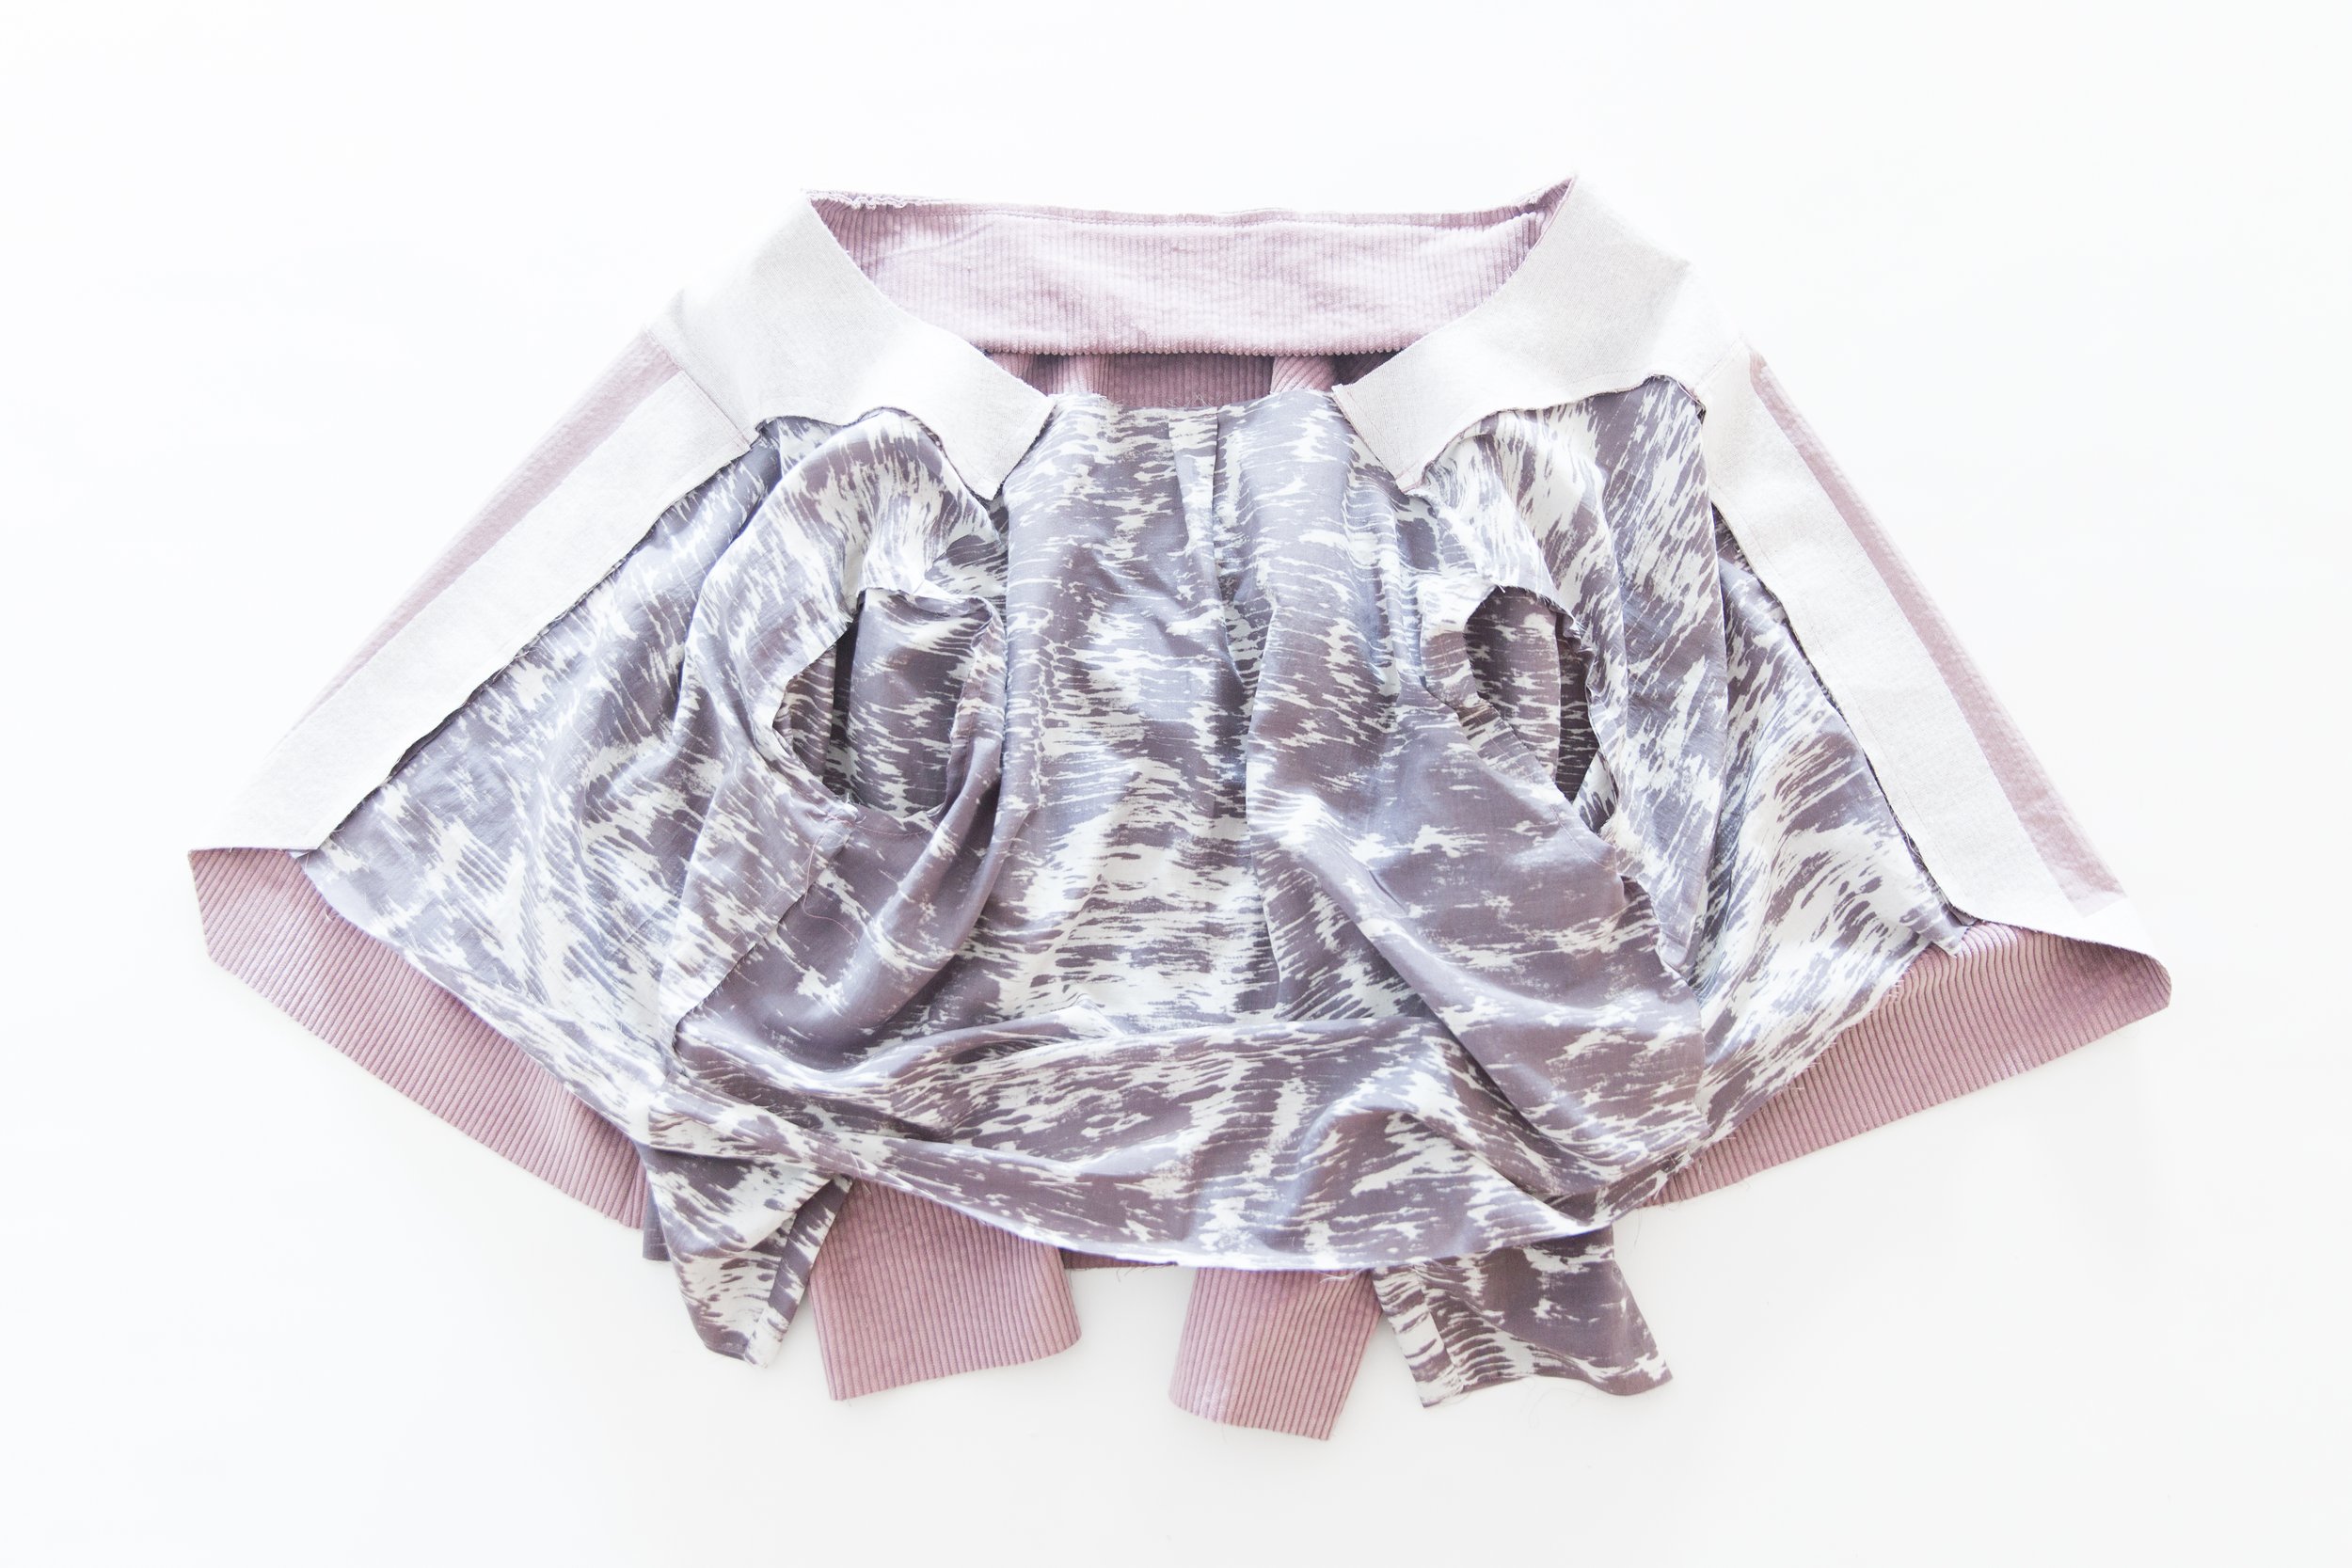
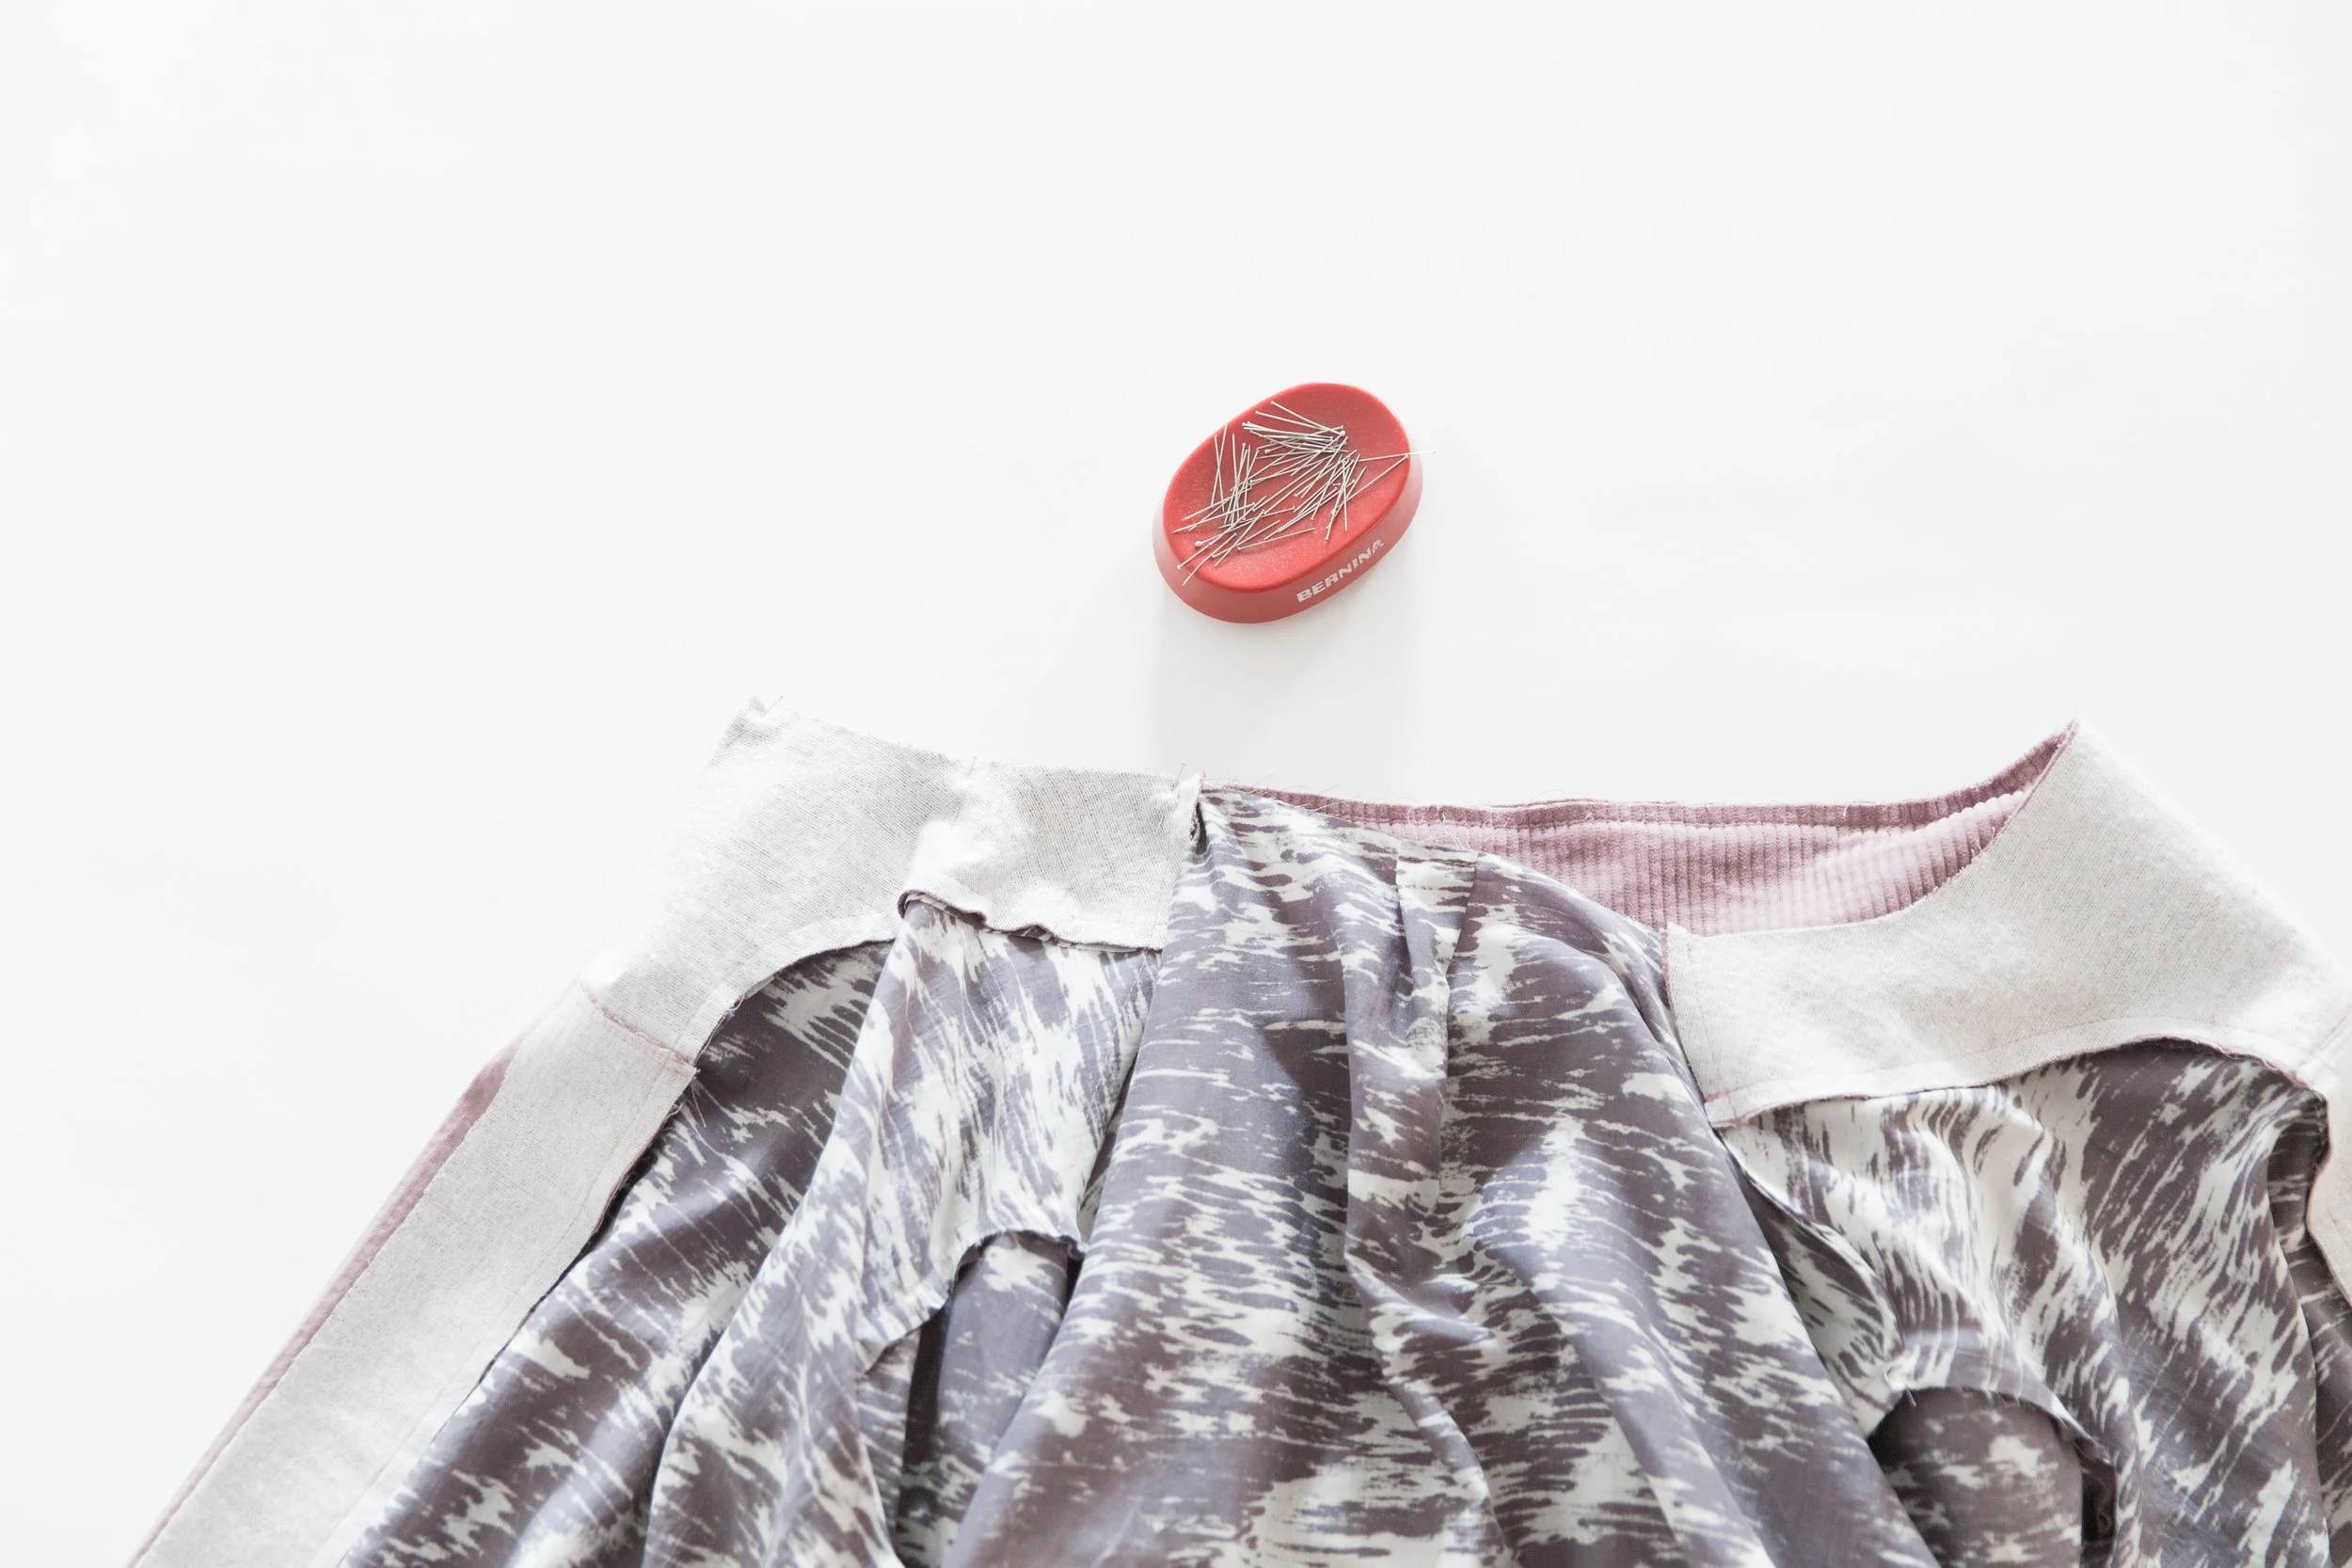
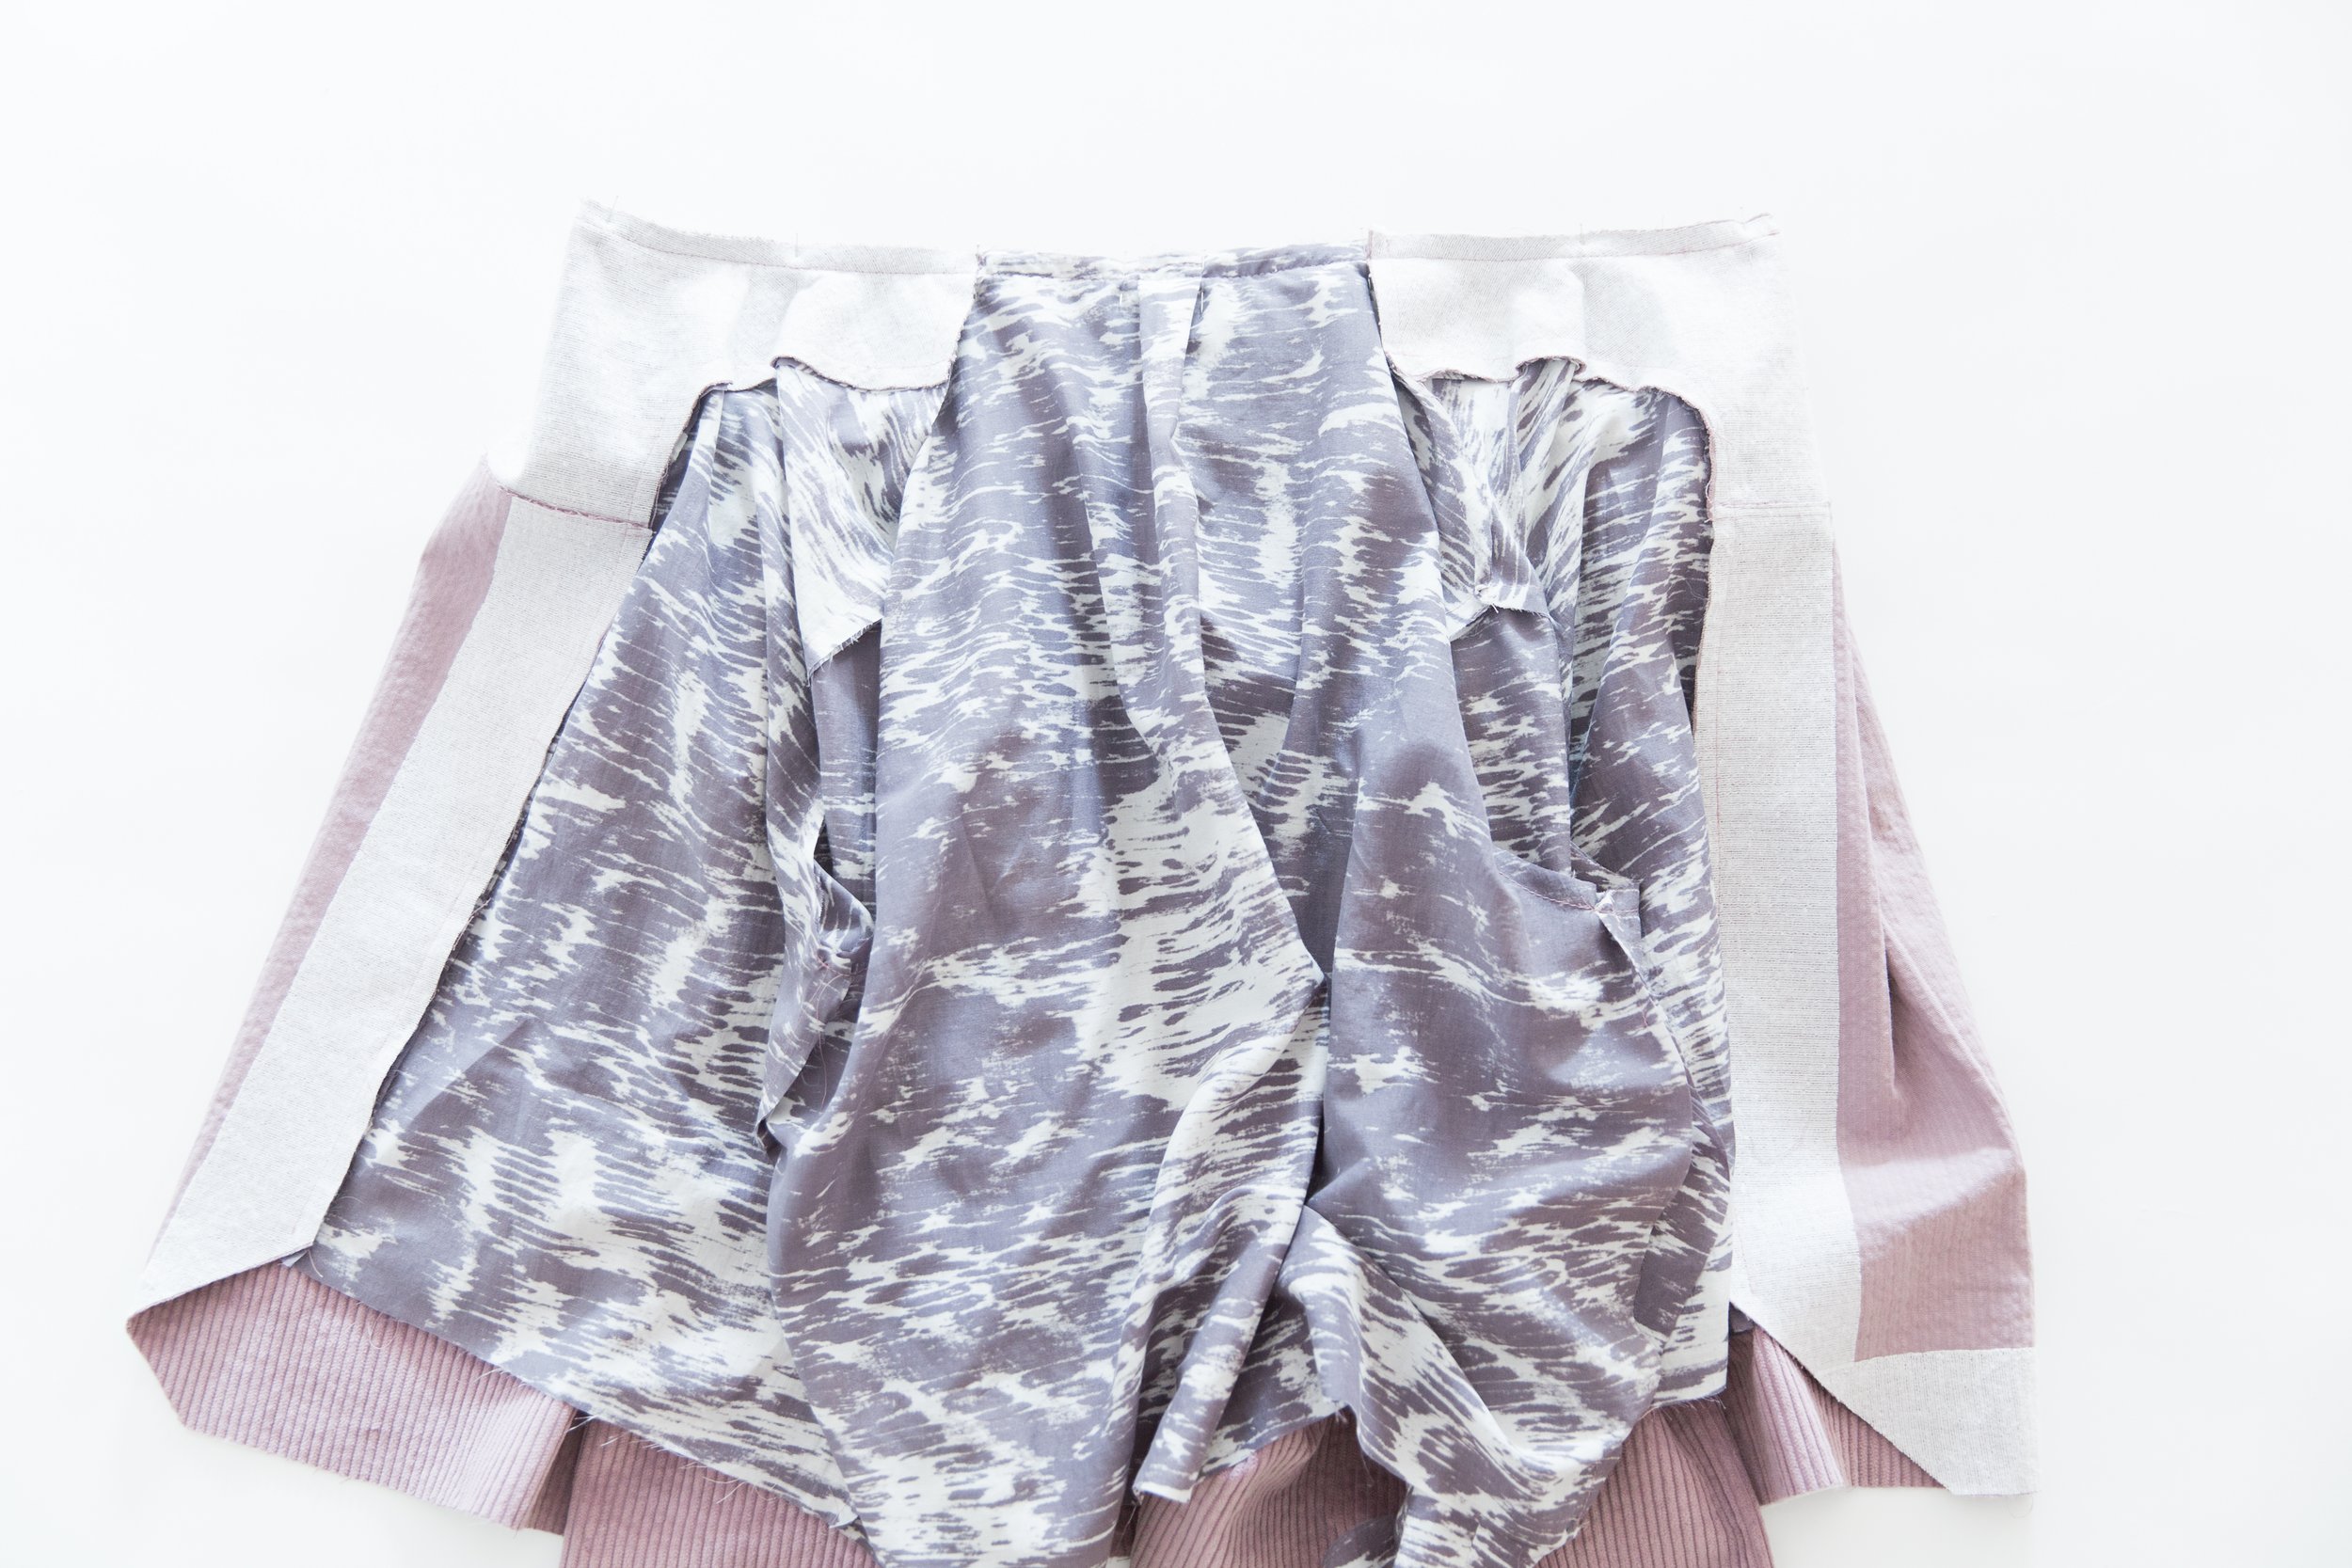
Pin sleeve and armhole lining together with right sides facing matching up notches. Stitch around armhole.
Step 17
Fold back the centre front neckline at notch with right sides together, and wrap facing/lining around neckline with collar sandwiched between. Stitch all the way around the top edge of neckline. Trim the seam allowance in half, clip curves and corners. Under stitch seam allowance toward lining.
Step 18
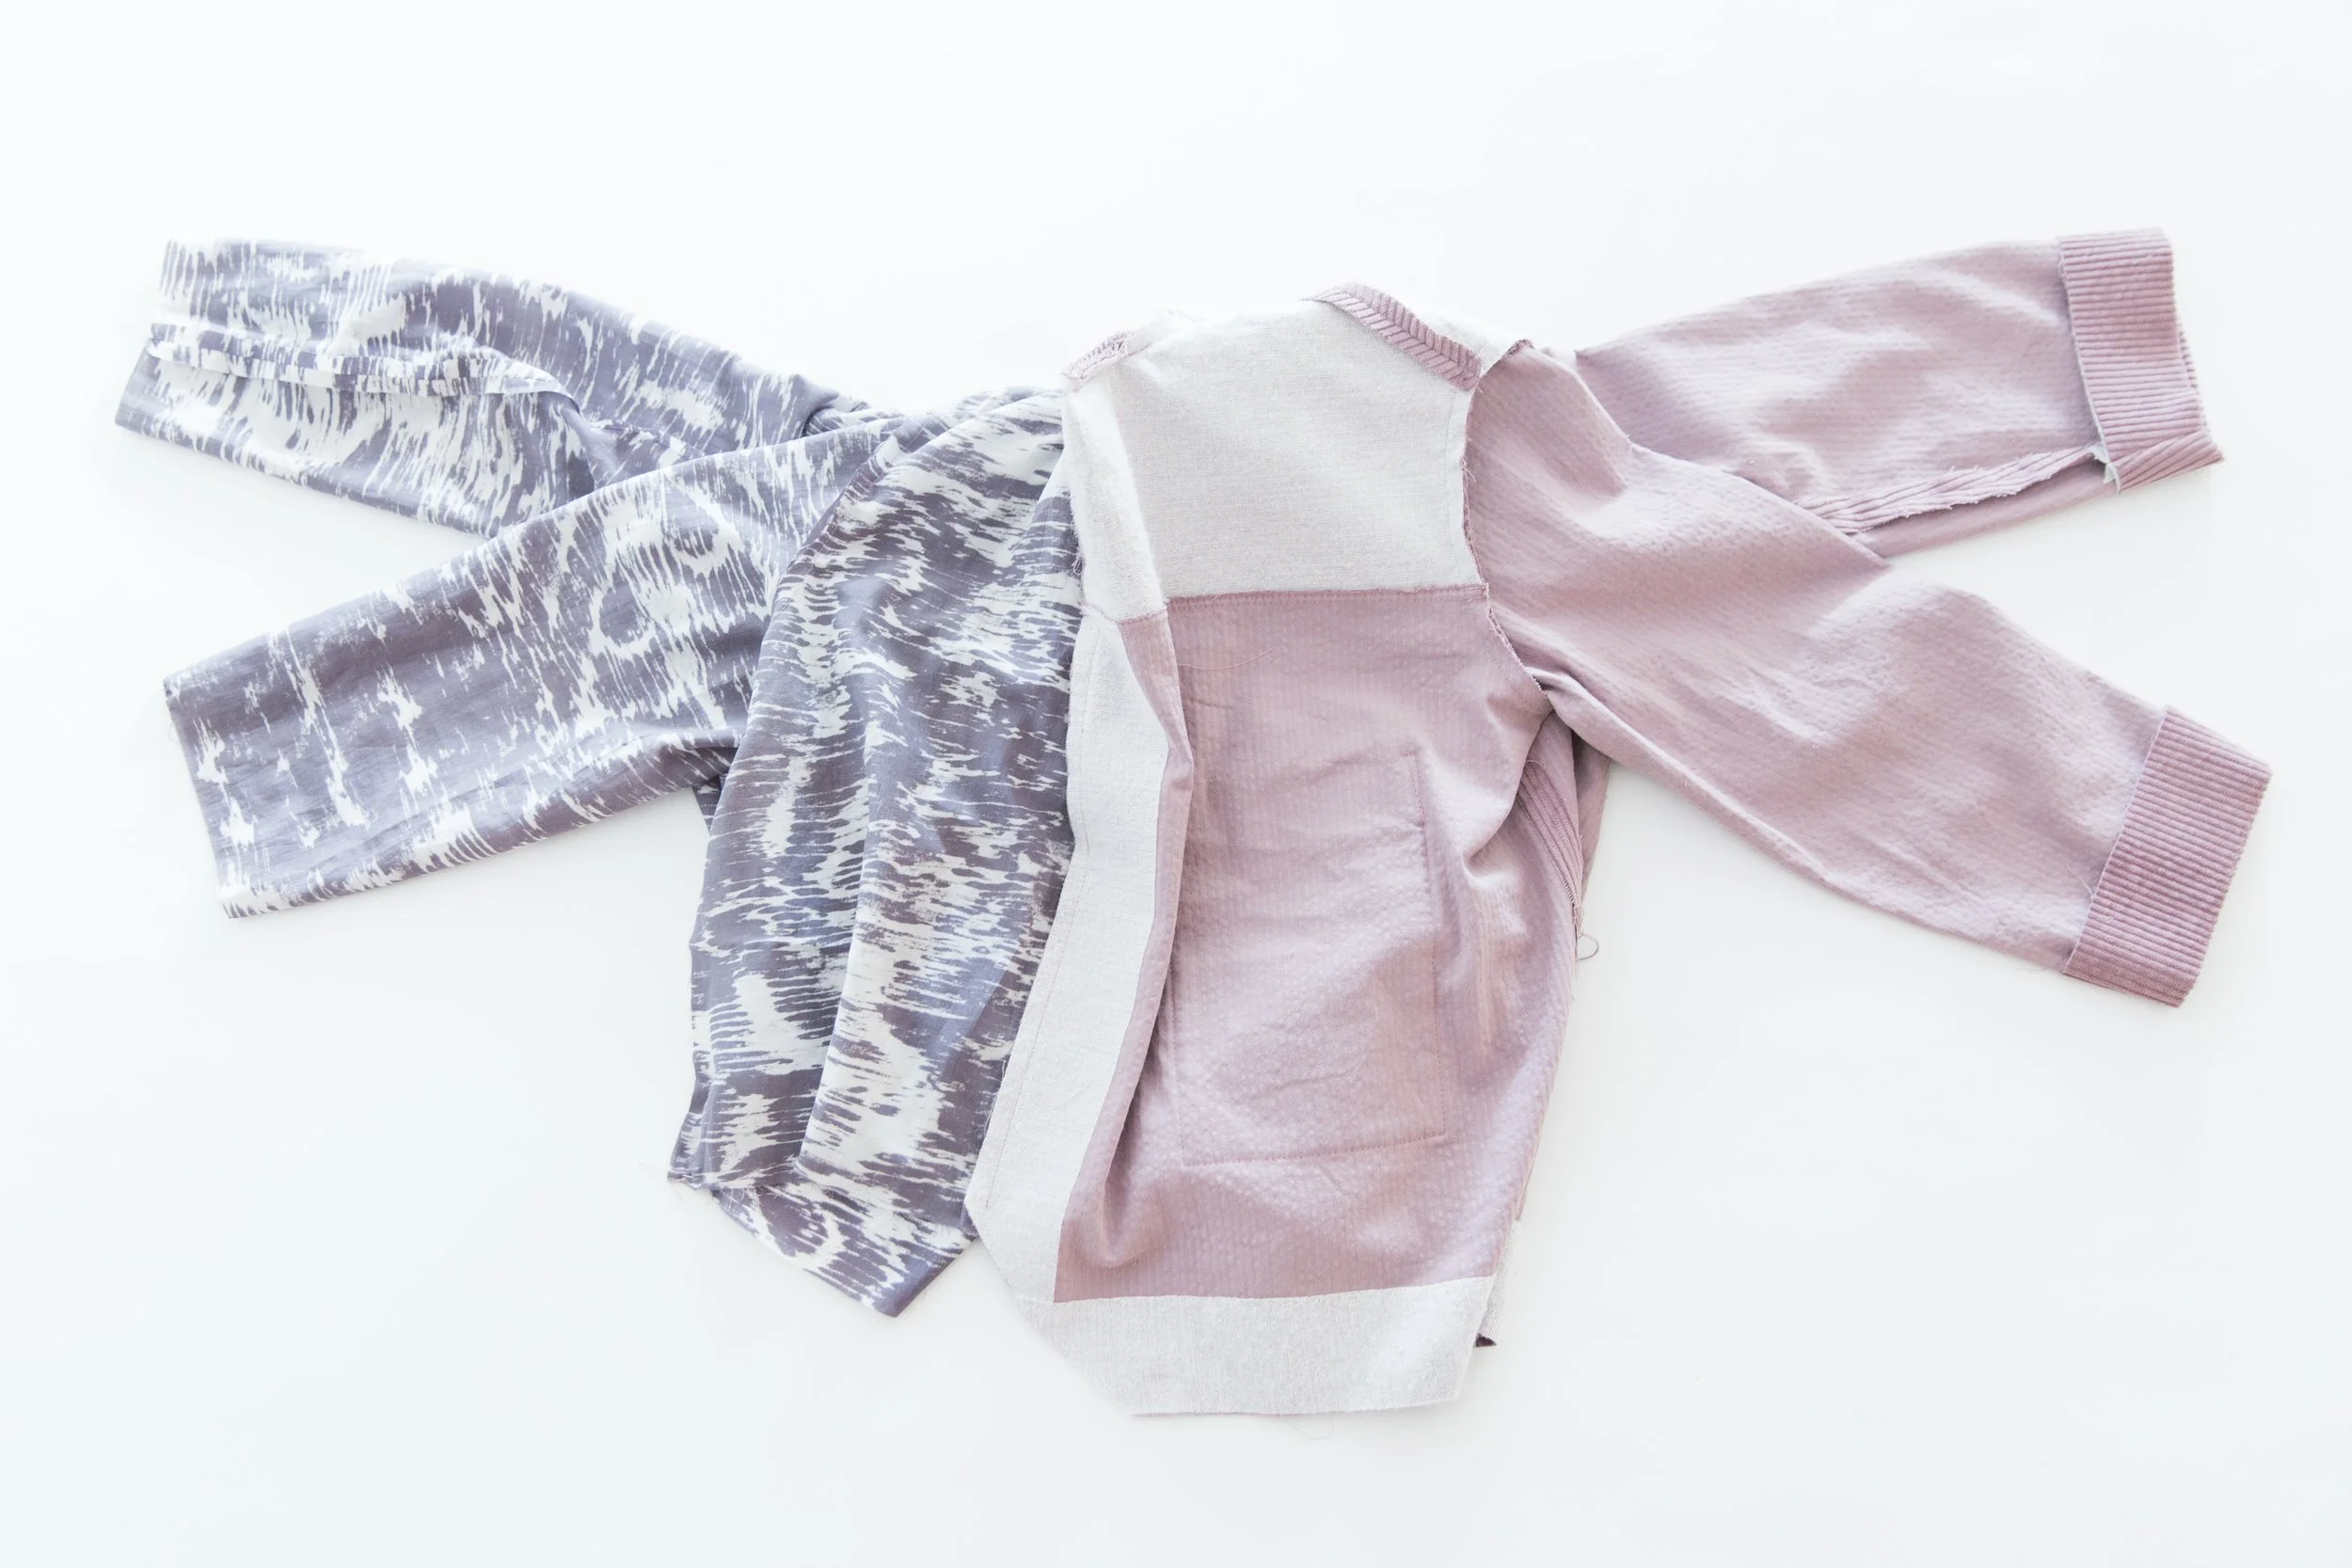
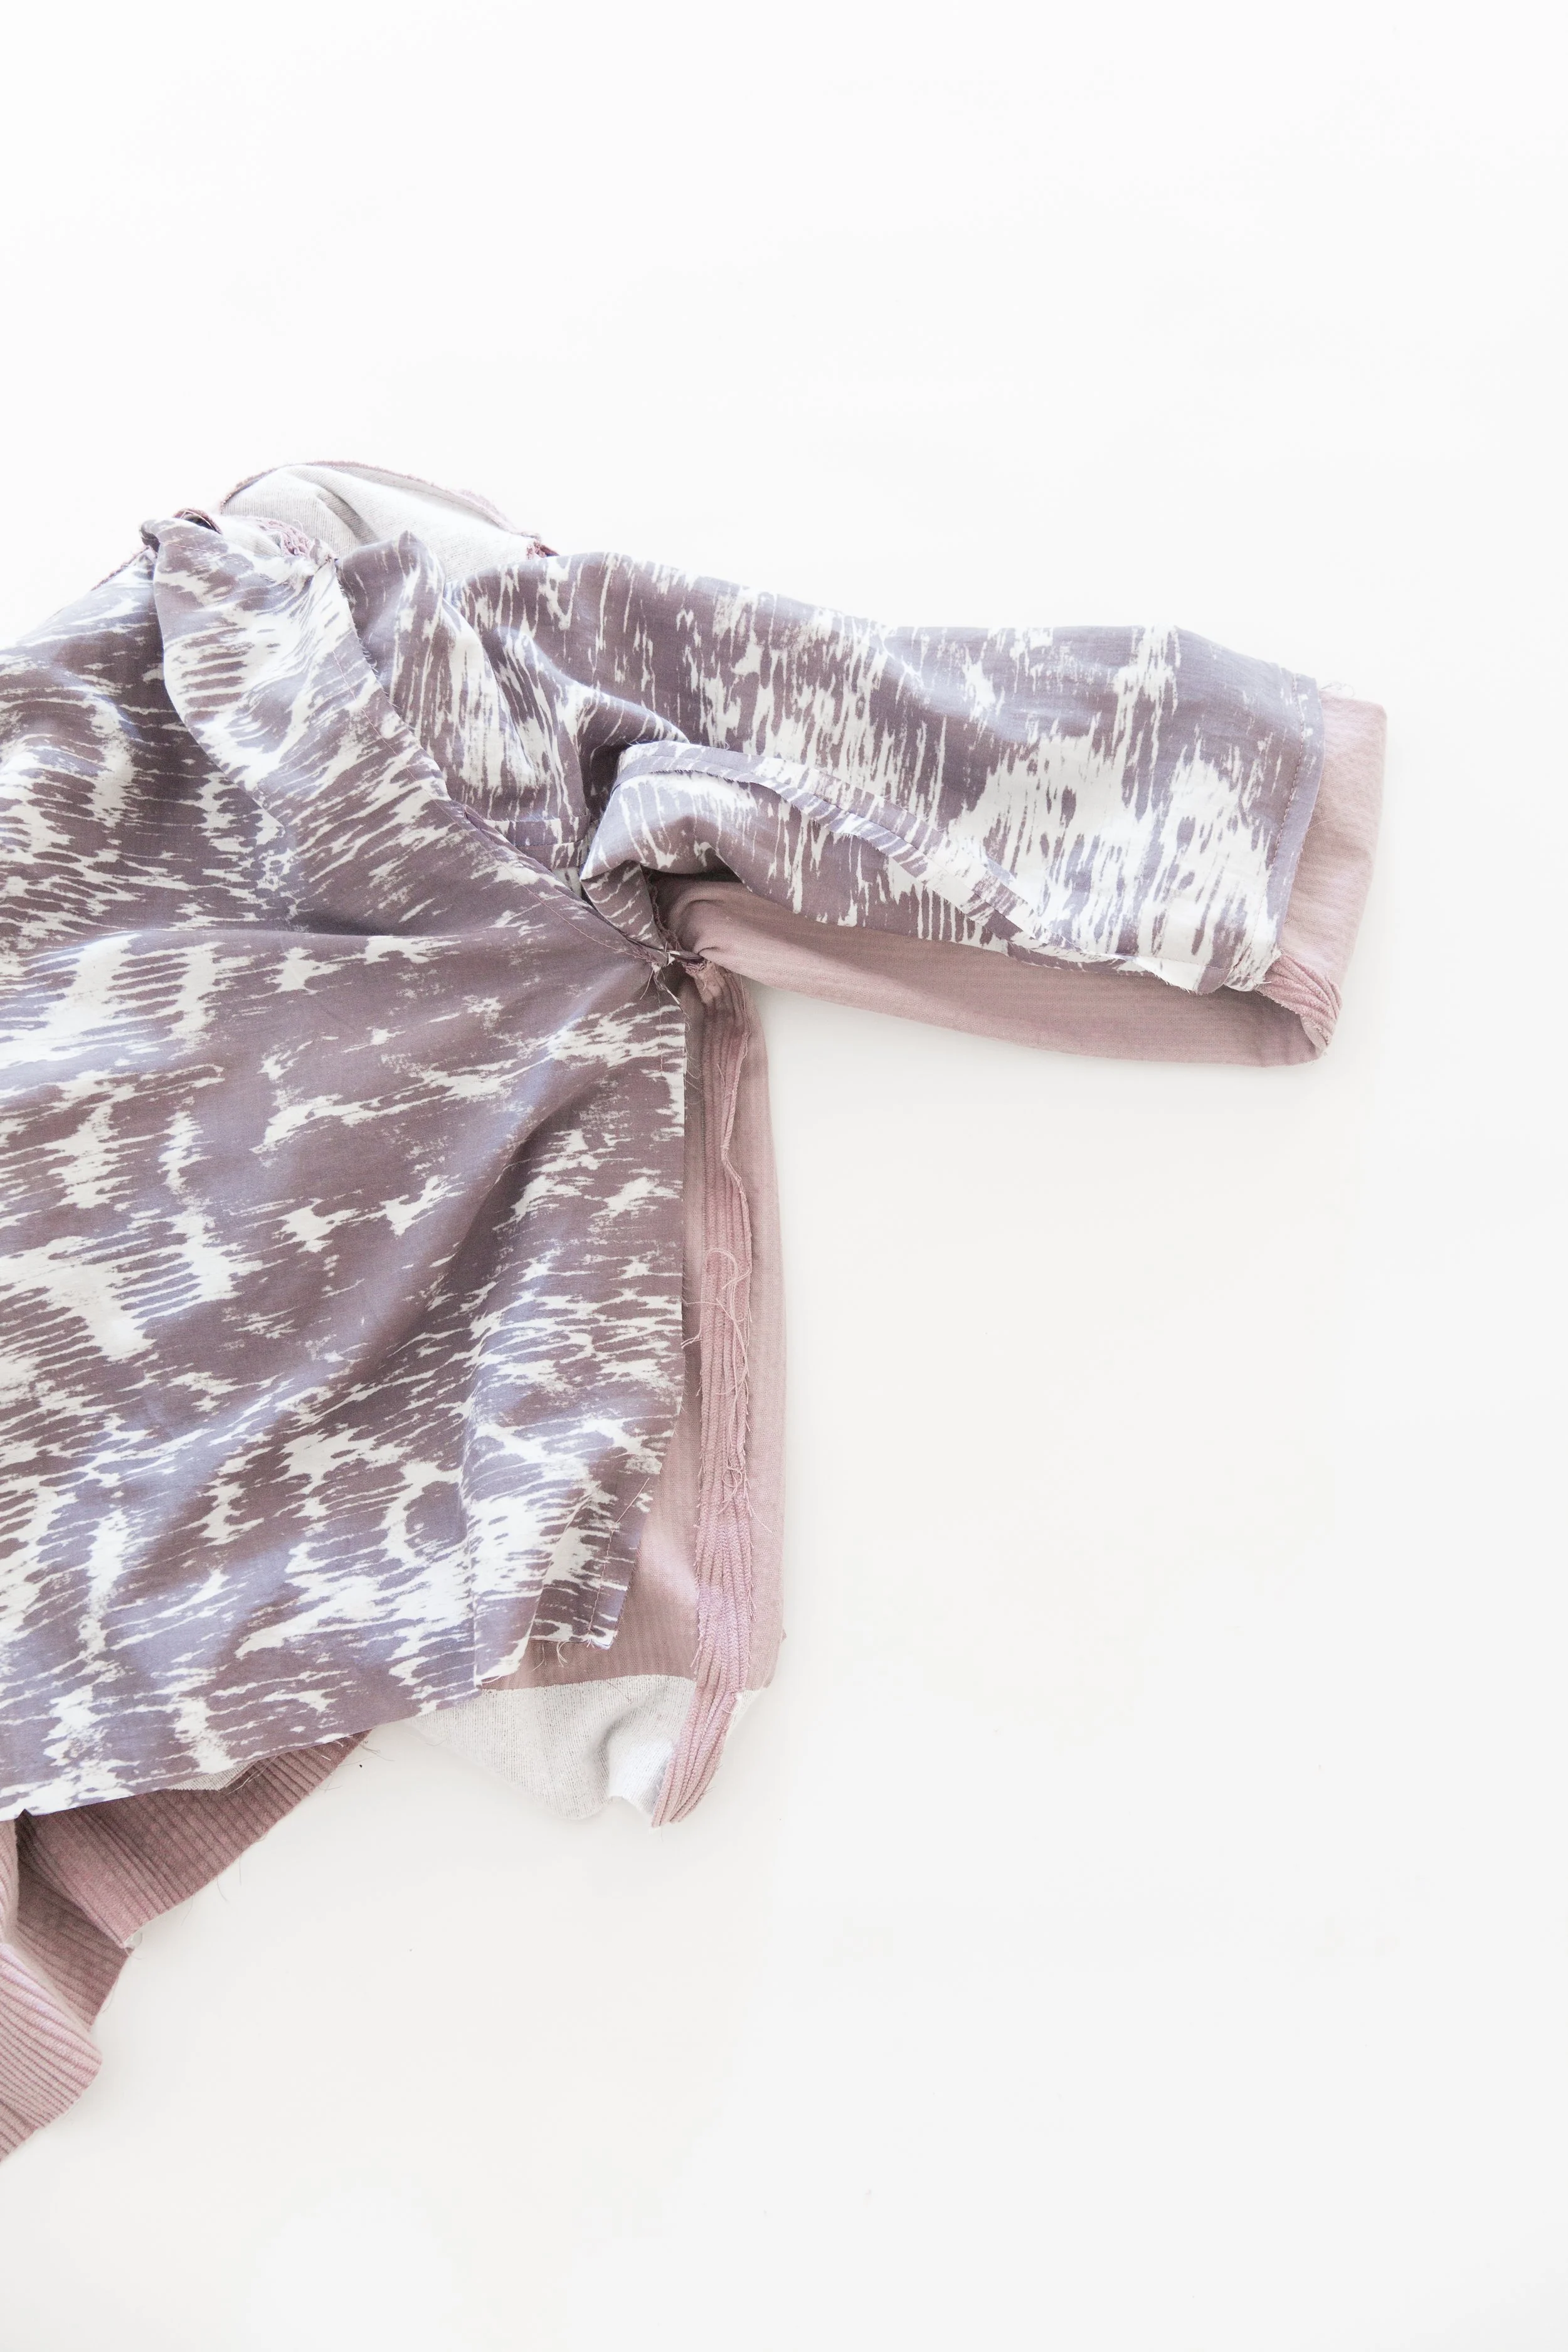
Pull your lining to one side and your shell to the other with wrong sides out. Fold sleeve hems of shell up at edge of fusing and press in place.
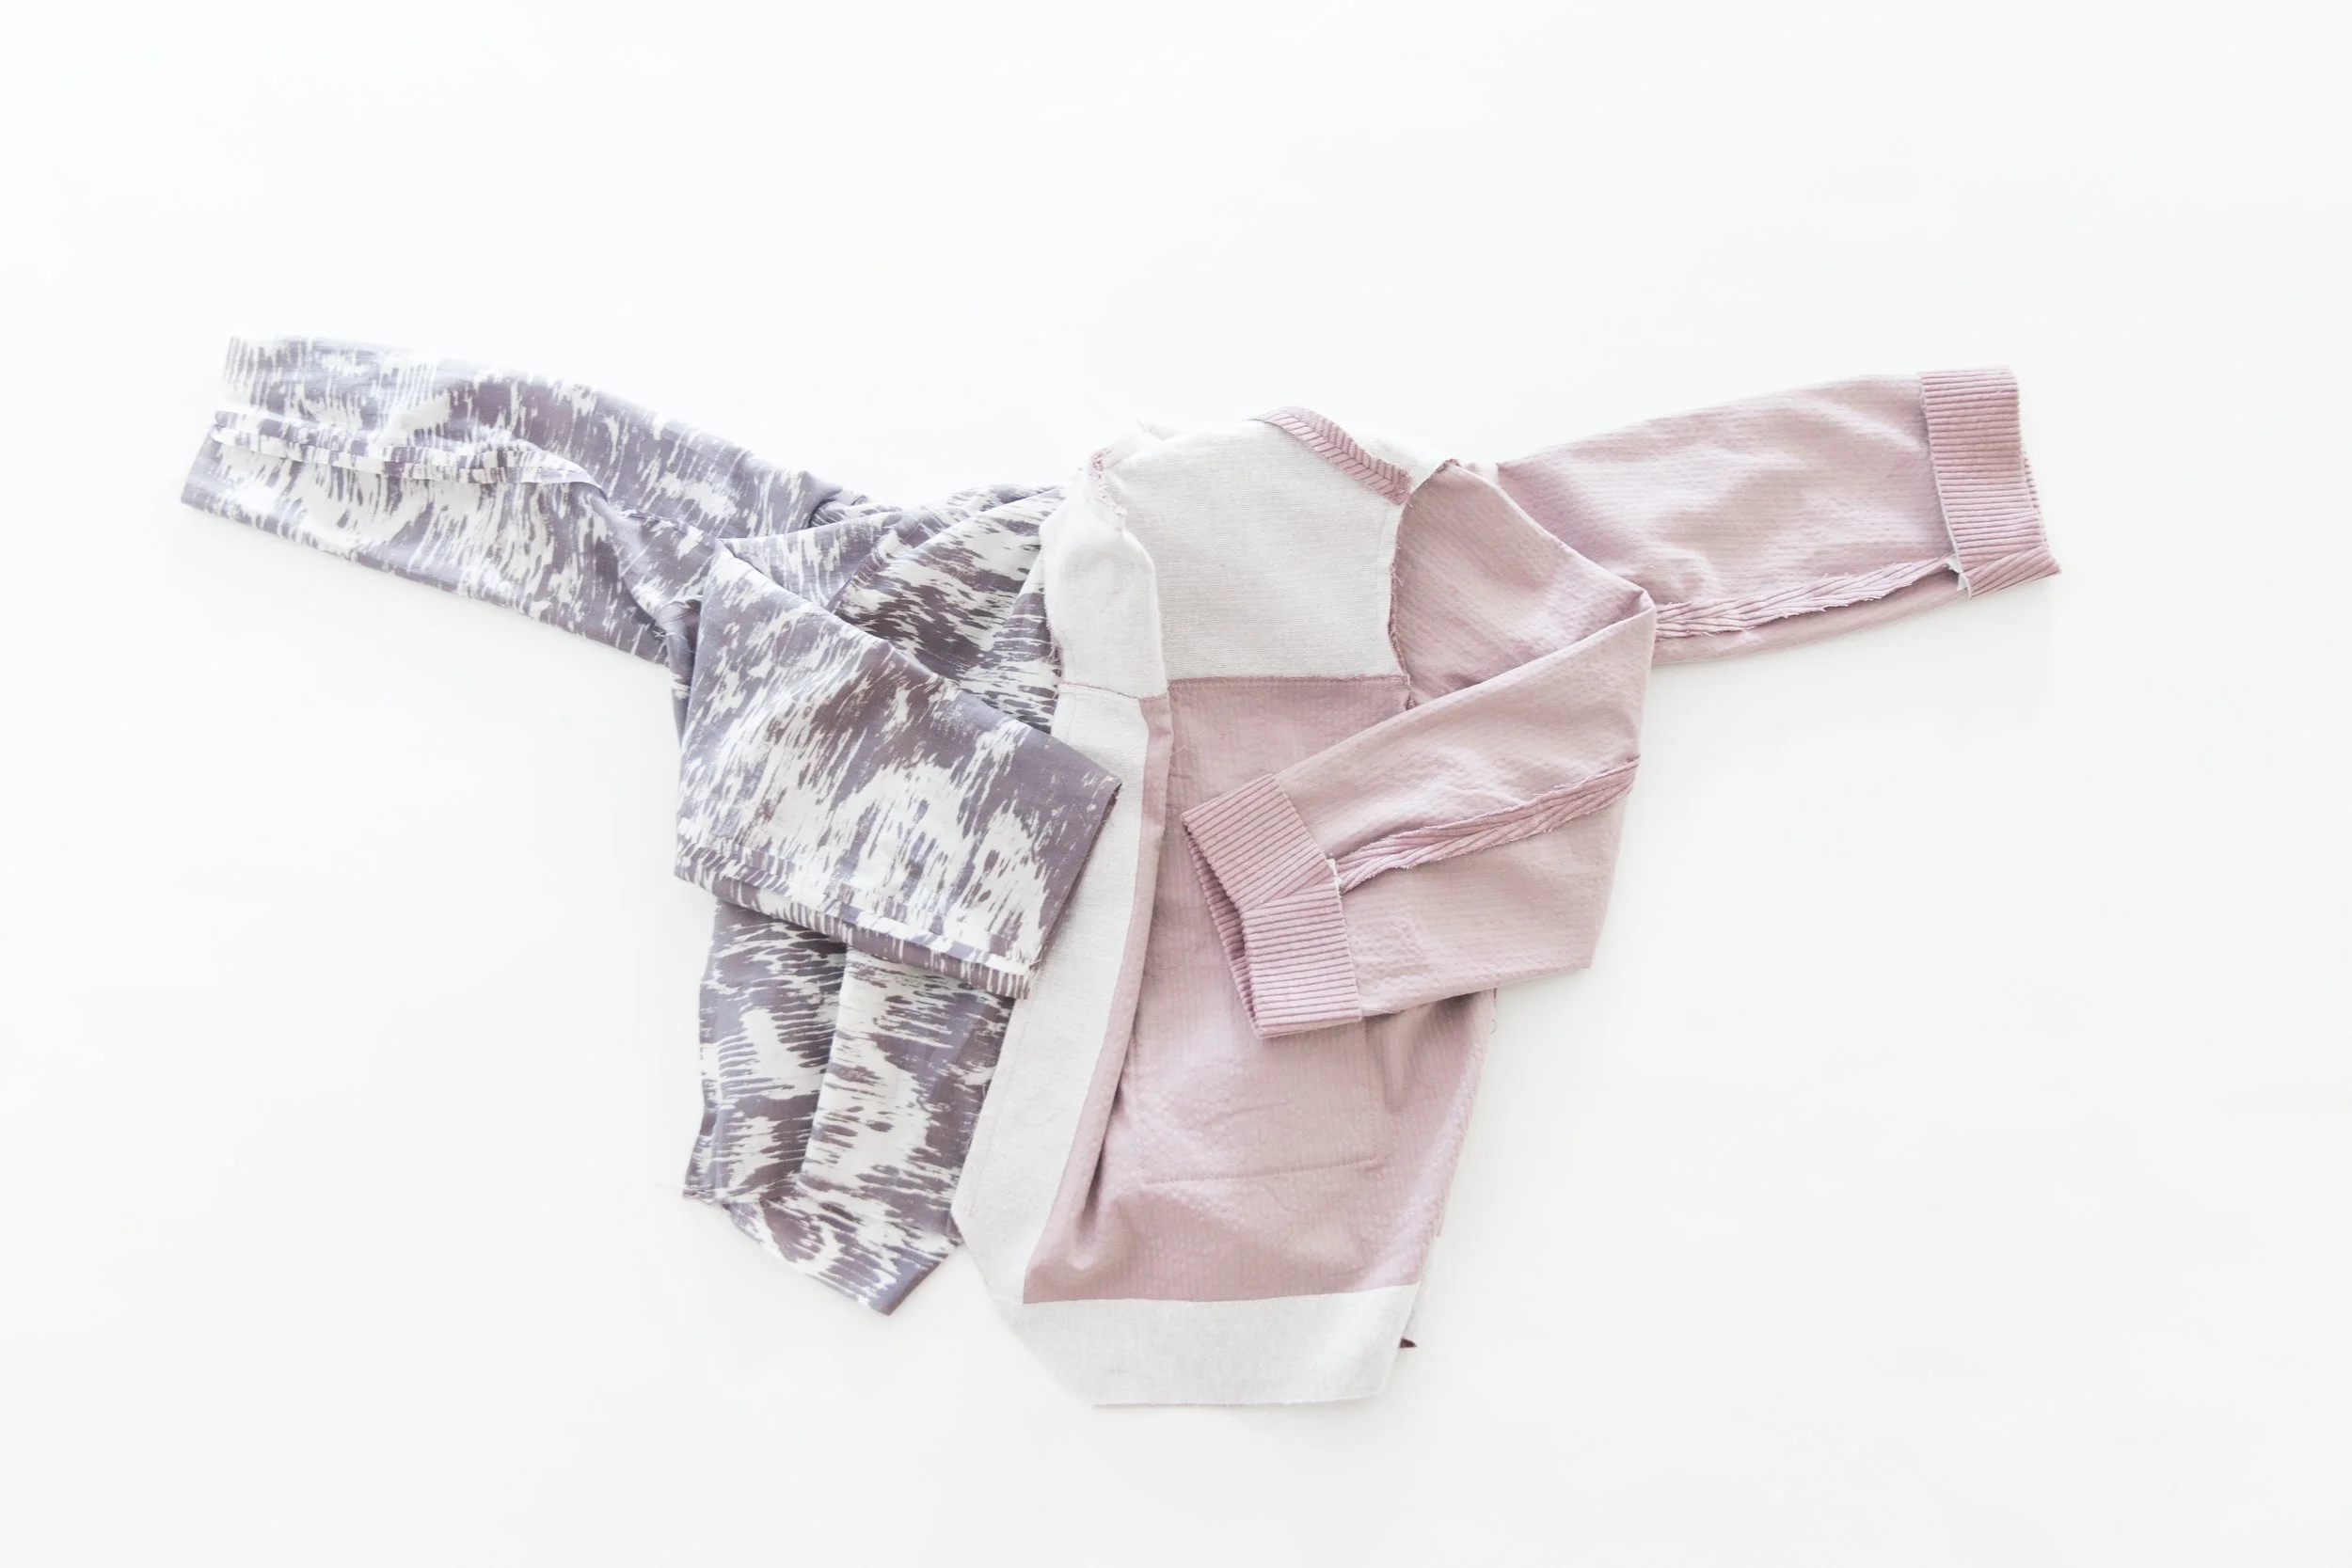
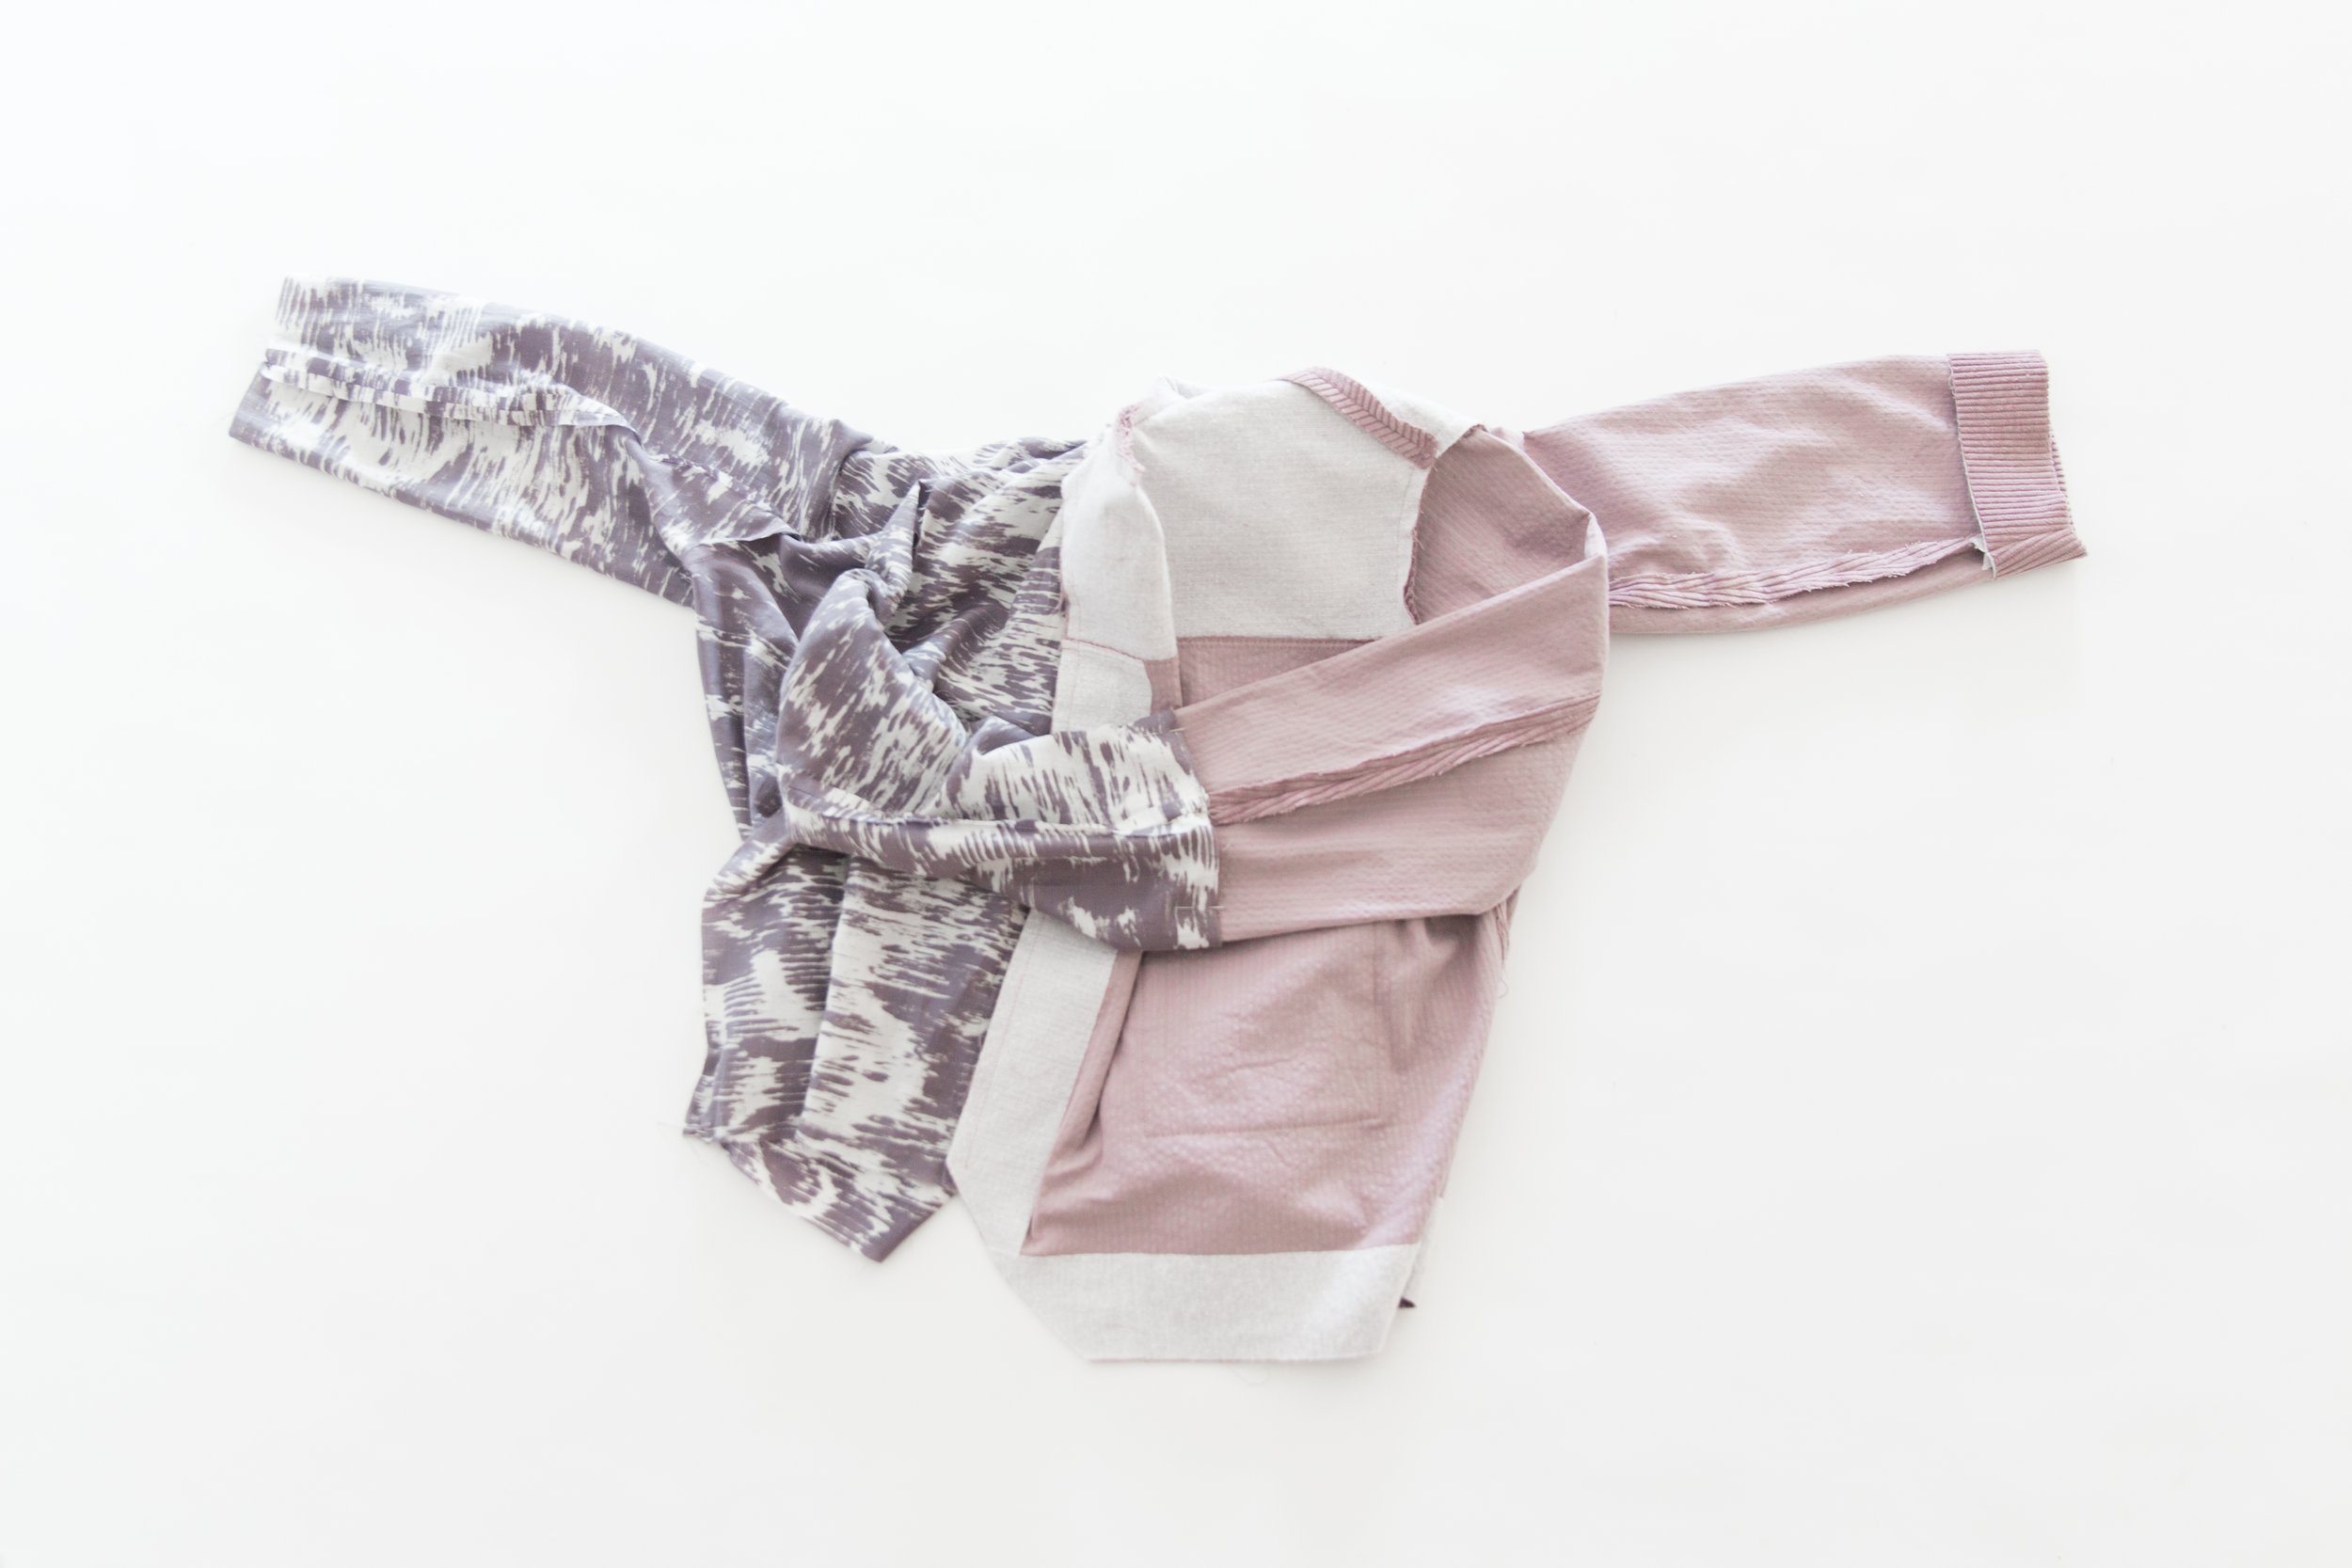
Step 19
Fold your sleeves in to the centre to meet each other overlapping your lining over sleeve hem. Stitch edges of lining and sleeve hem together. Repeat for other sleeve.
Step 20
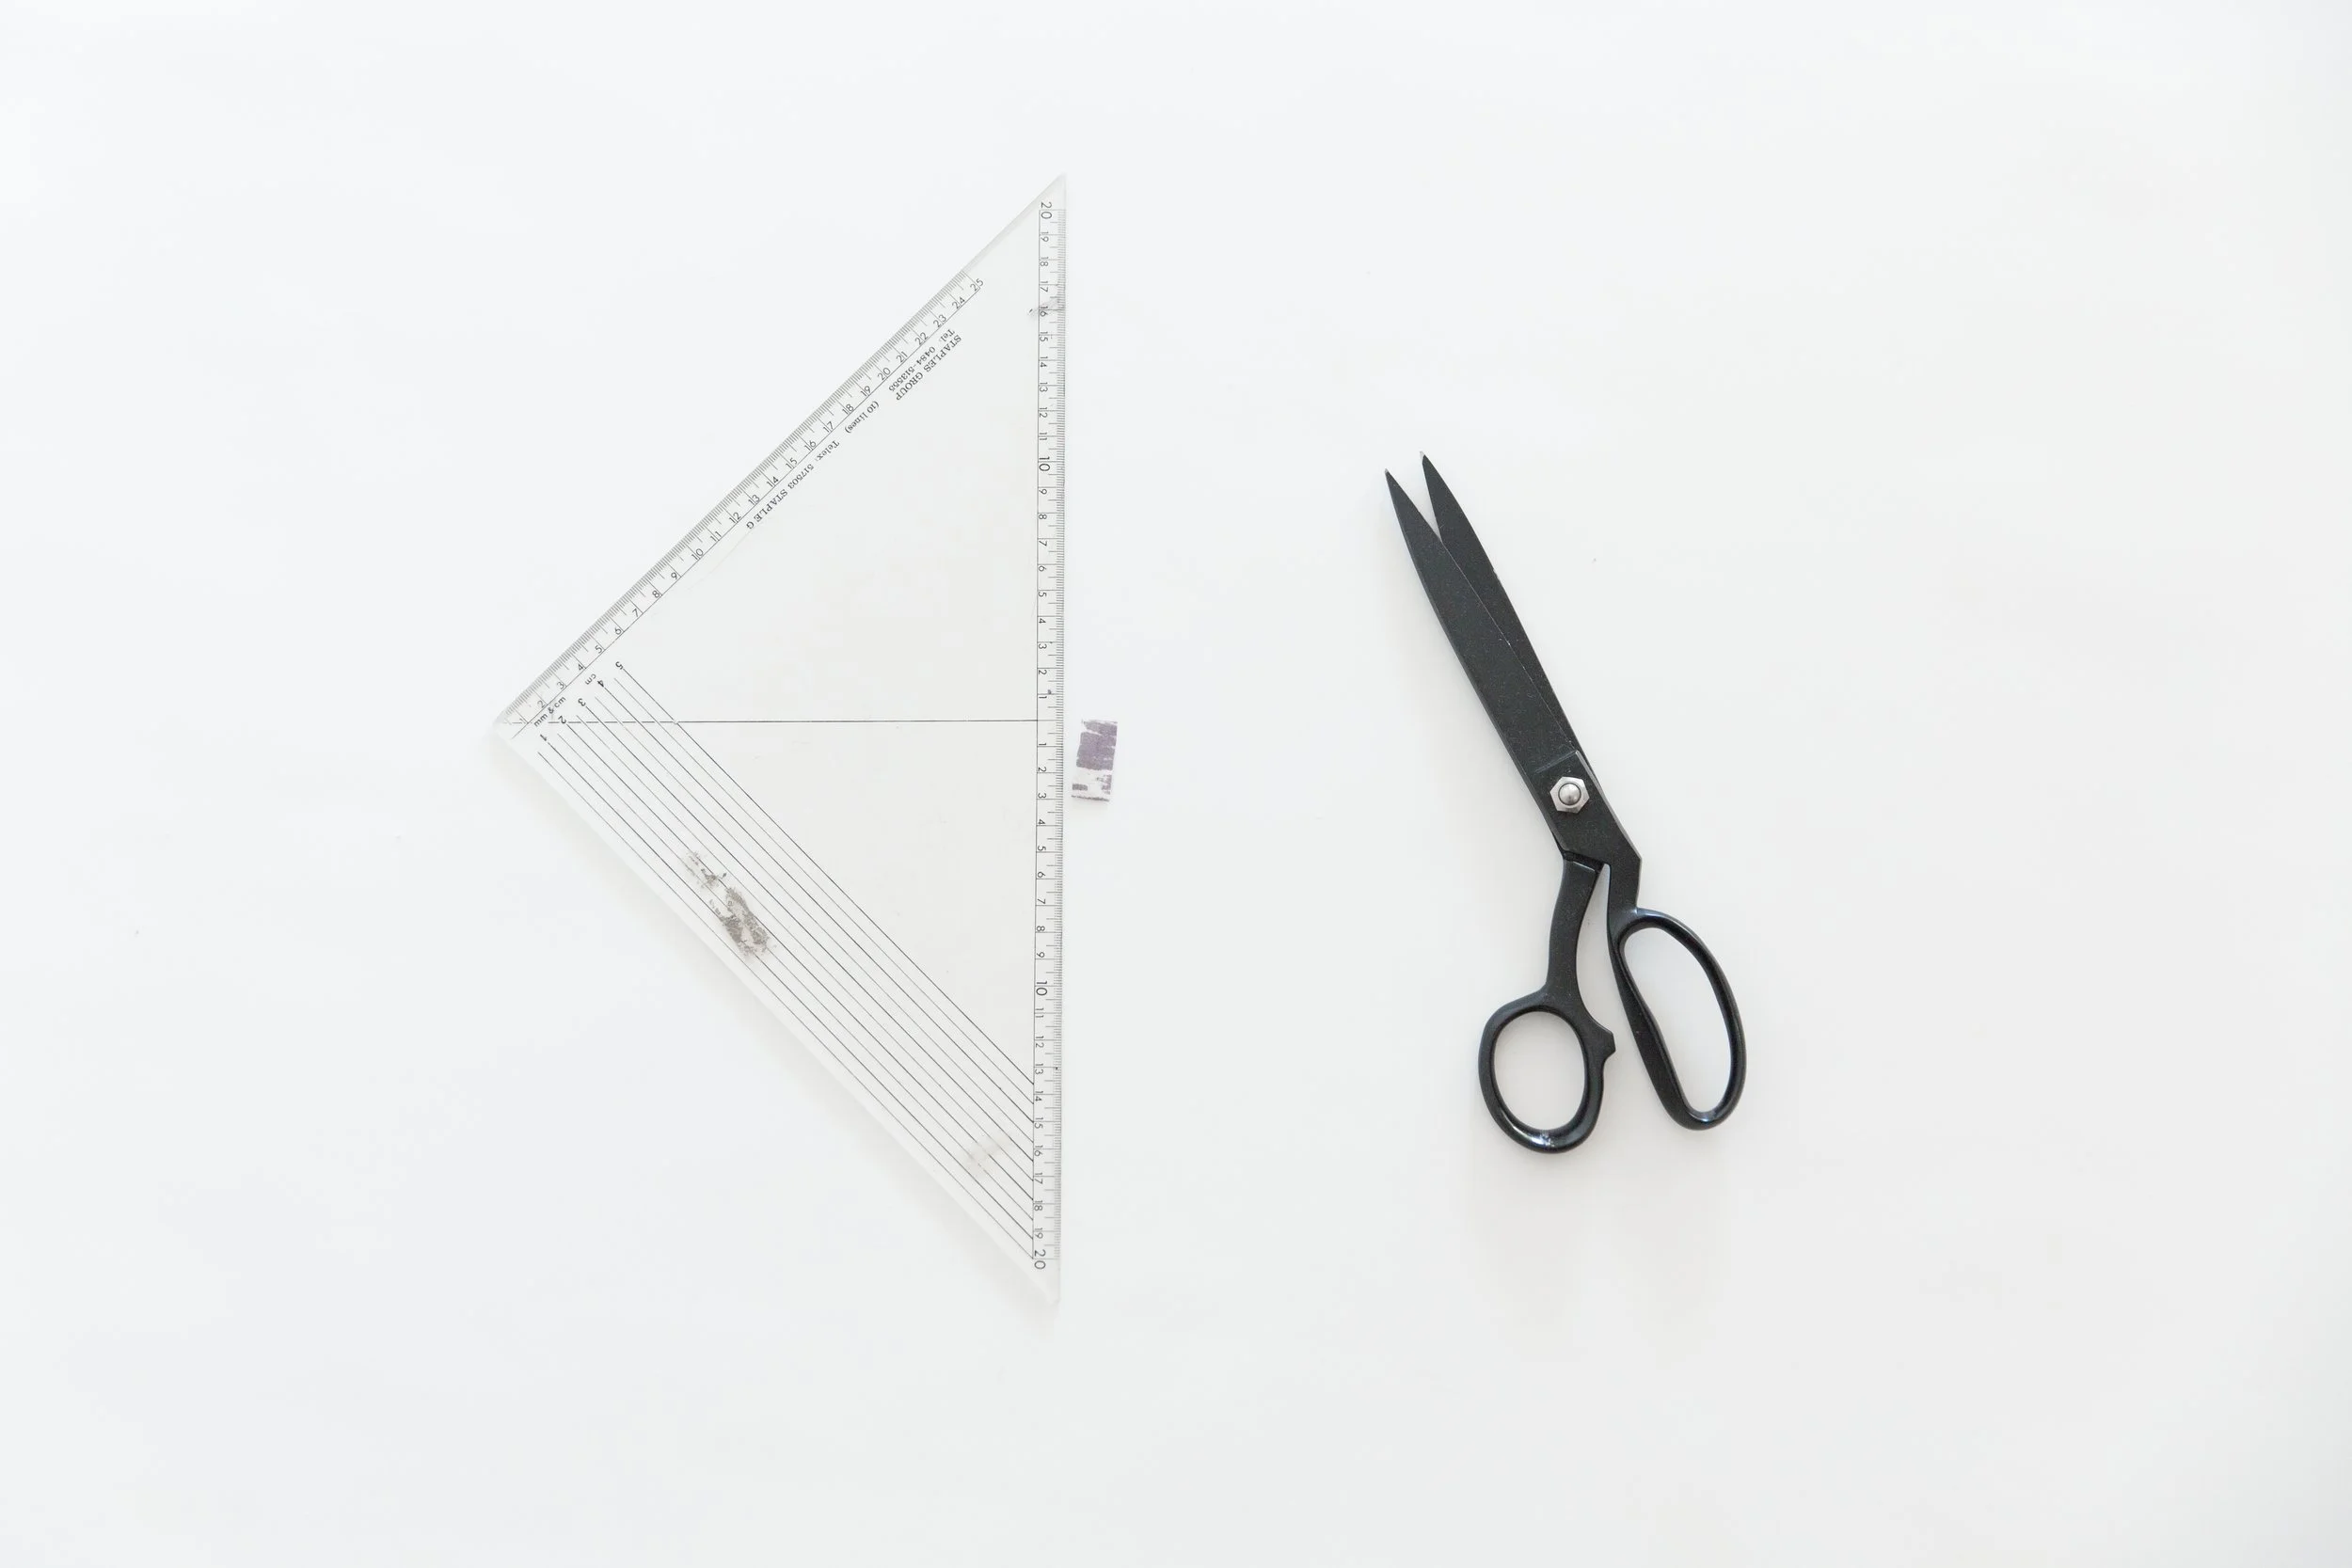
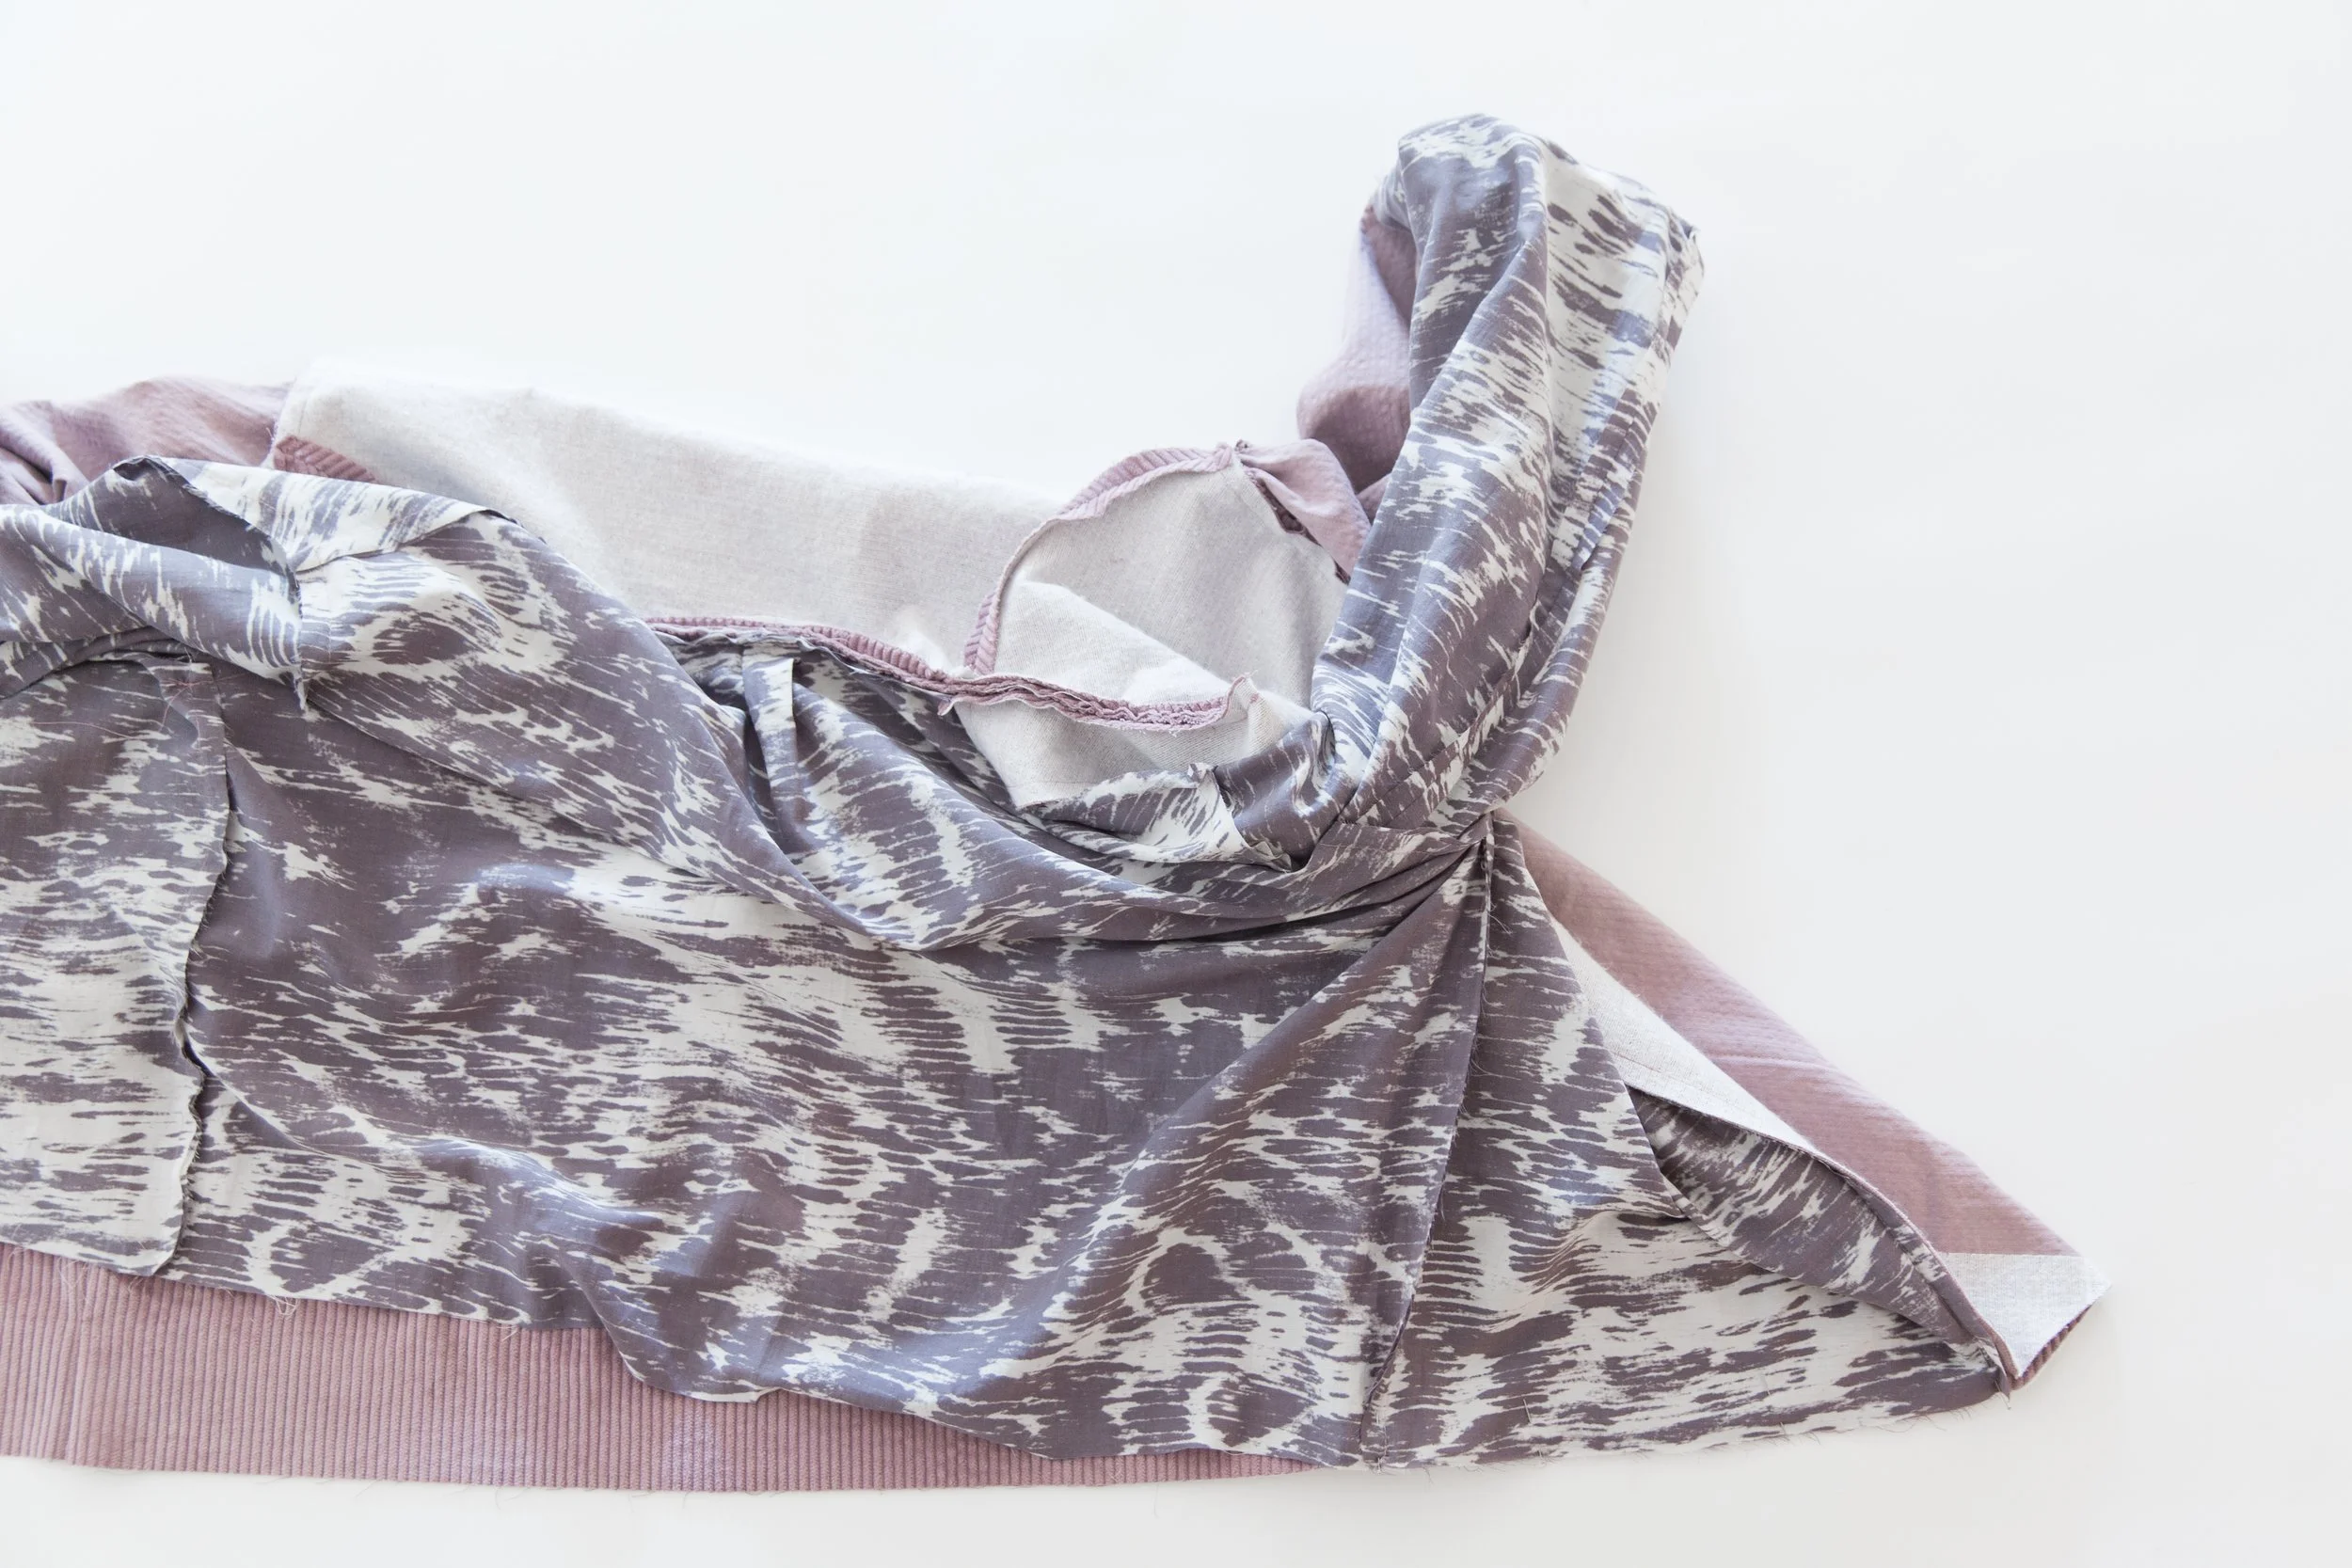
Cut a small strip of lining about 3cm/1.2” in length x 1cm/0.4” in width. Stitch to the underarm/armhole seam allowance of both the jacket and lining, to stop the lining shifting when turned through to the right side. Repeat on other side.
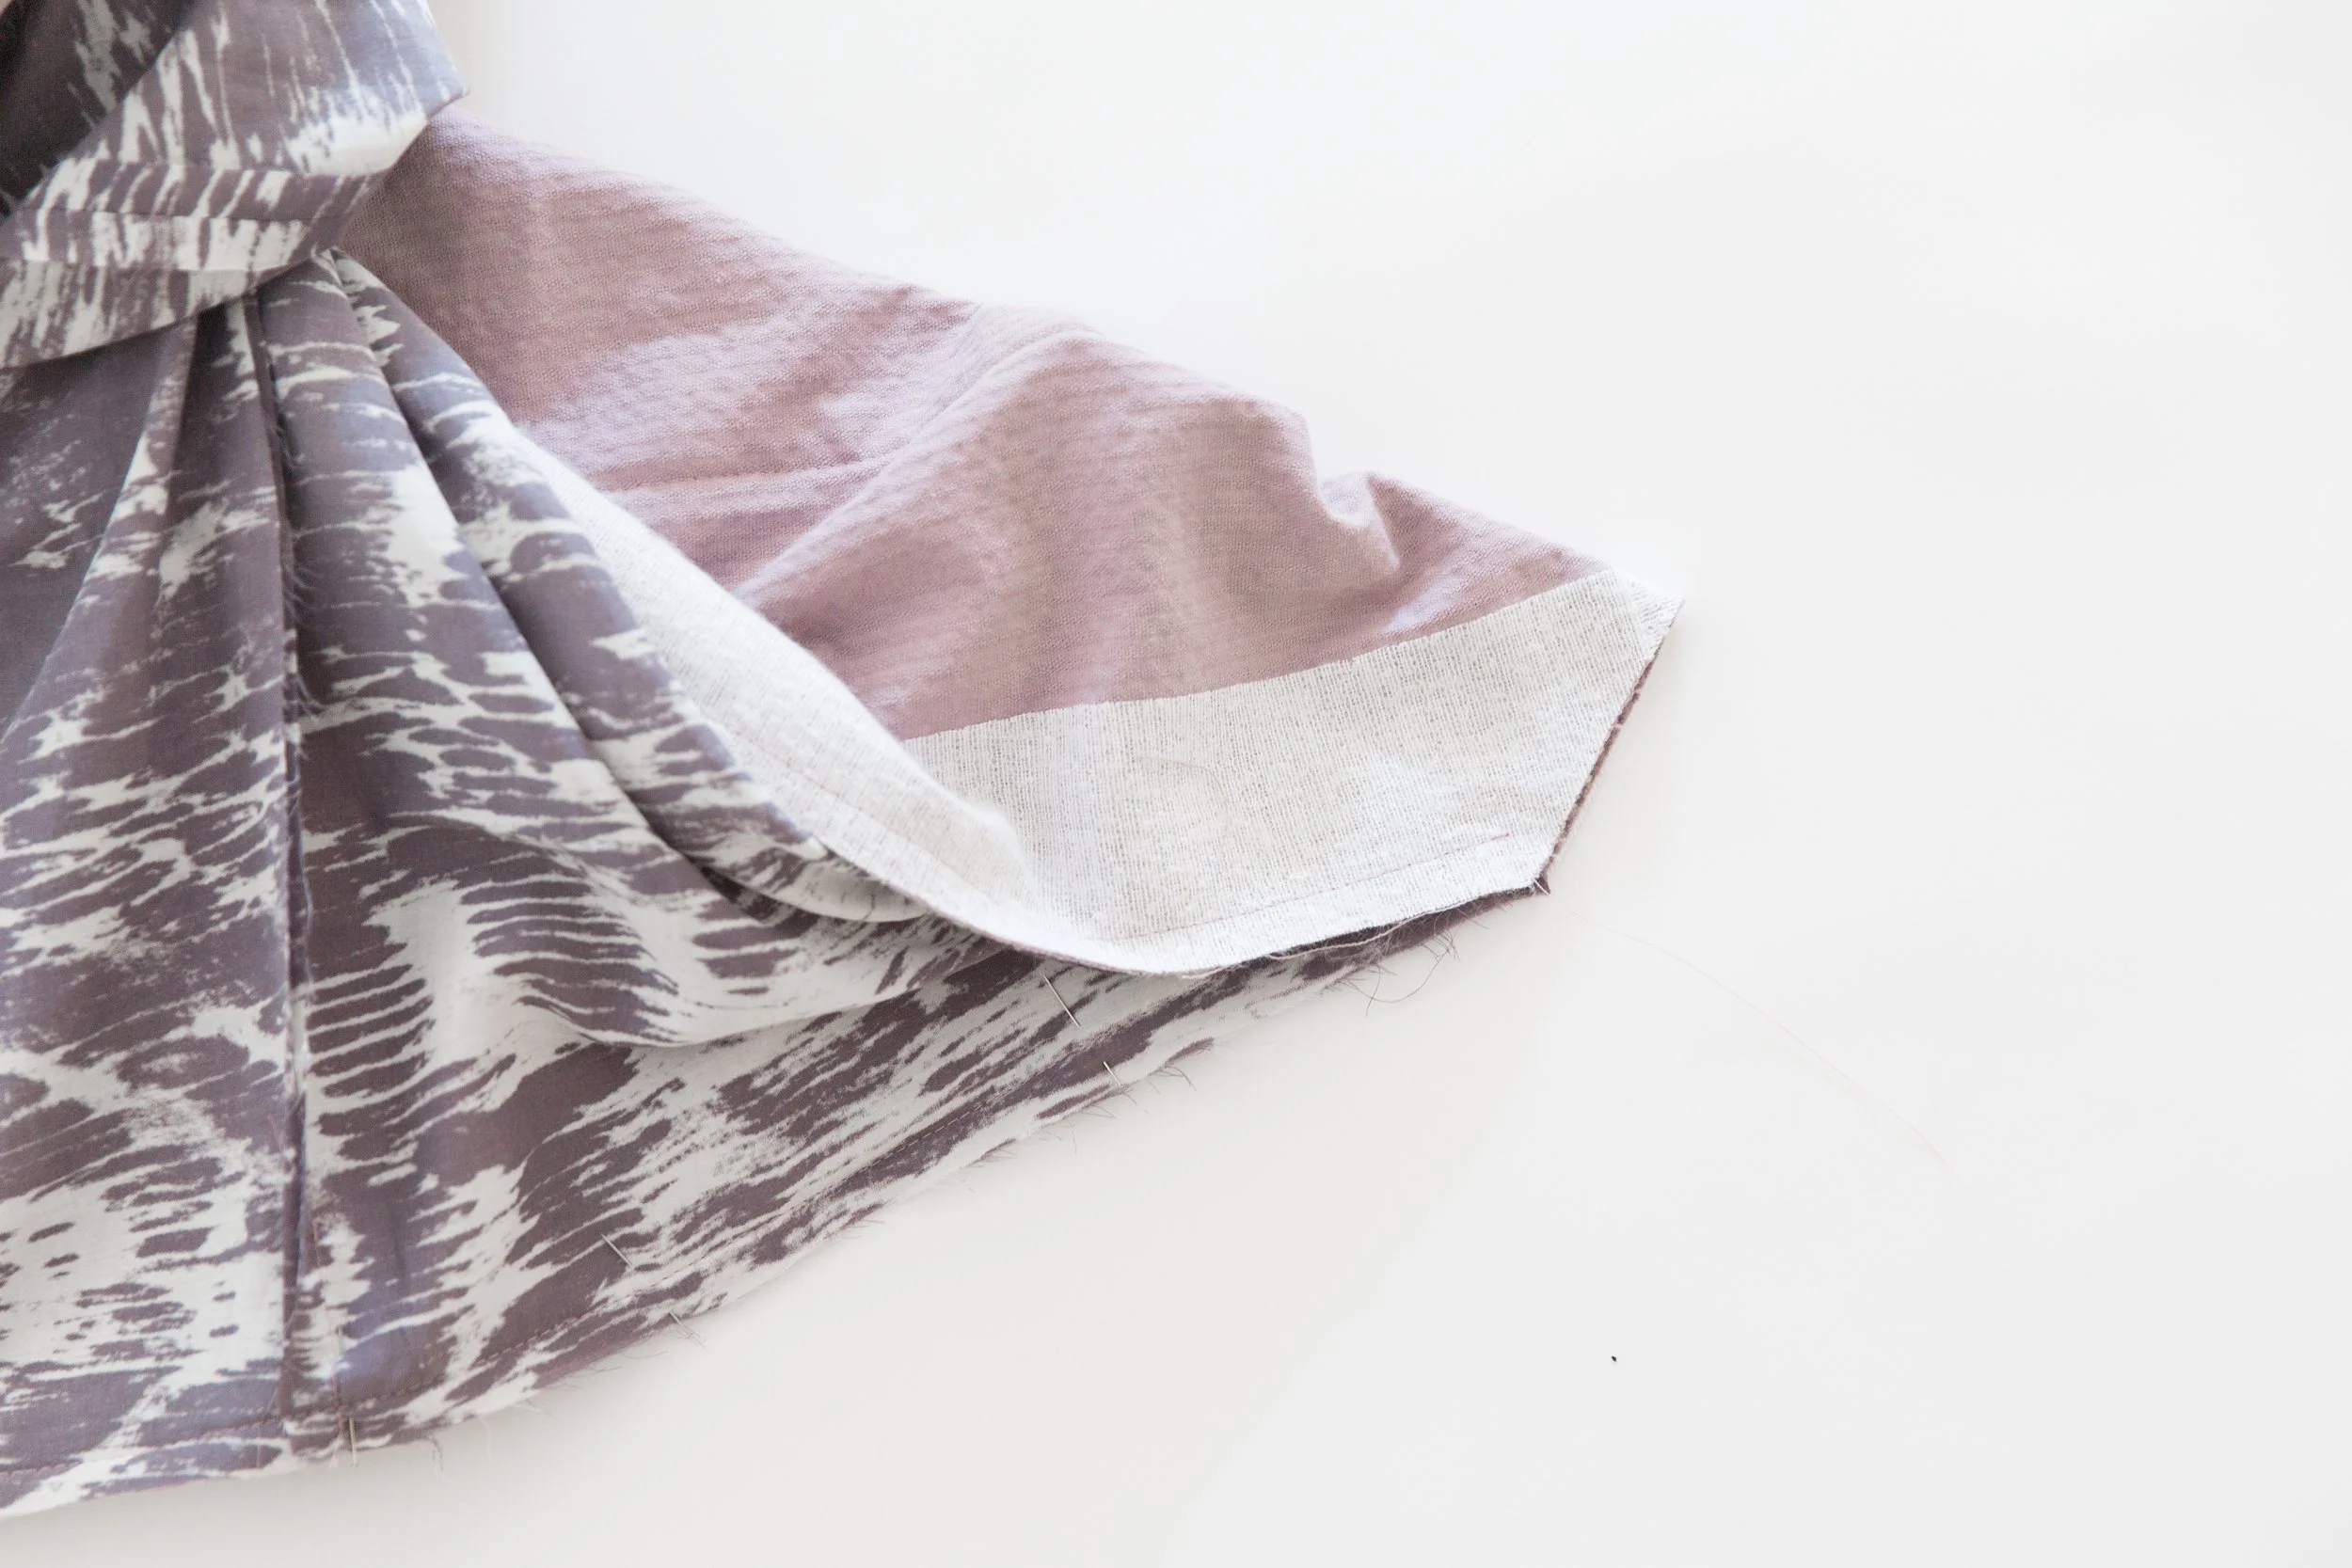
Step 21
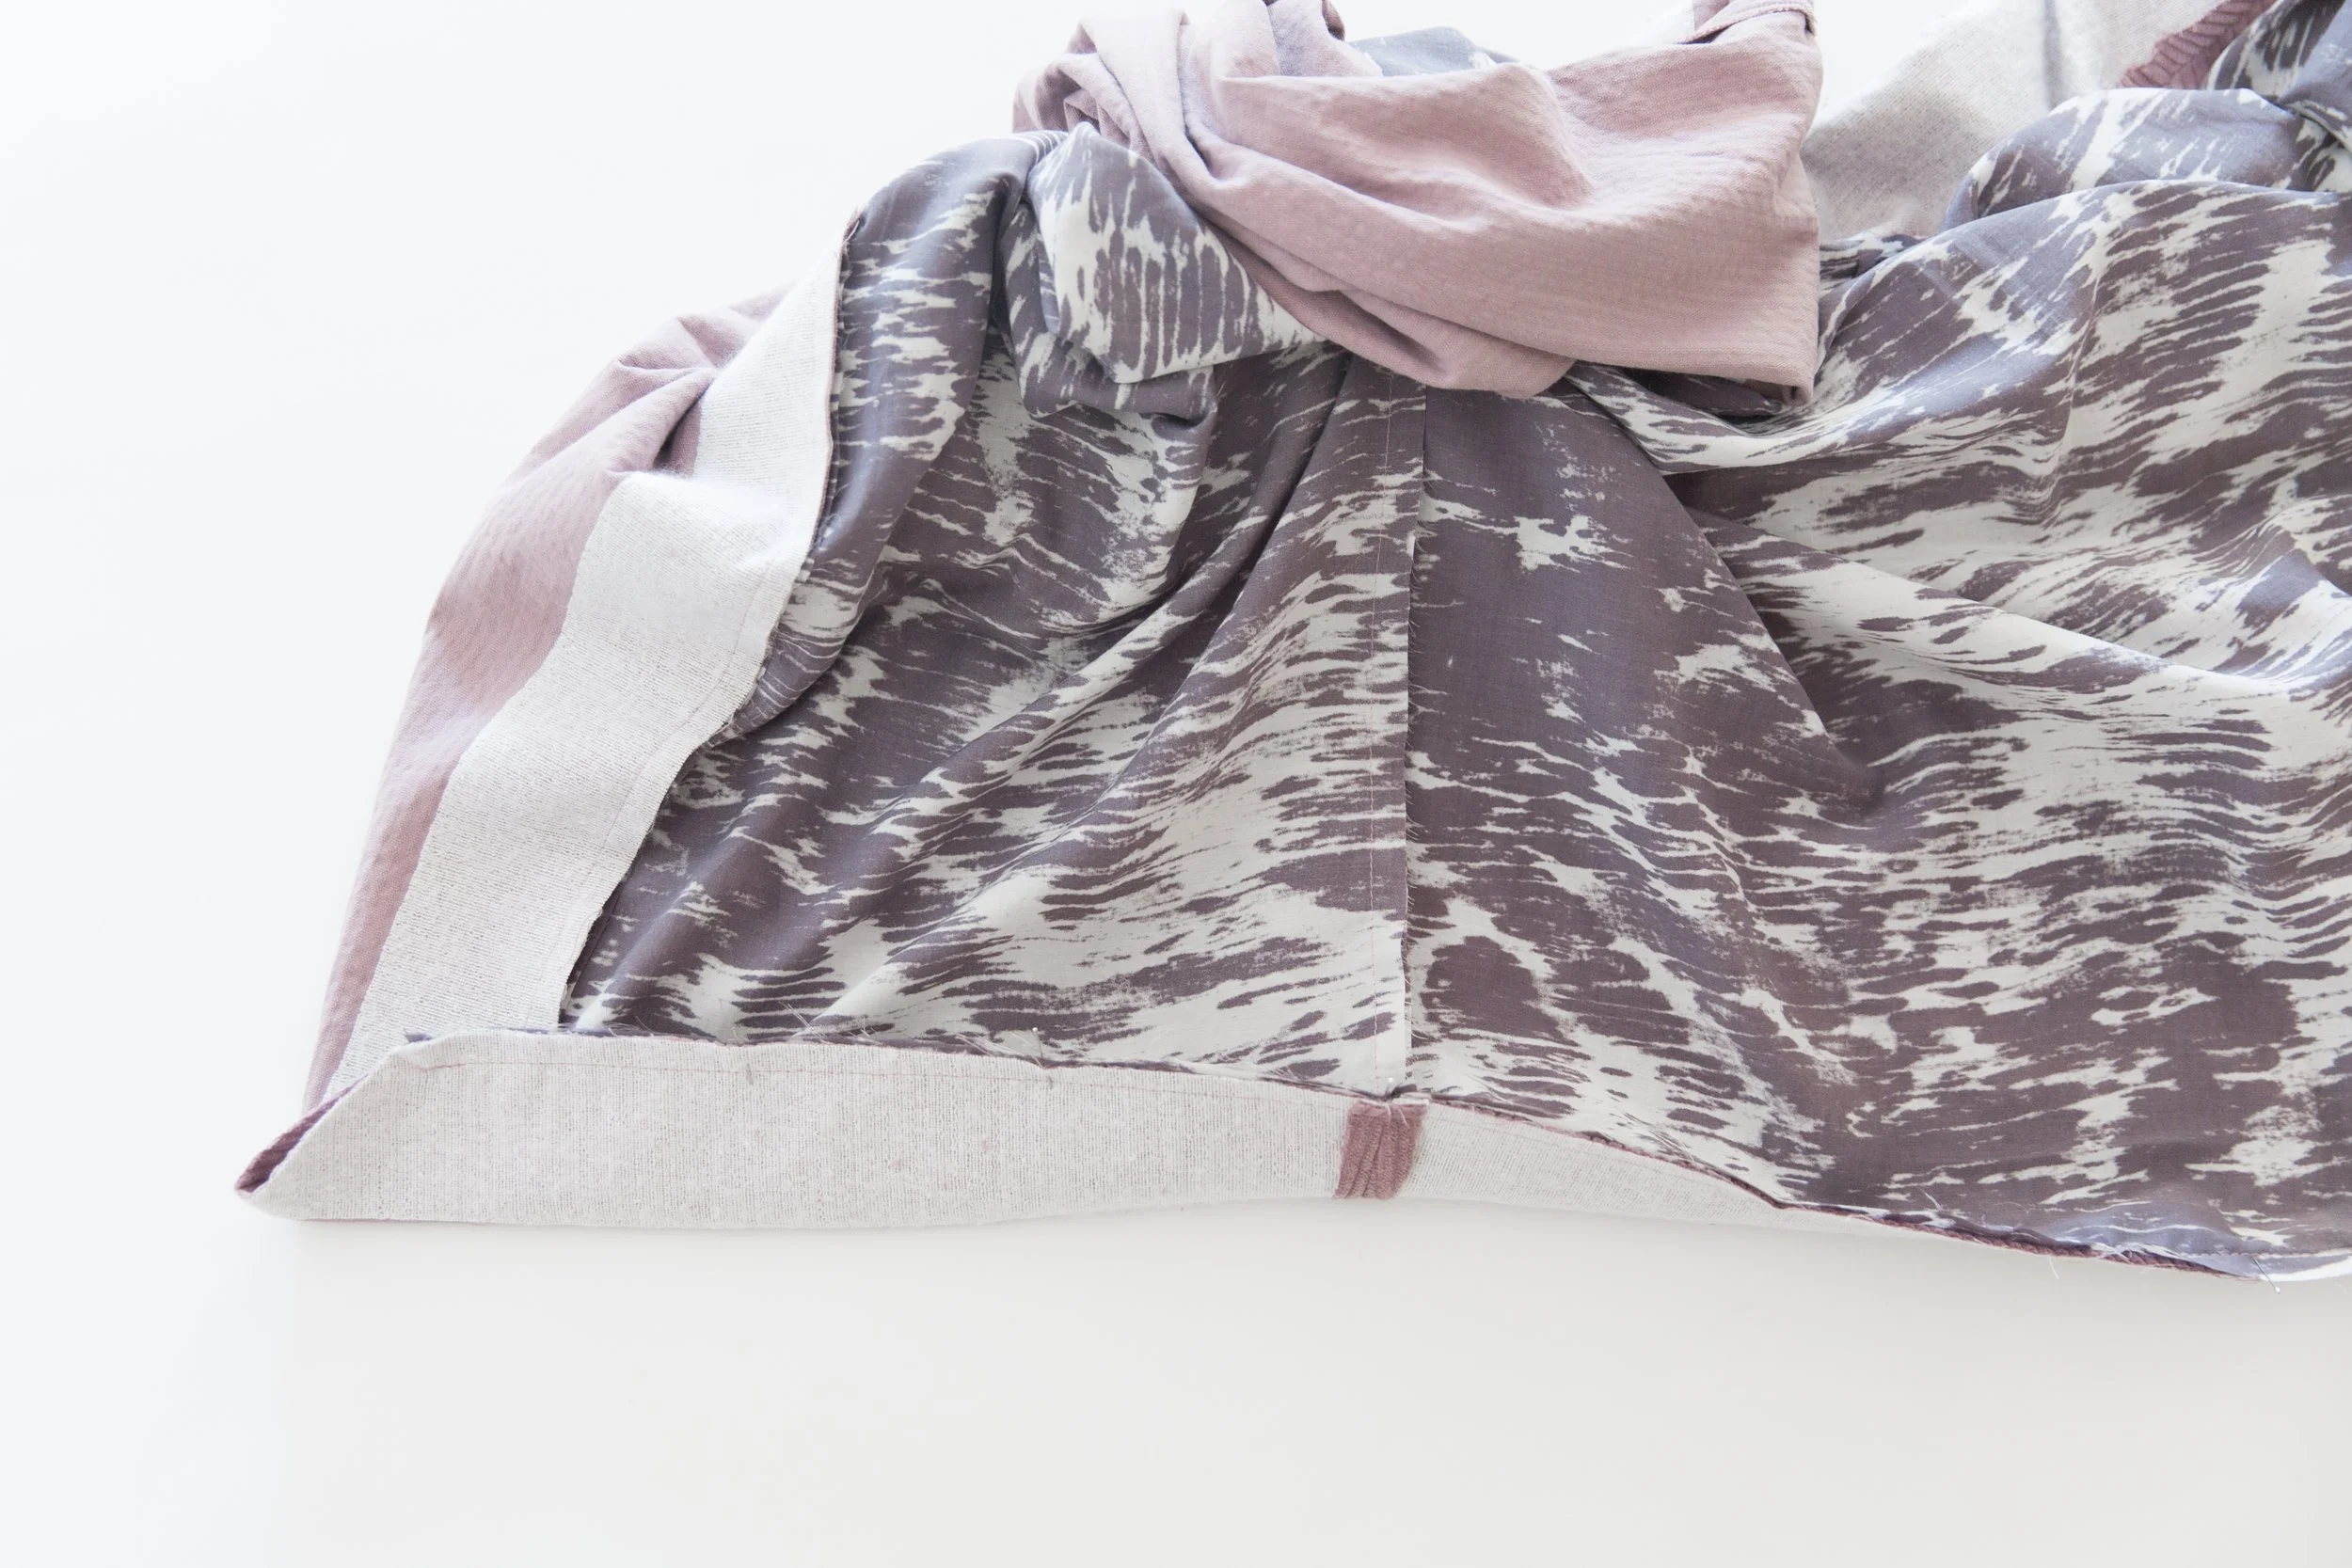
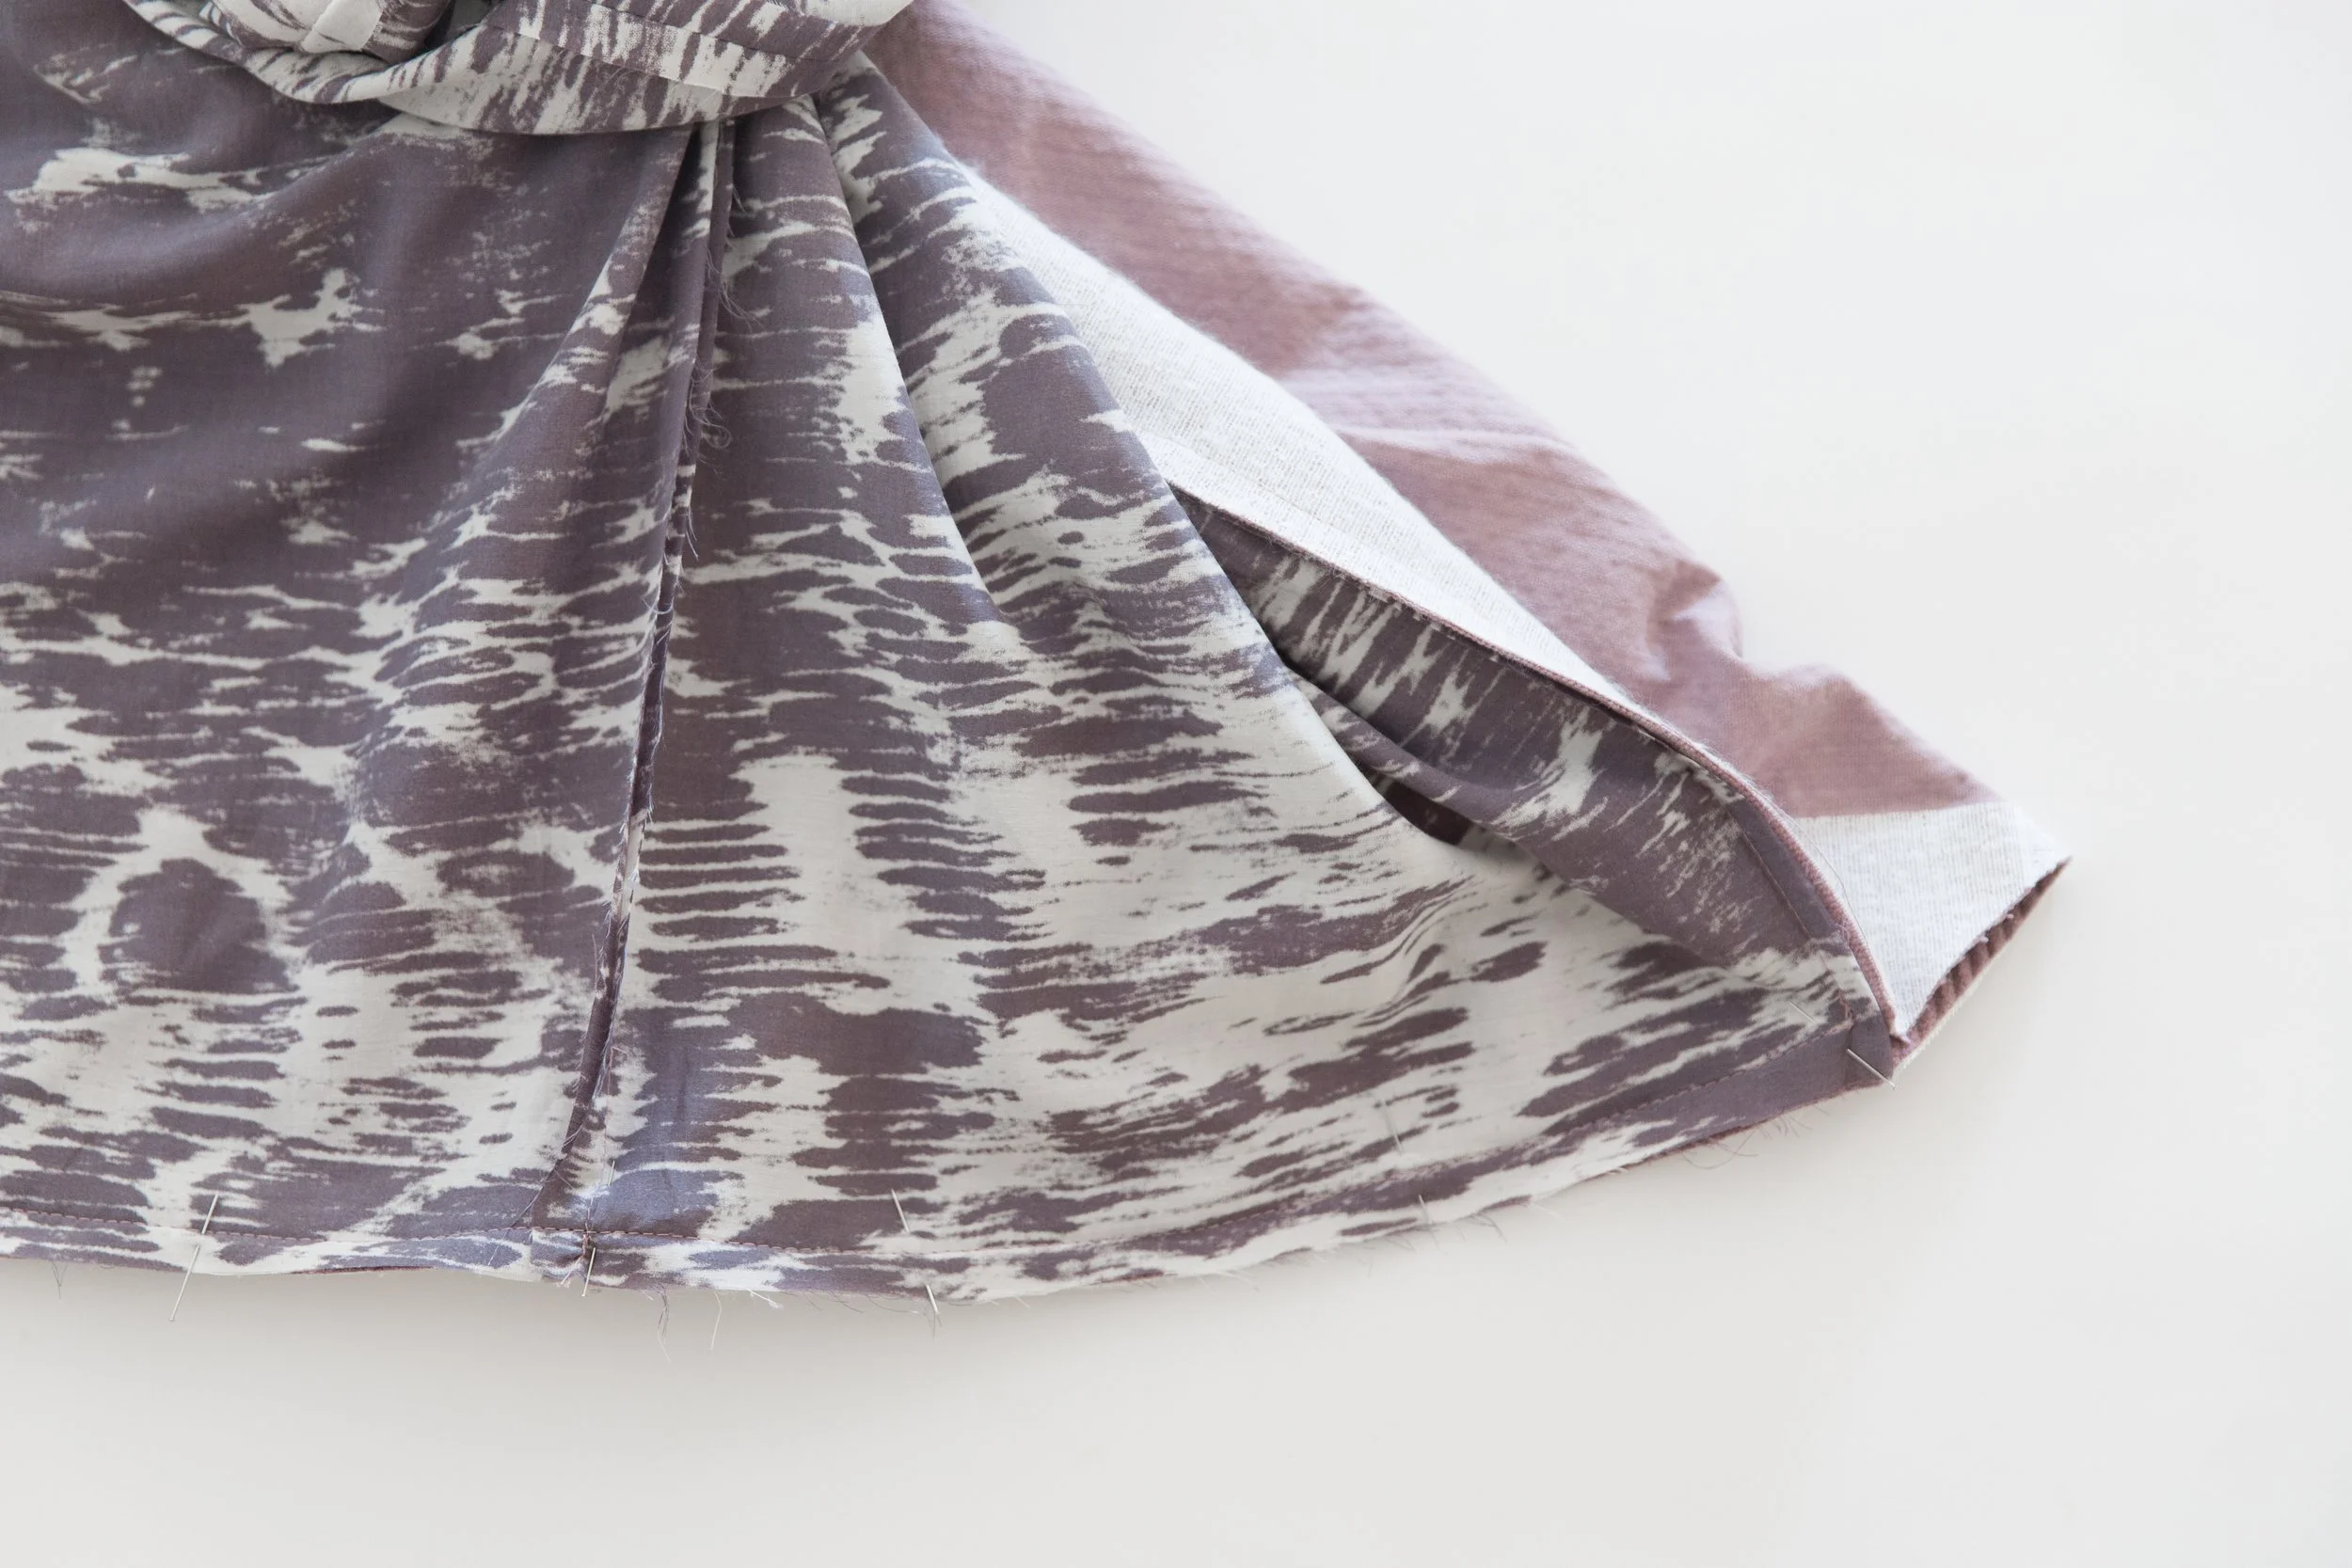
With right sides facing, pin bottom hem of lining to the raw edge of shell hem. Stitch together starting and stopping your stitch line 1cm from each end.
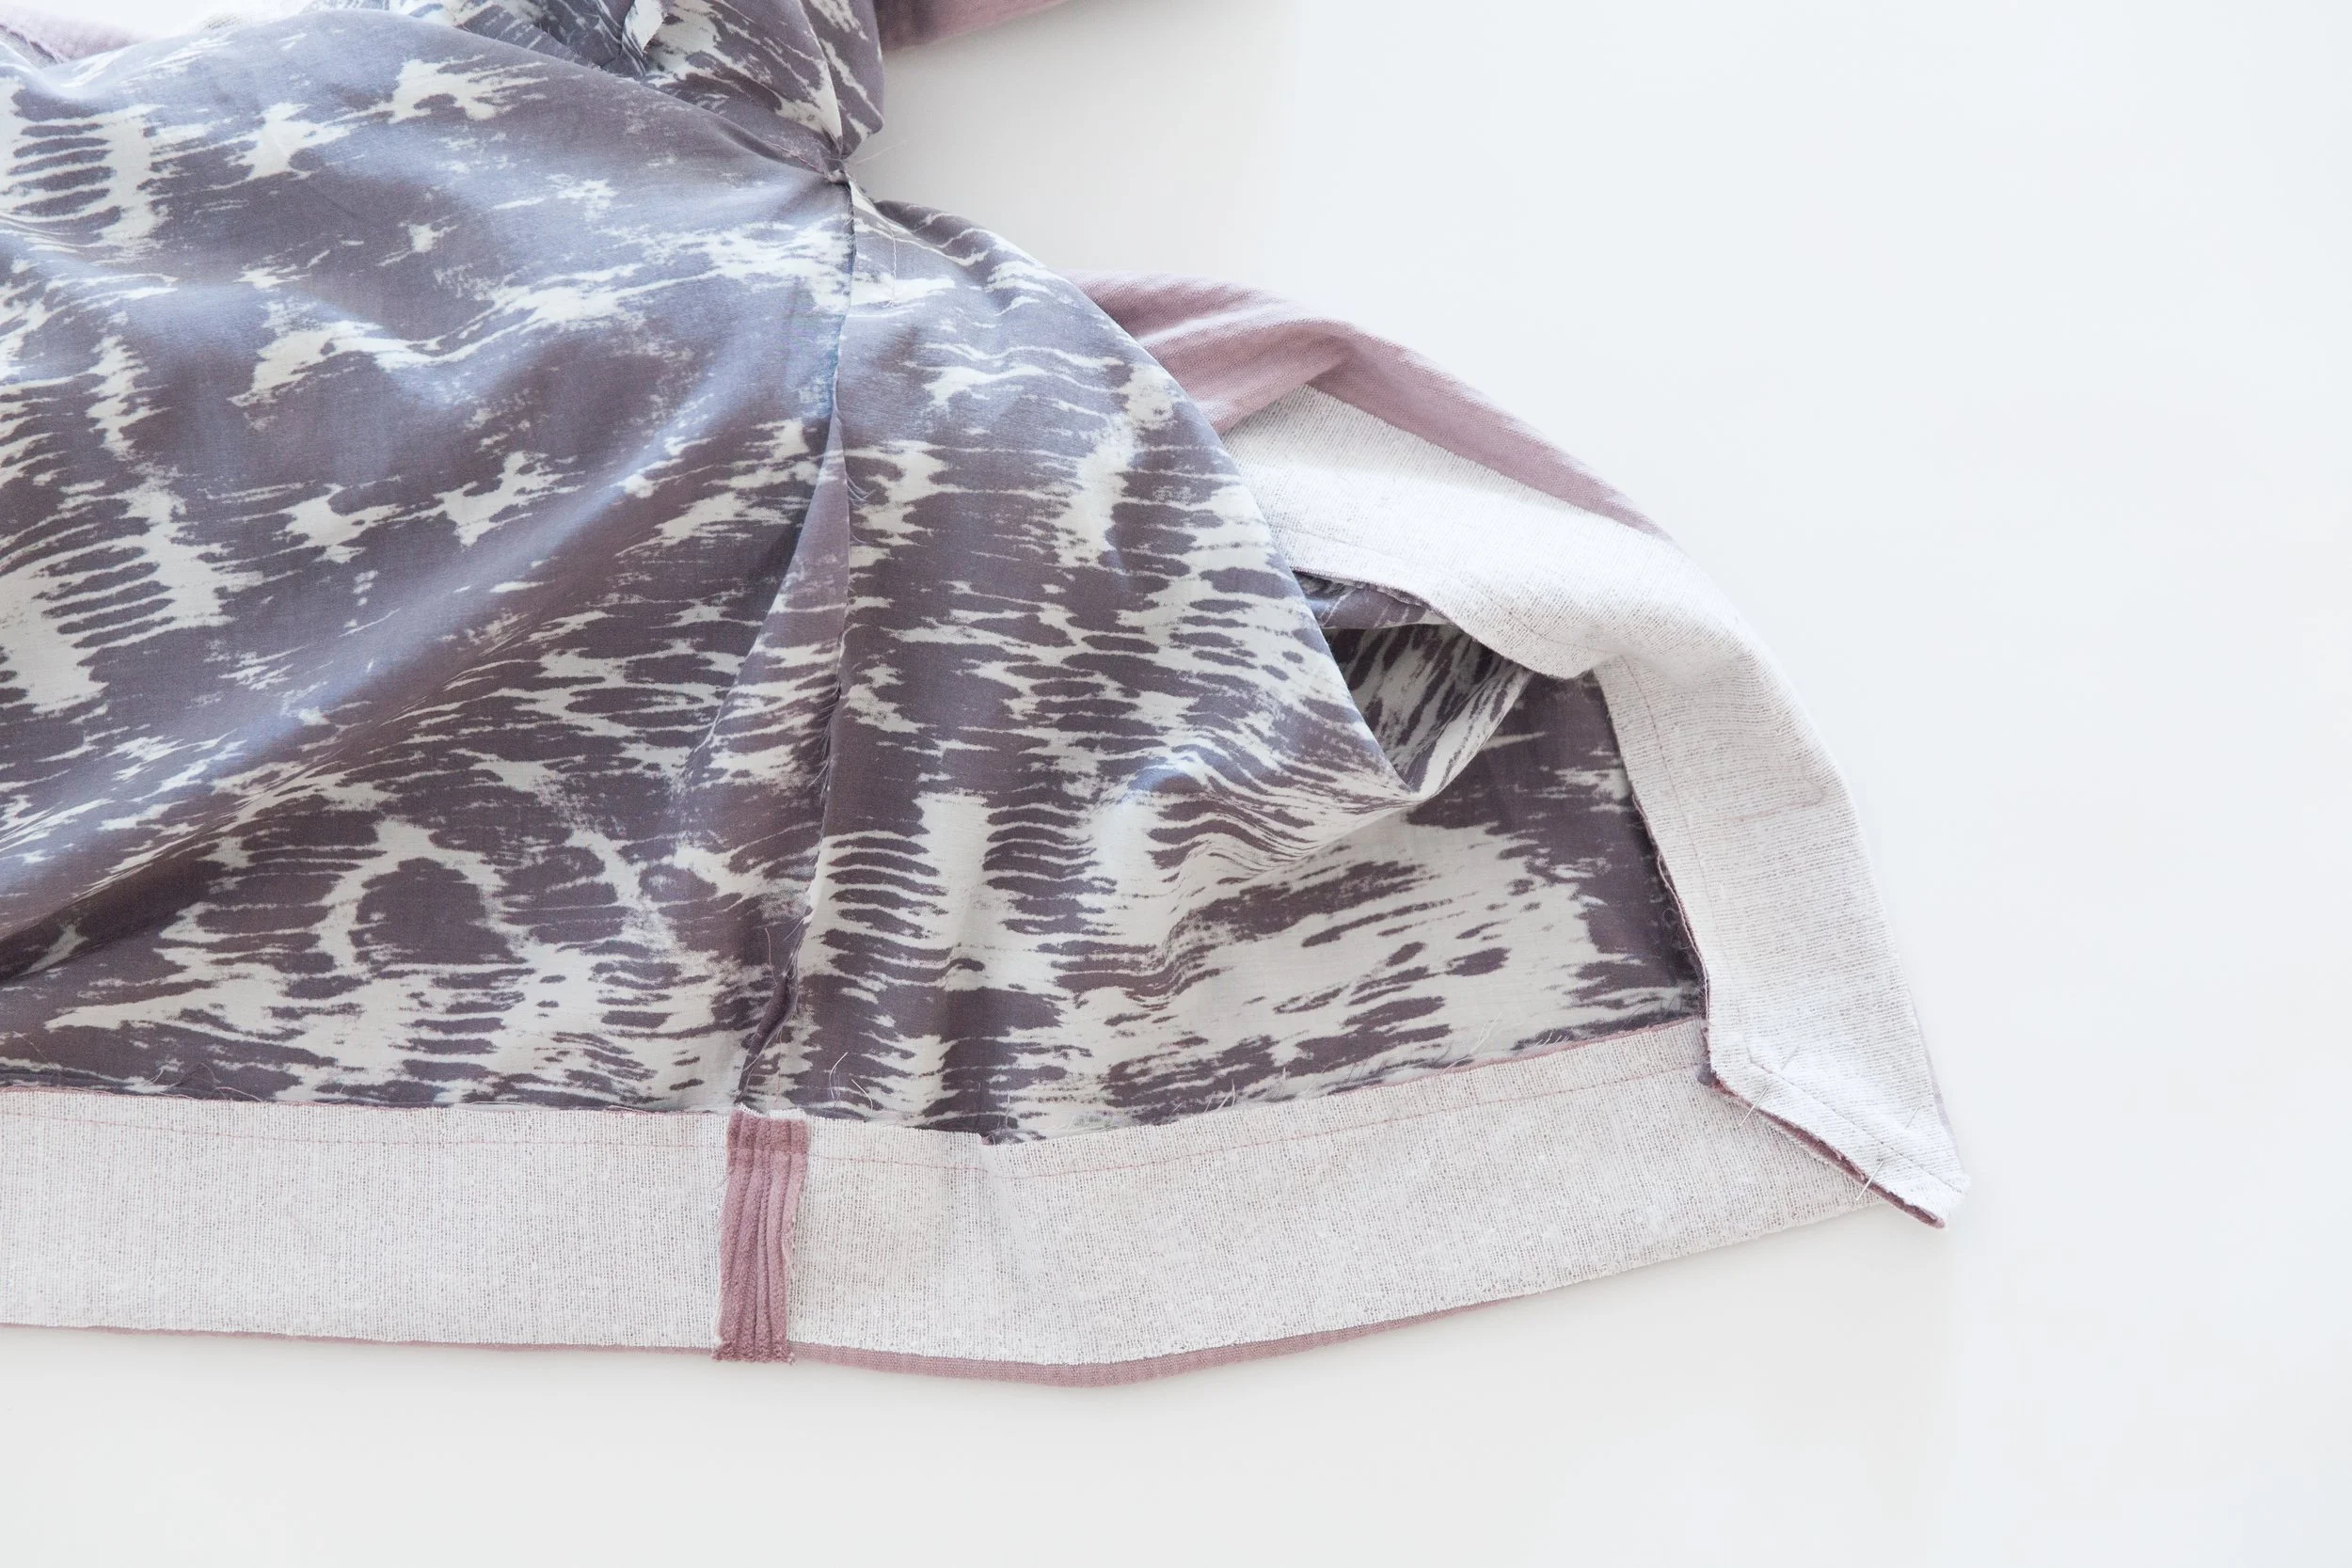
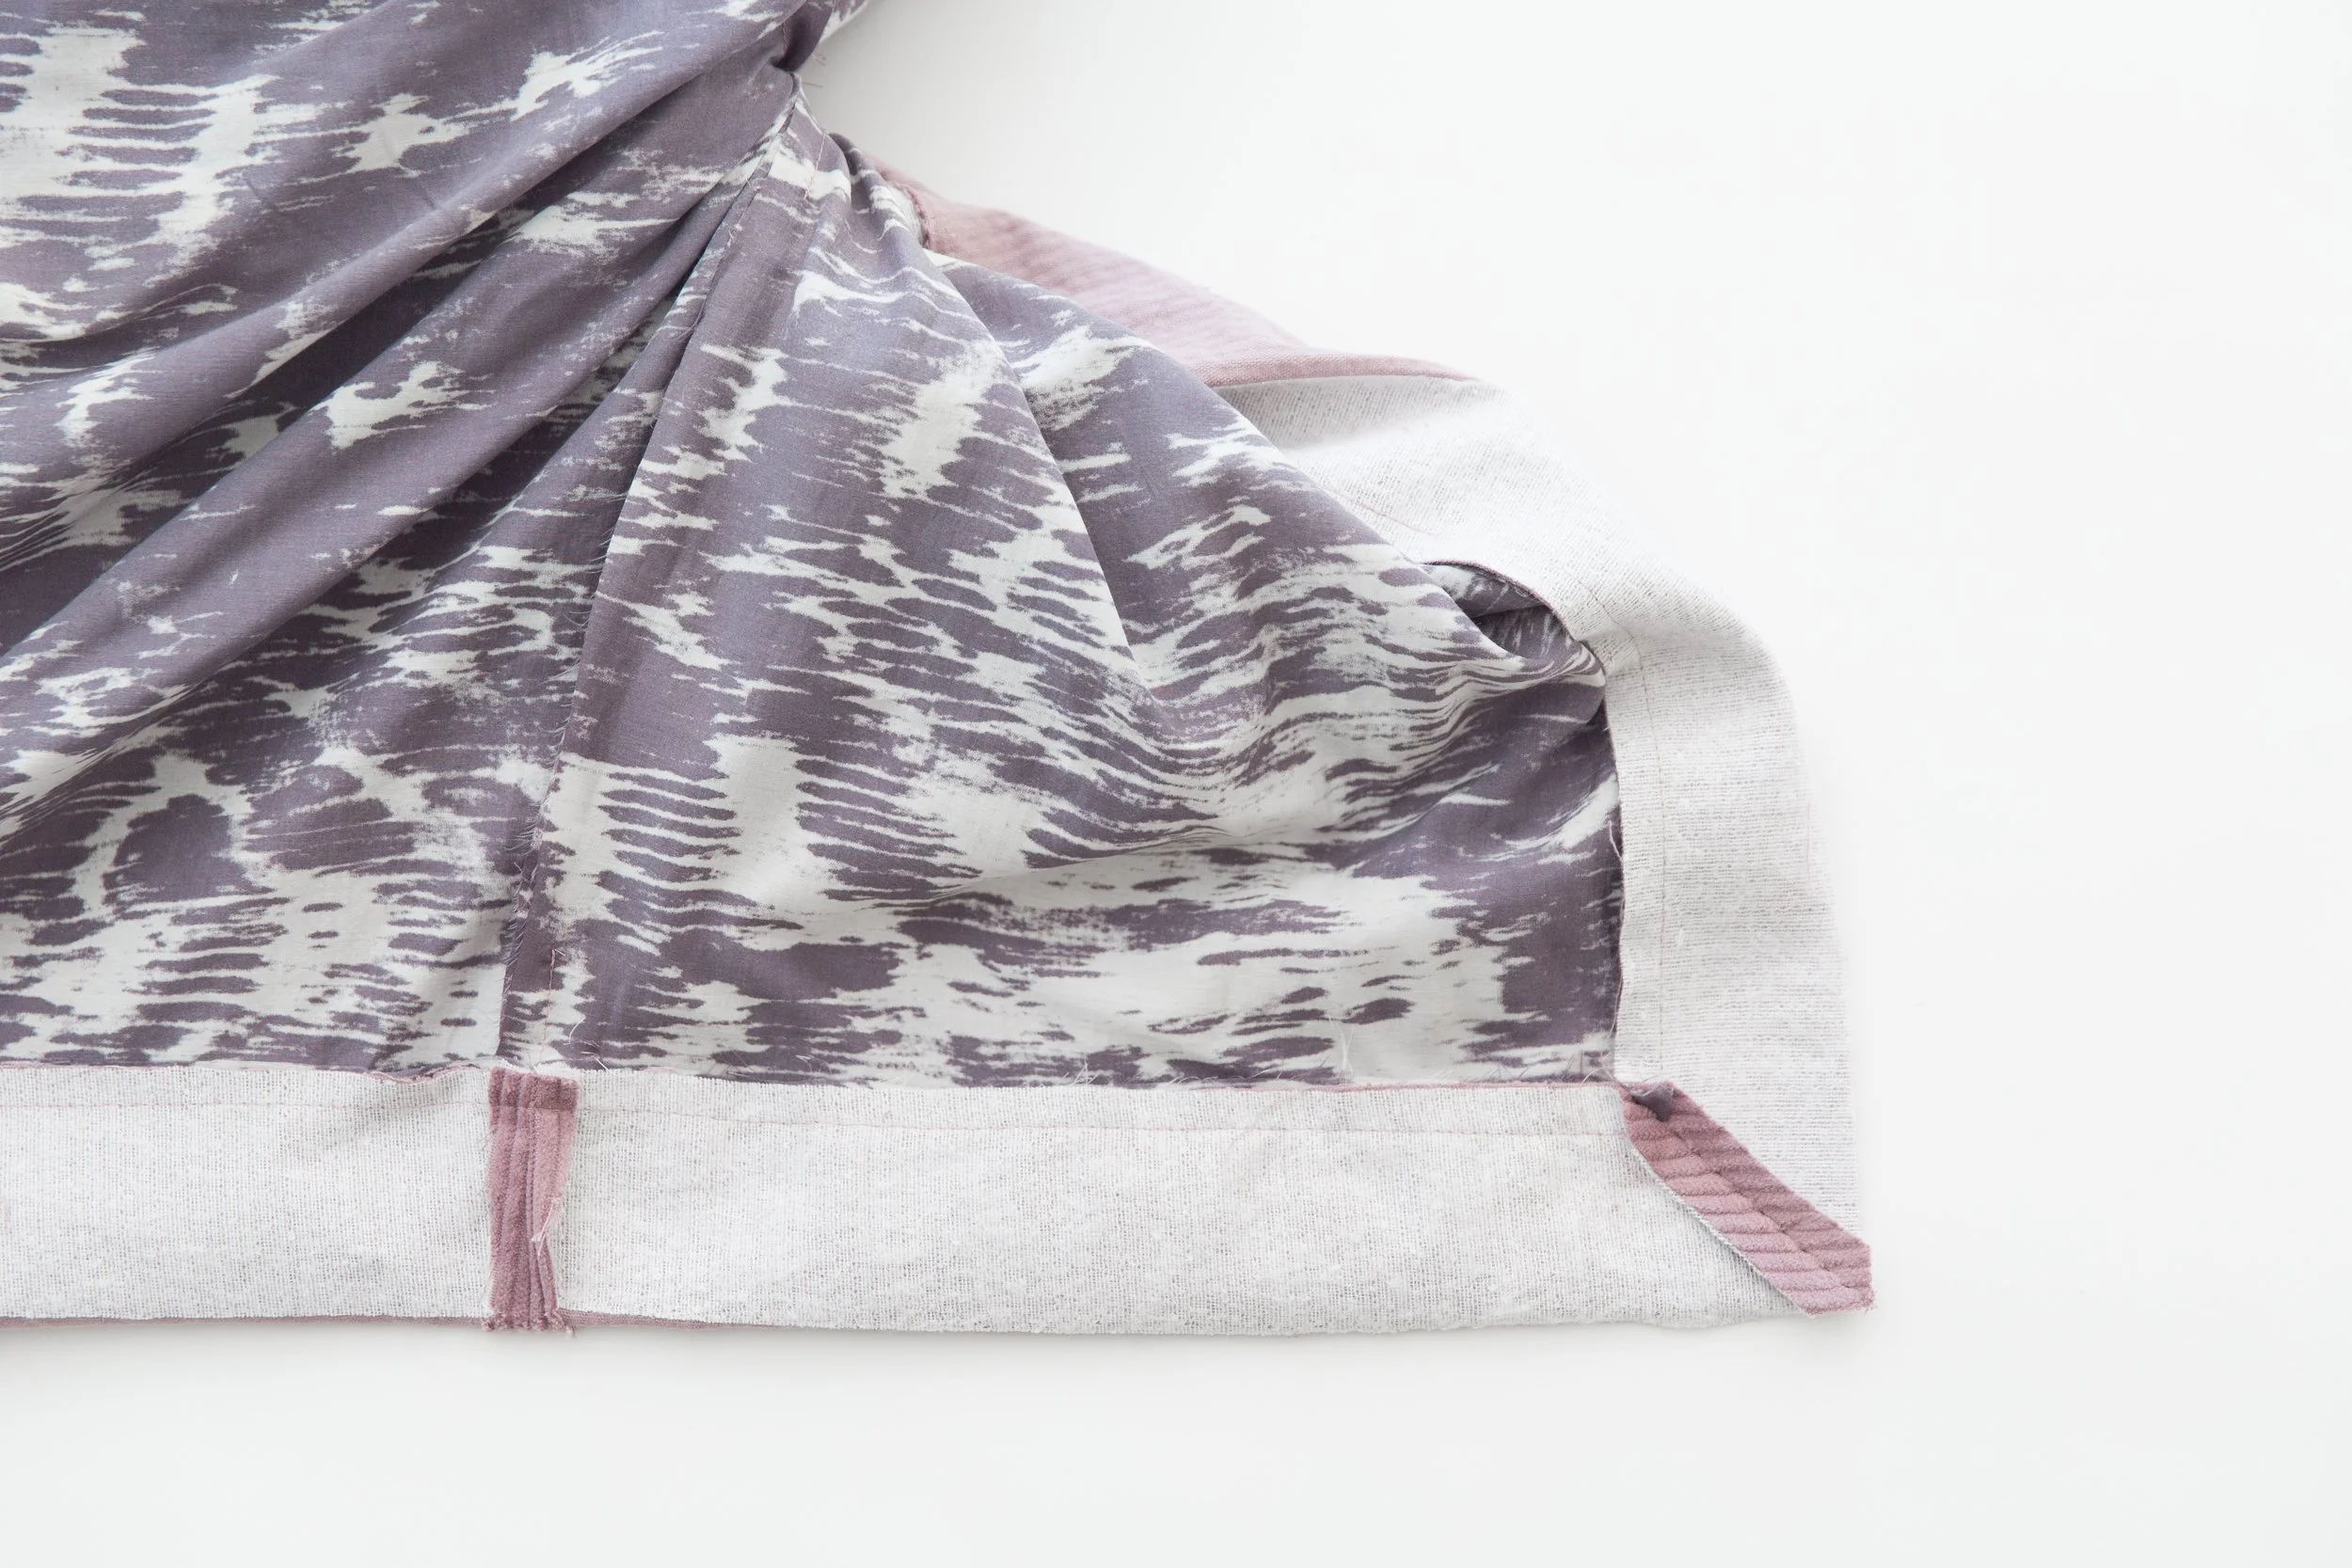
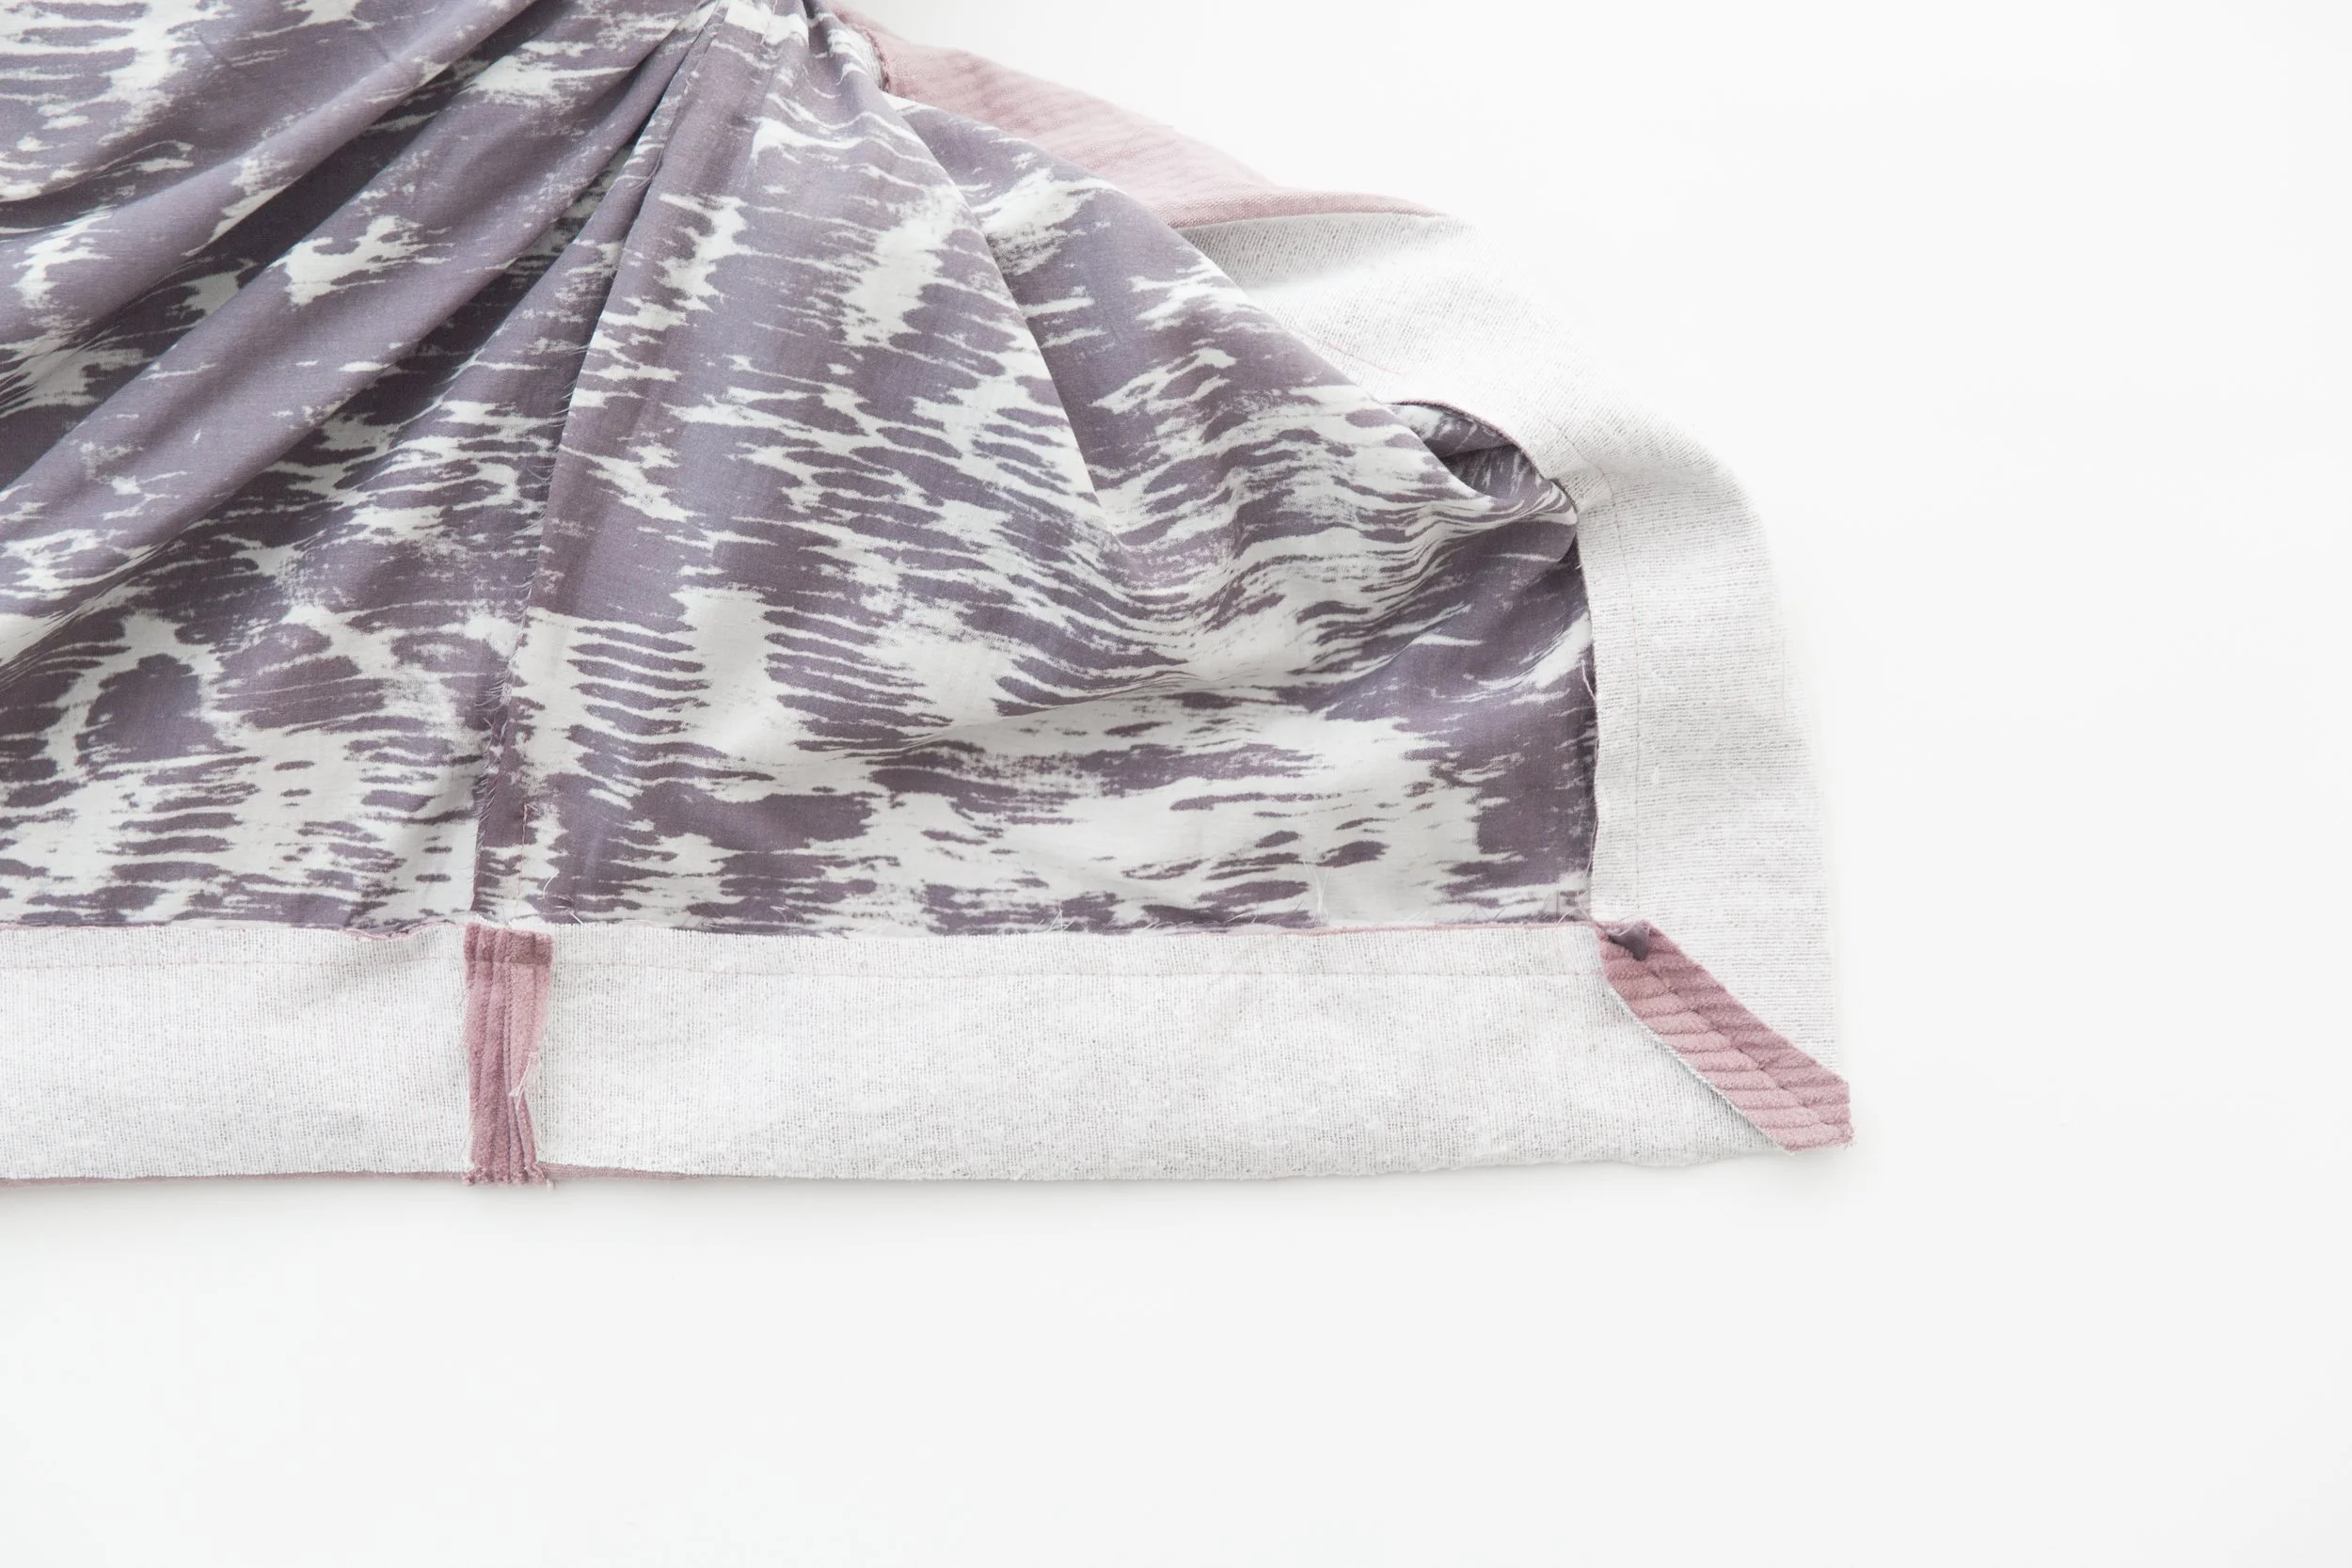
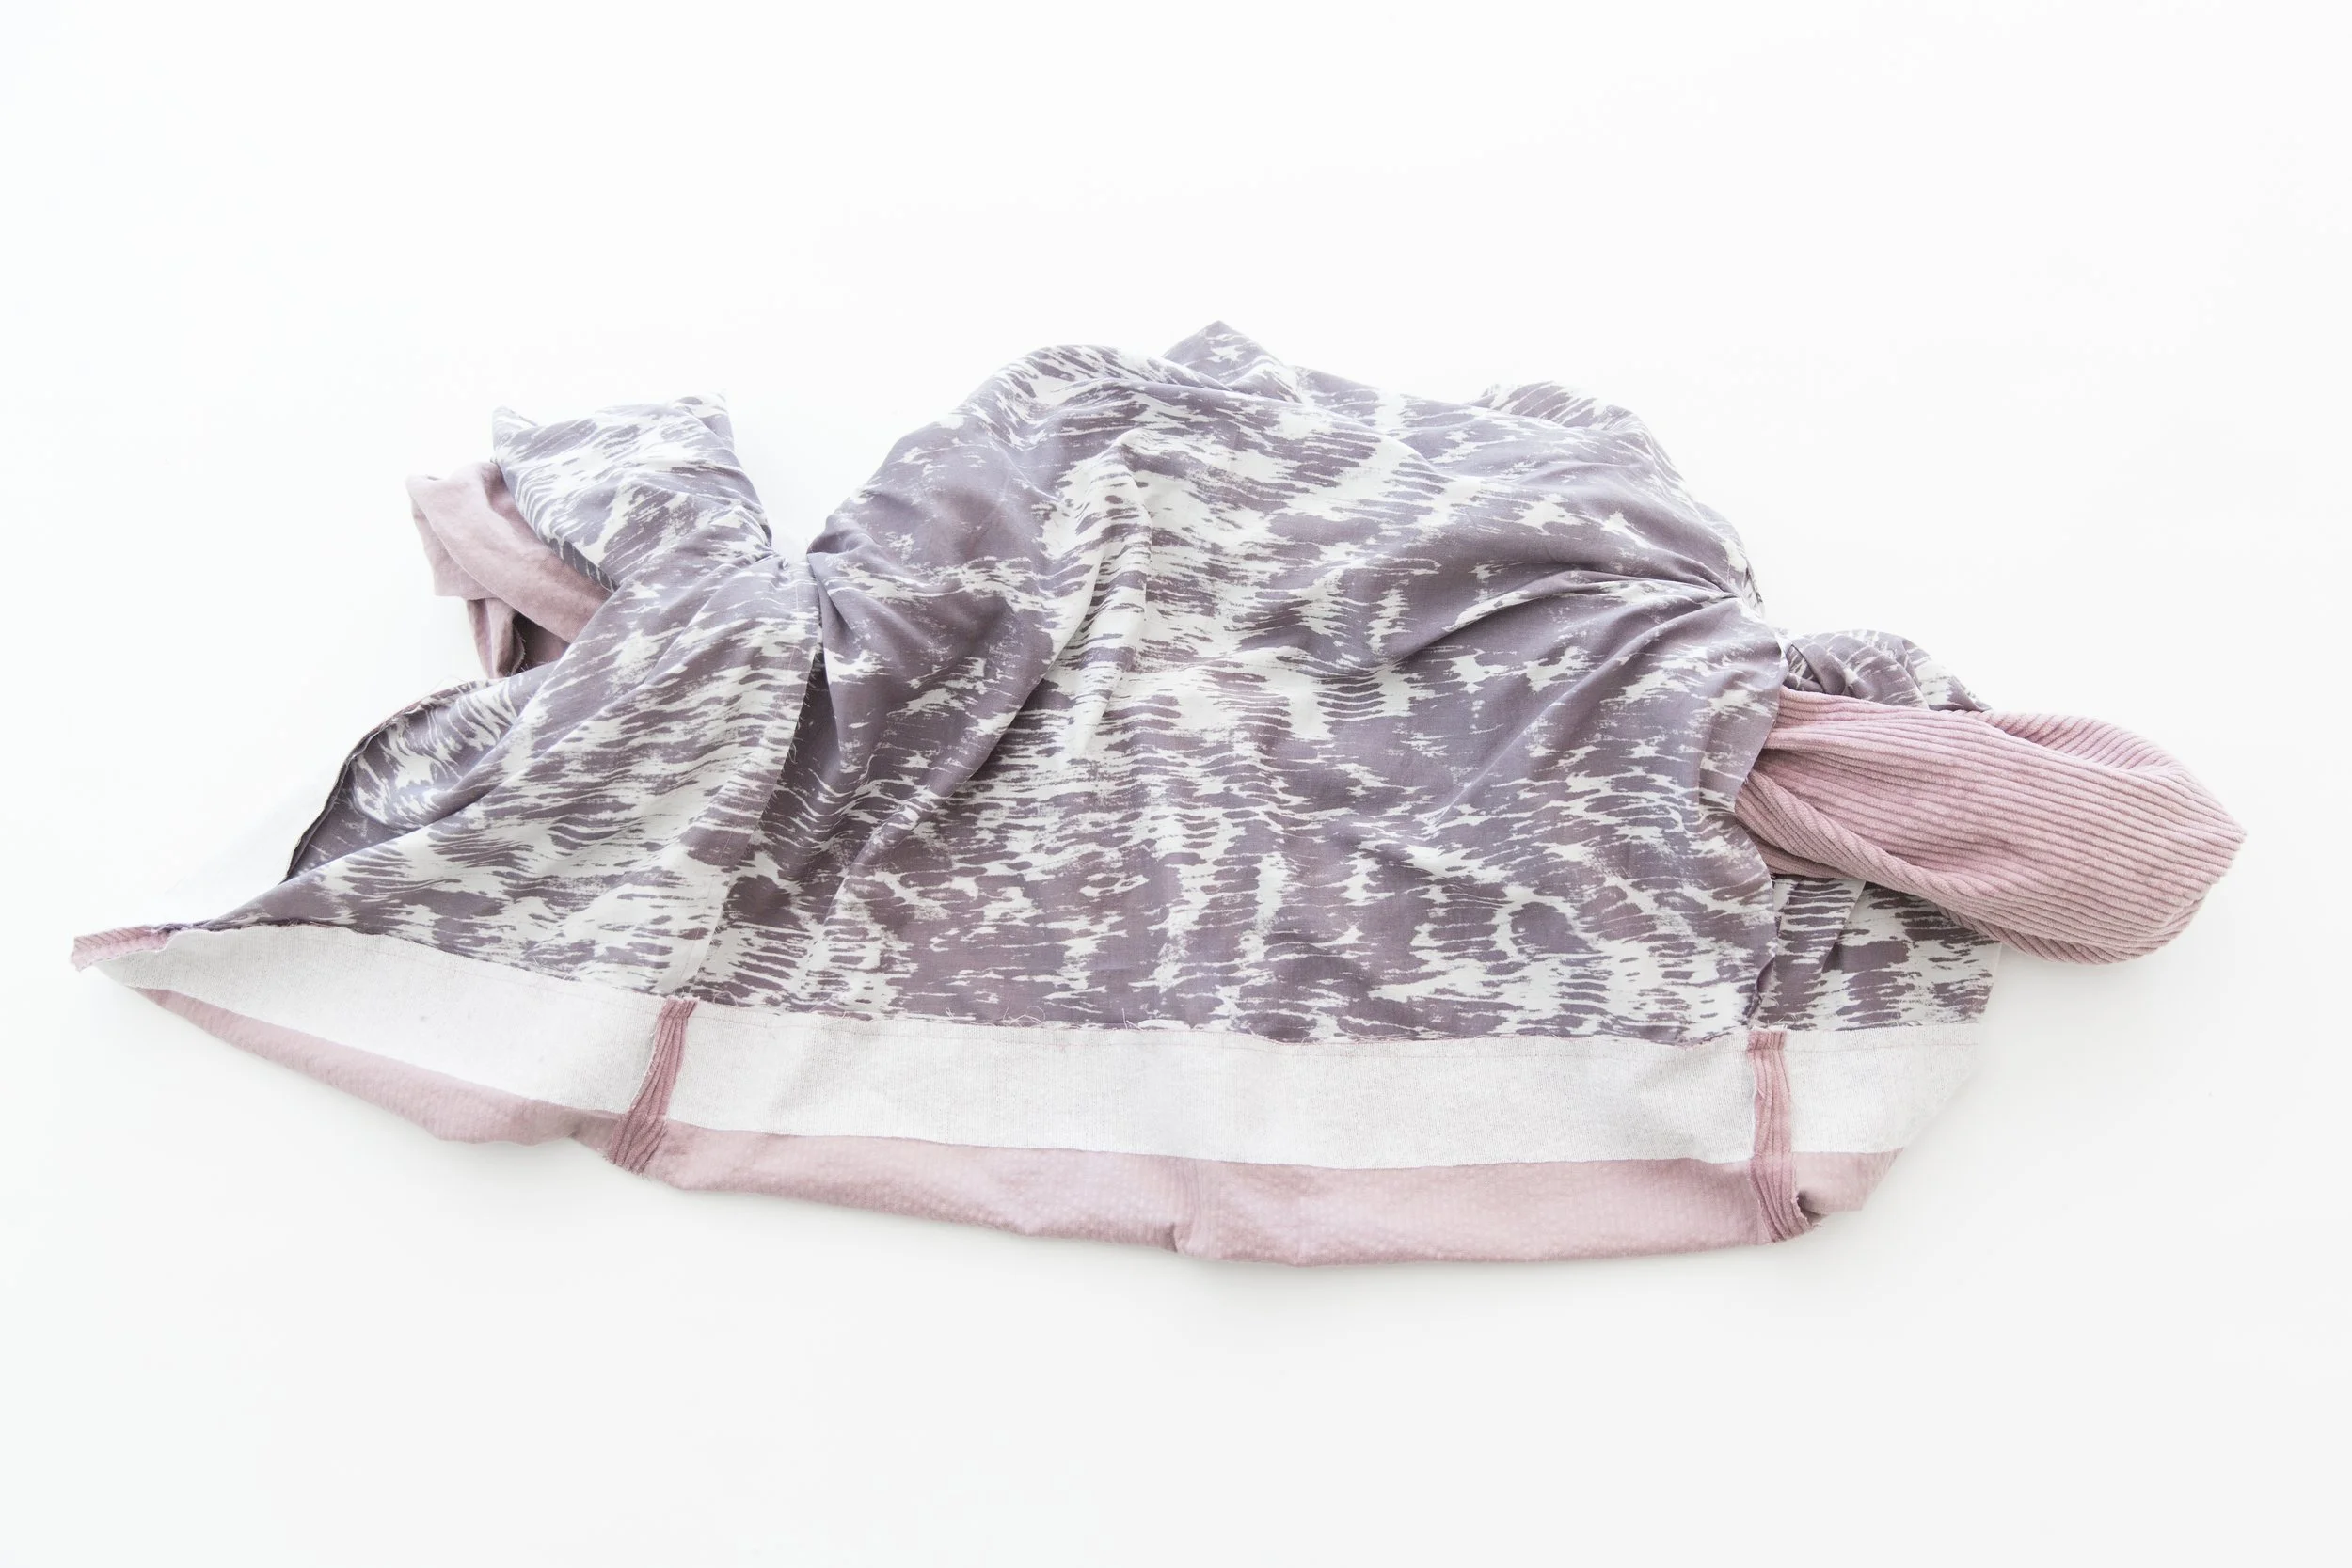
Step 22
Pinch together the remaining 1cm/0.39” excess of facing and hem. Stitch. Clip outer corner and press seam open. 18 Carefully pull jacket through the opening in side seam until it’s the right way out. Give your jacket a really good press all over.
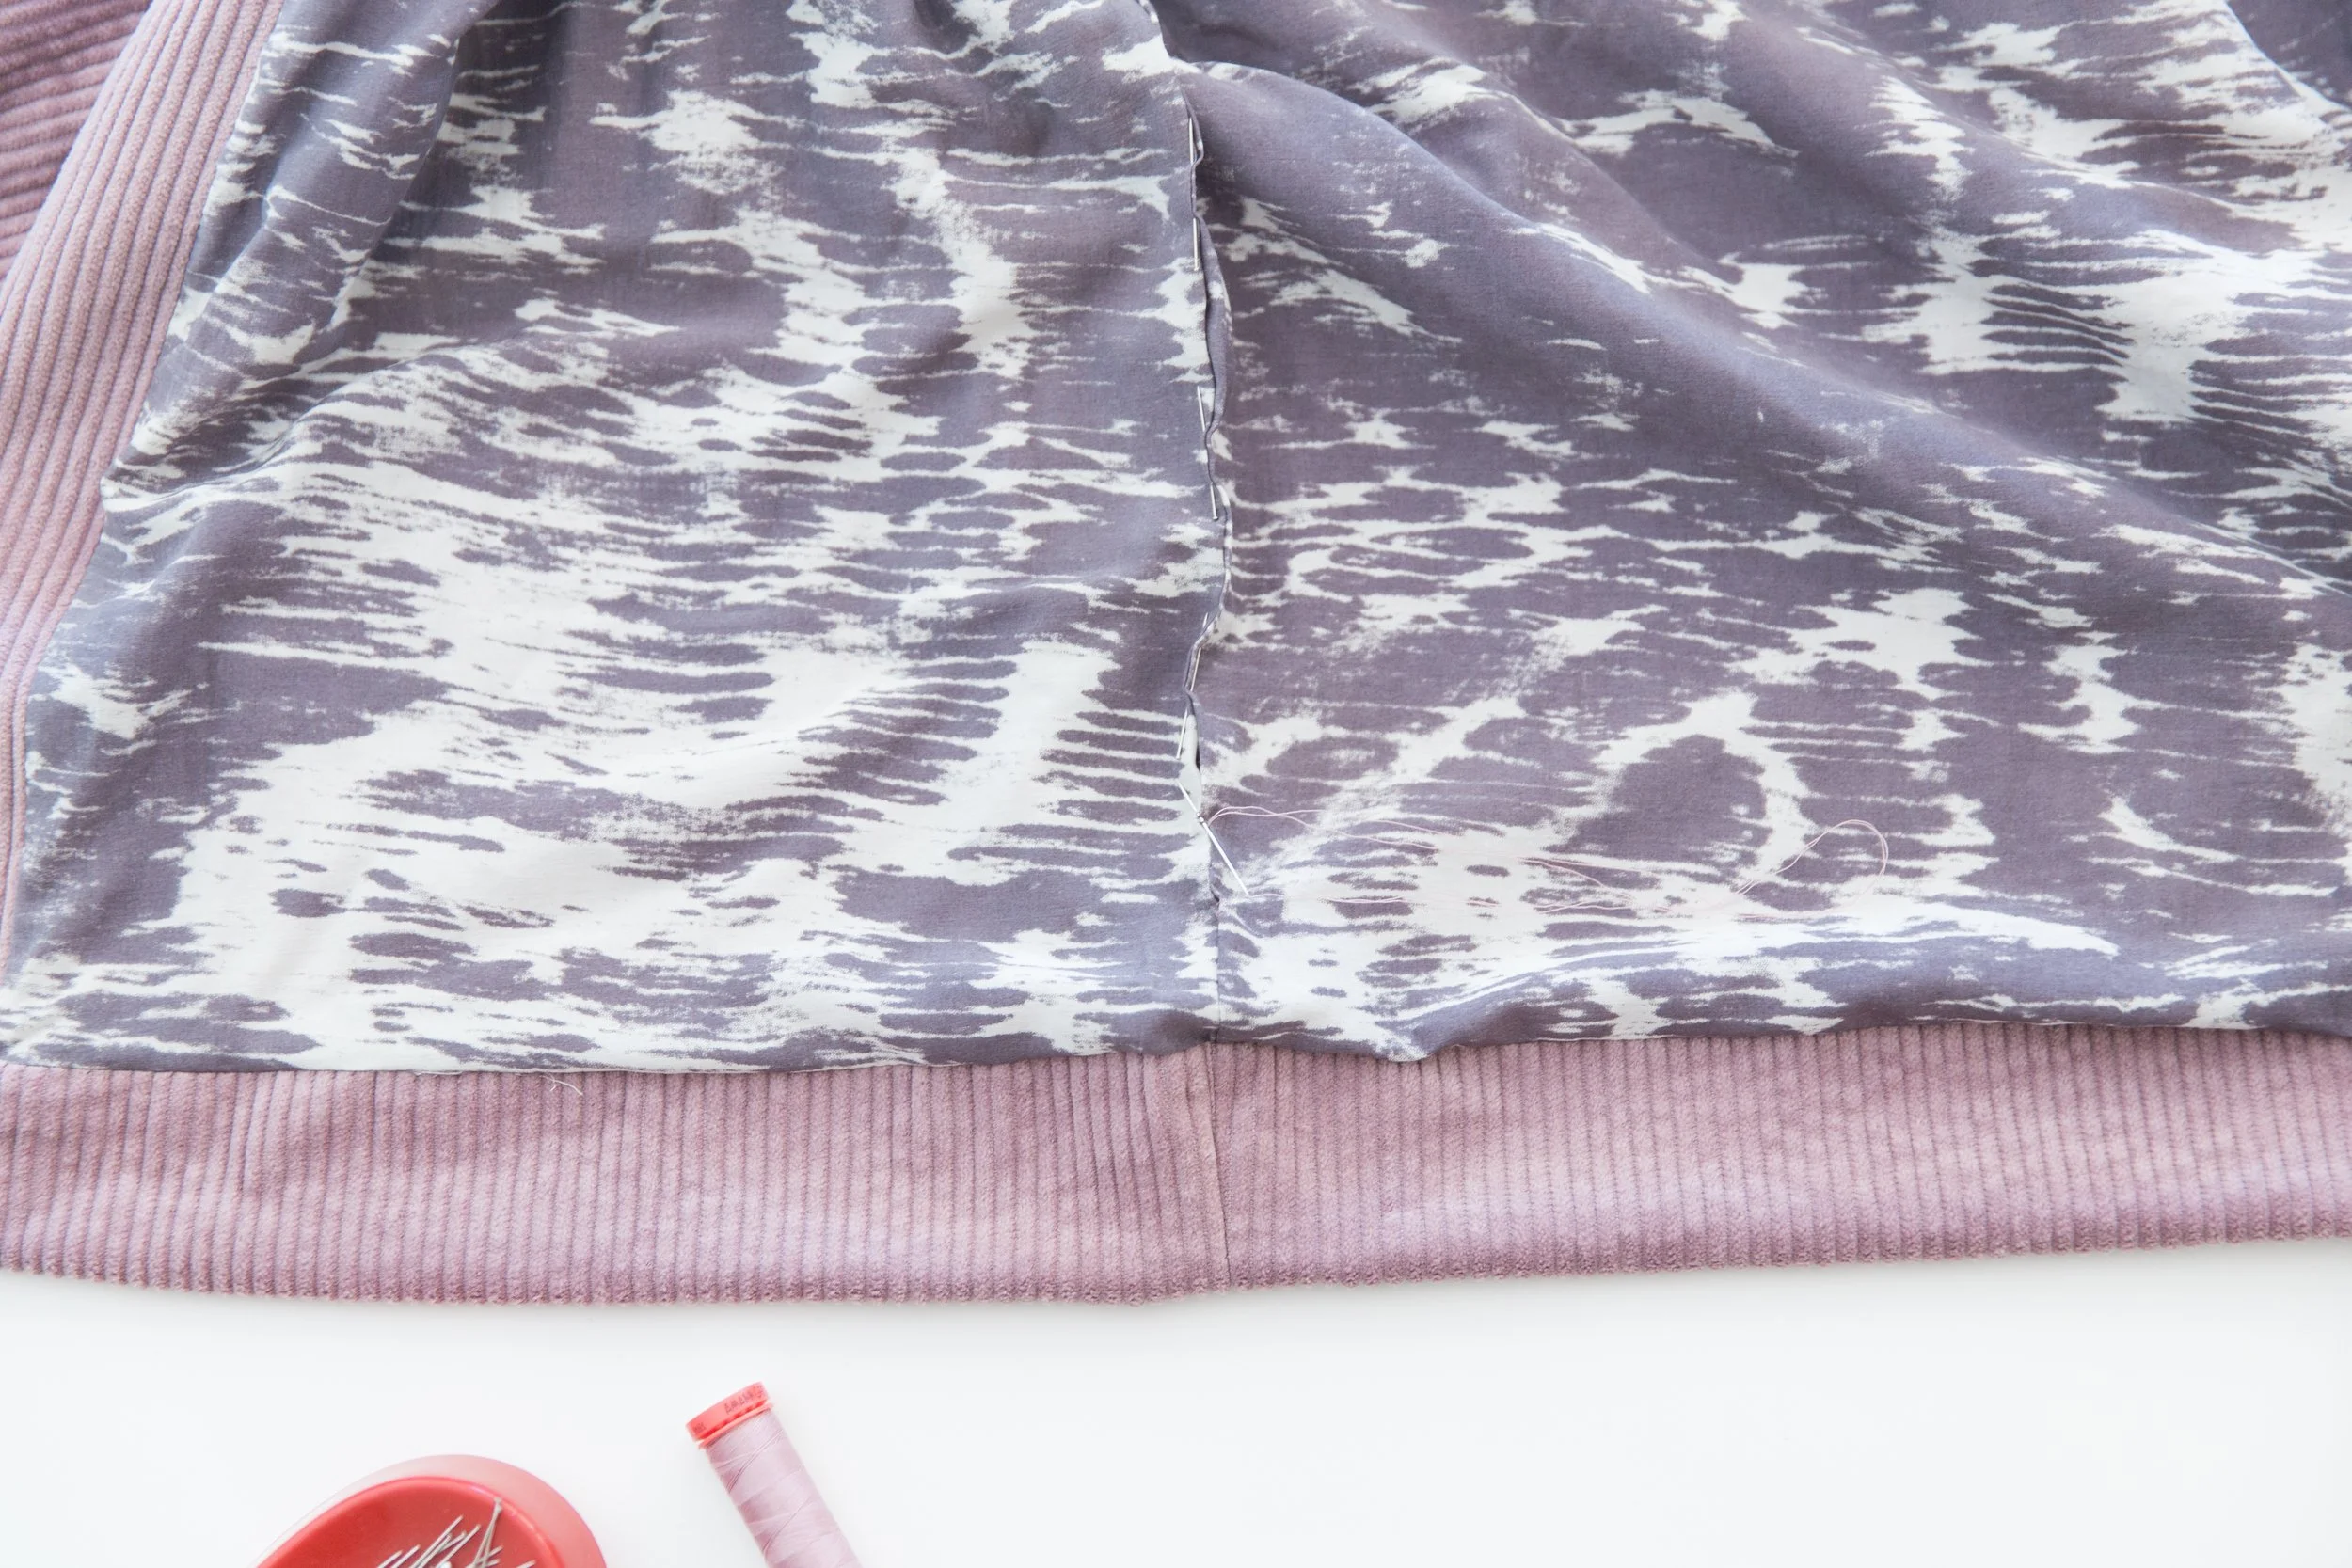
Step 23
With jacket lining side out, hand sew side seam gap closed.
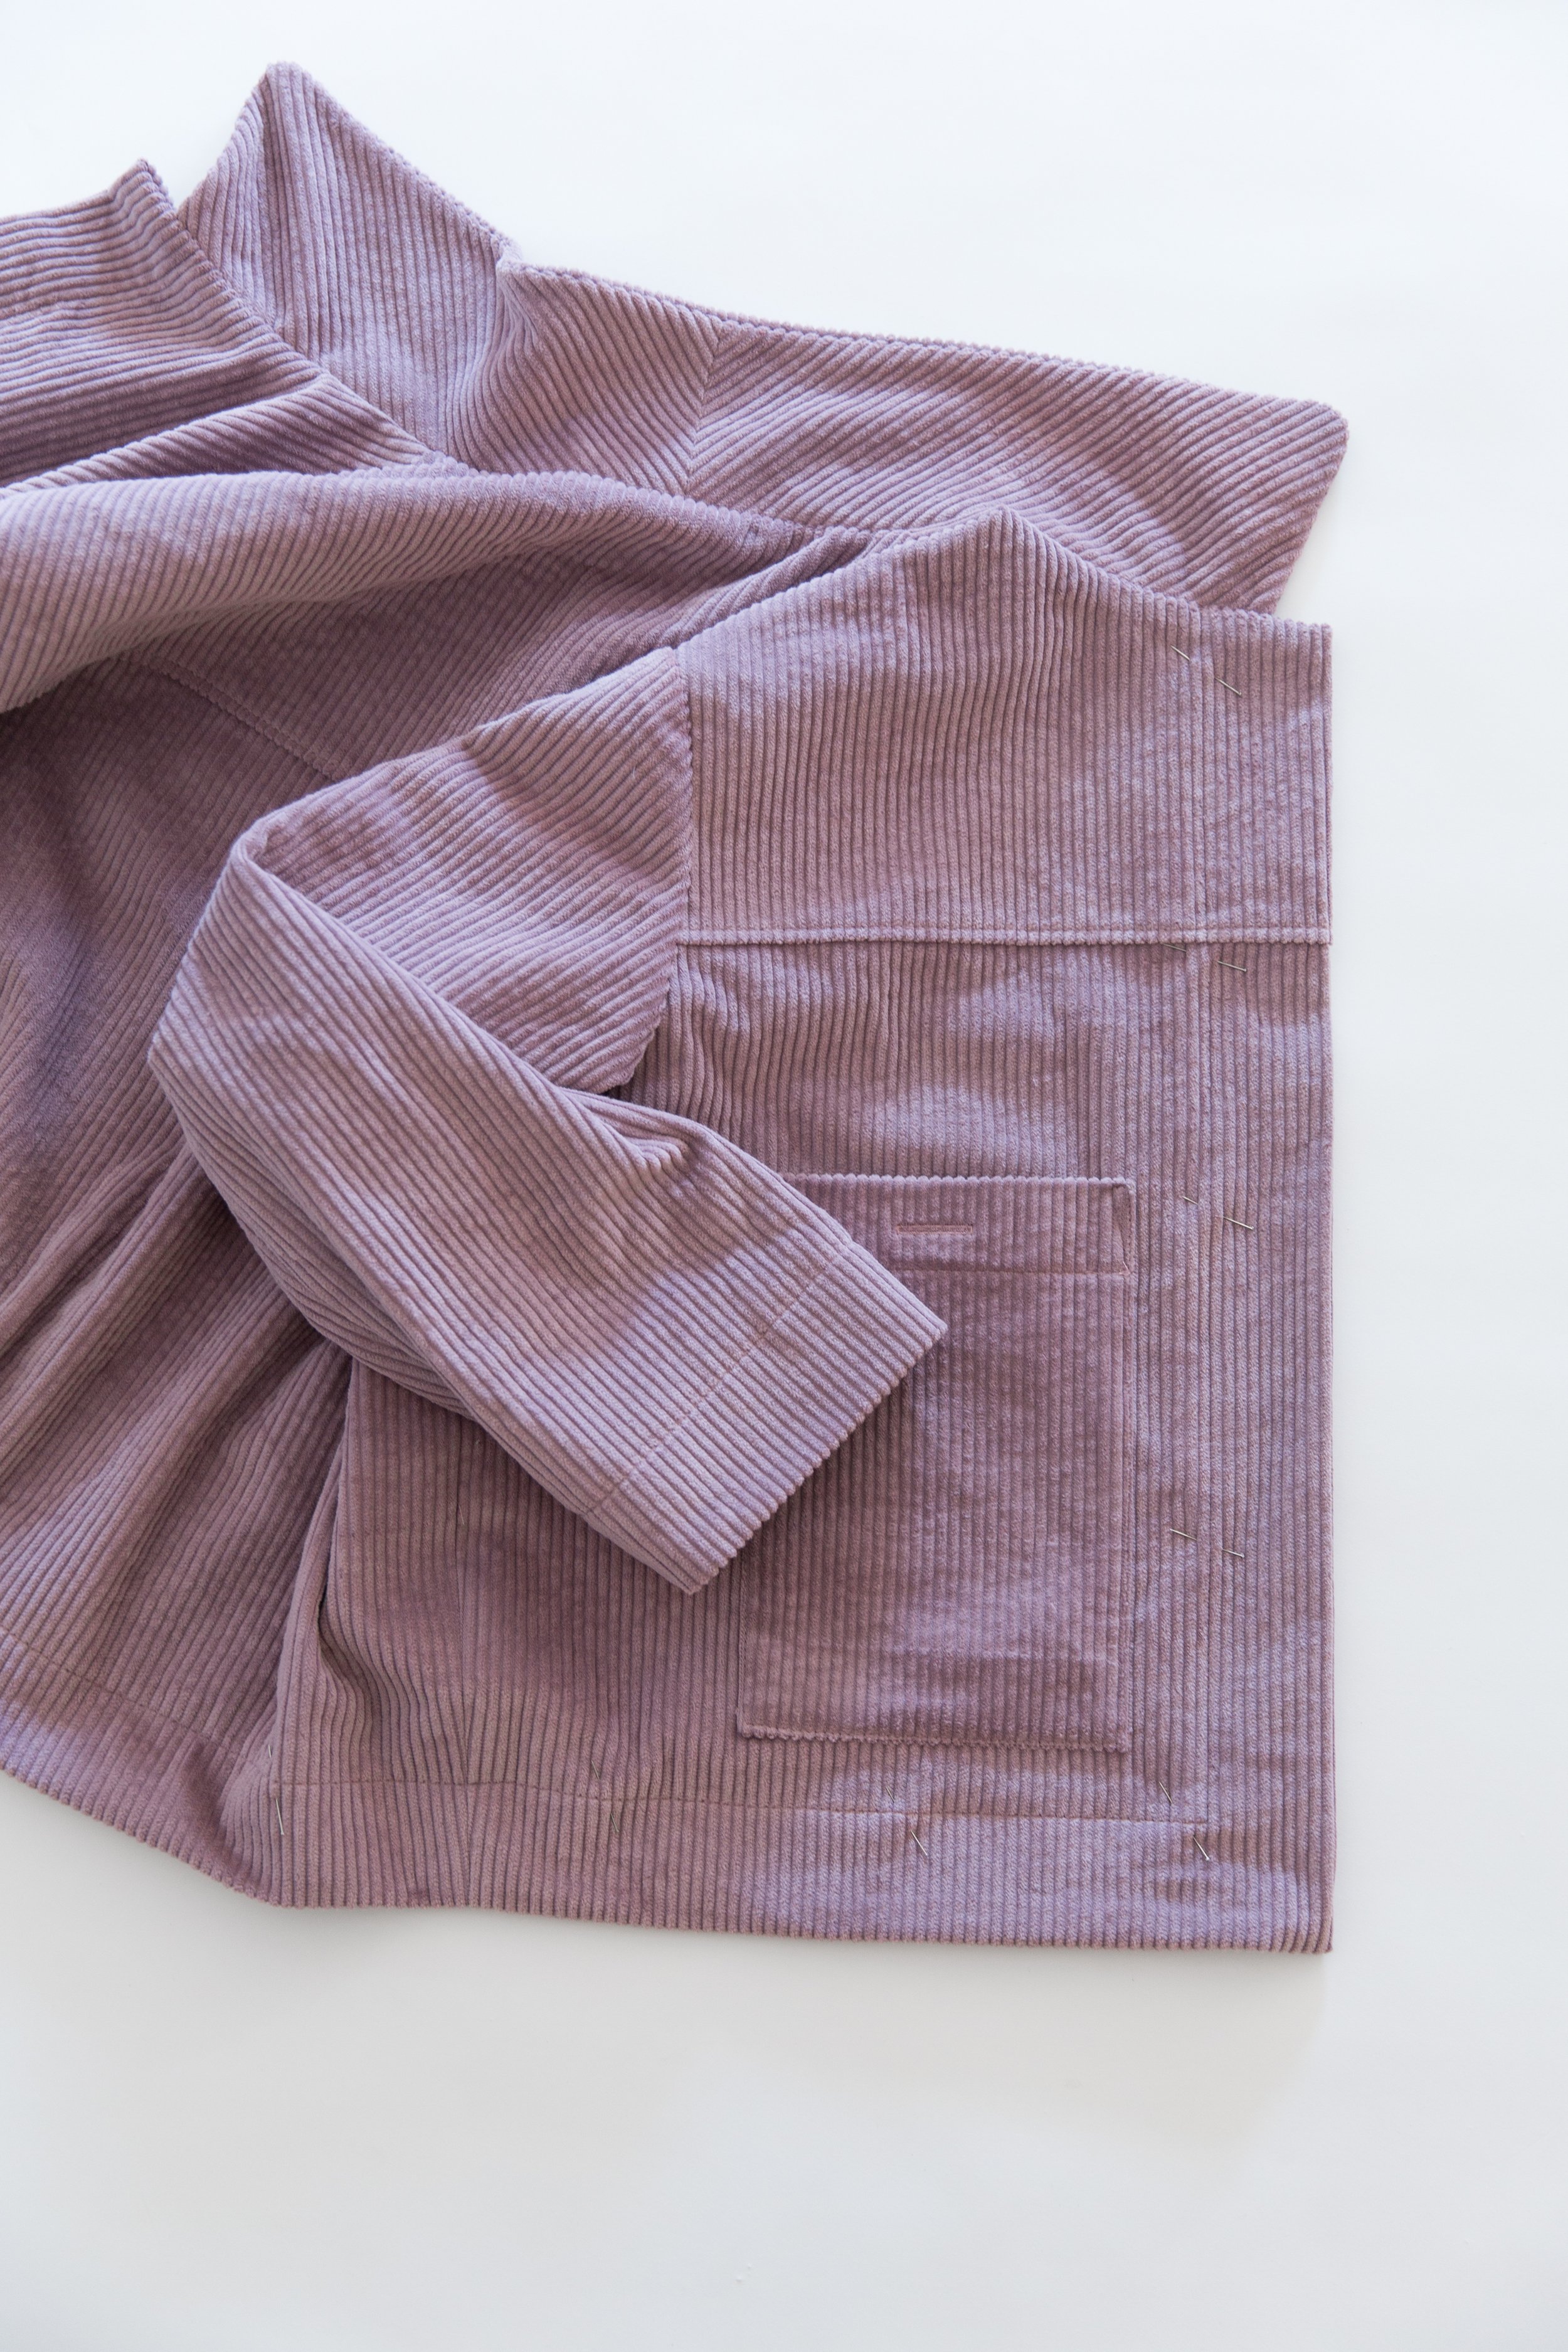
Step 24
From the right side of jacket, top stitch facings and hem in place 5cm/2” from edge.
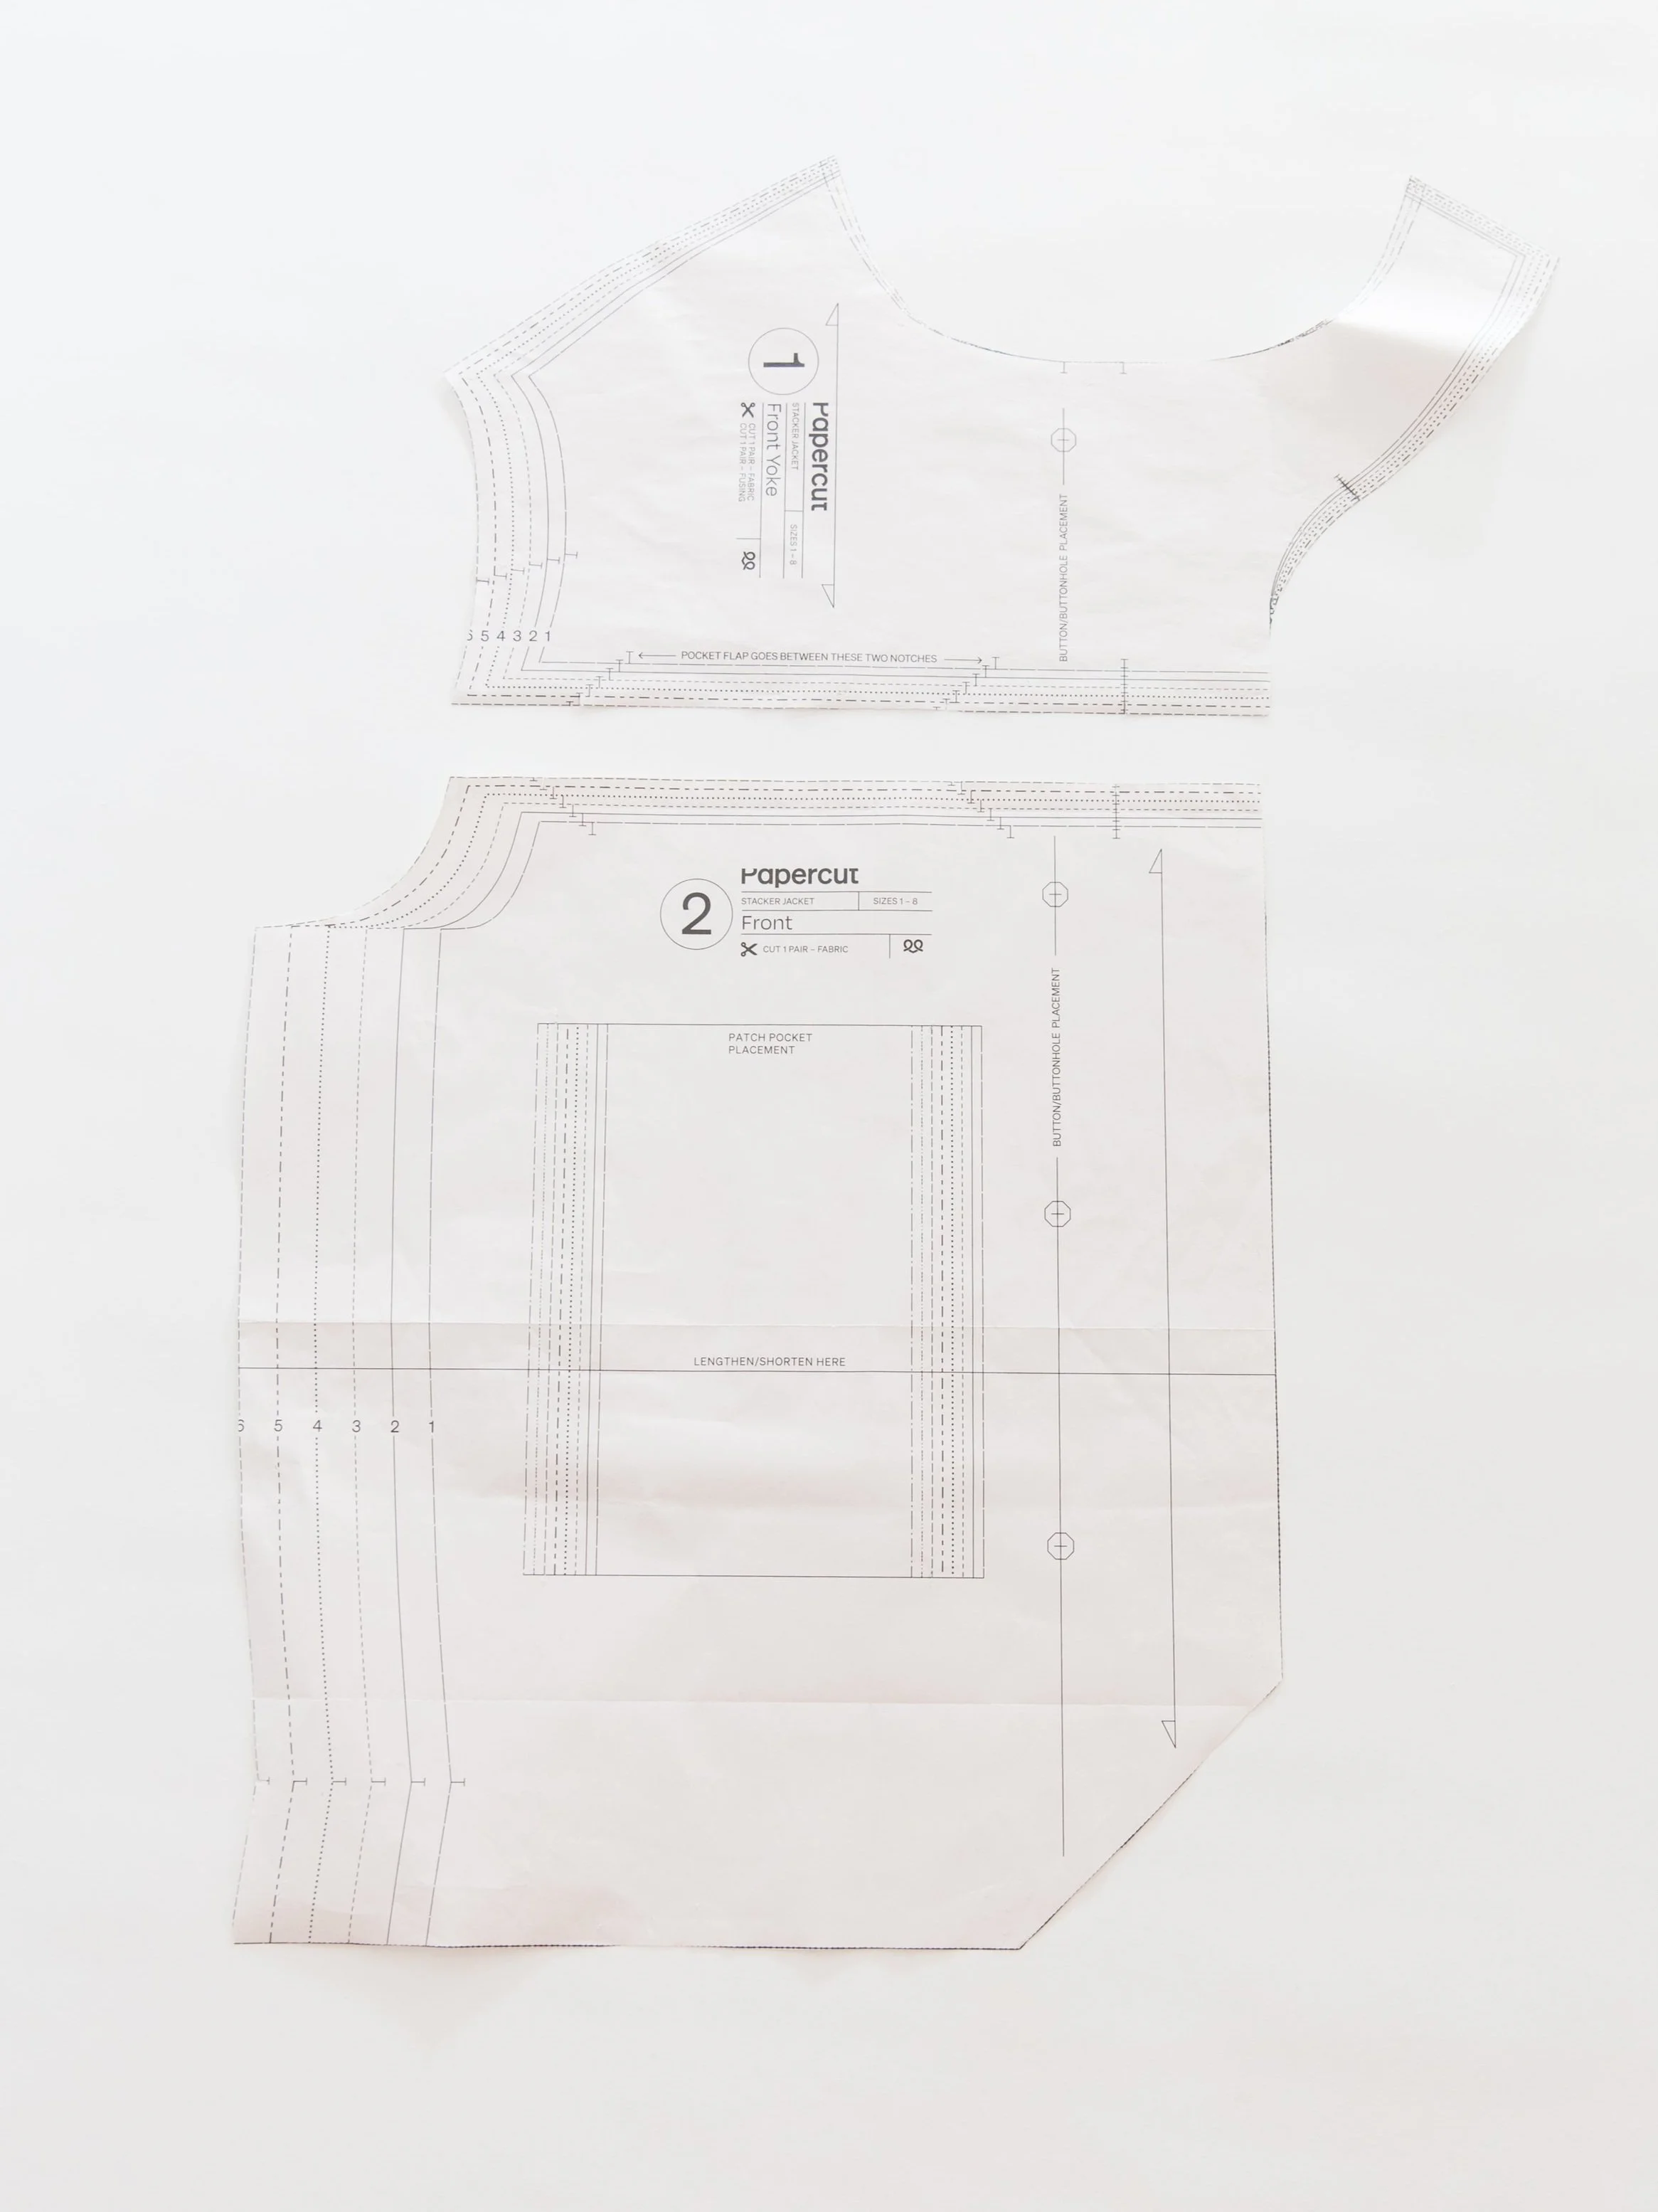
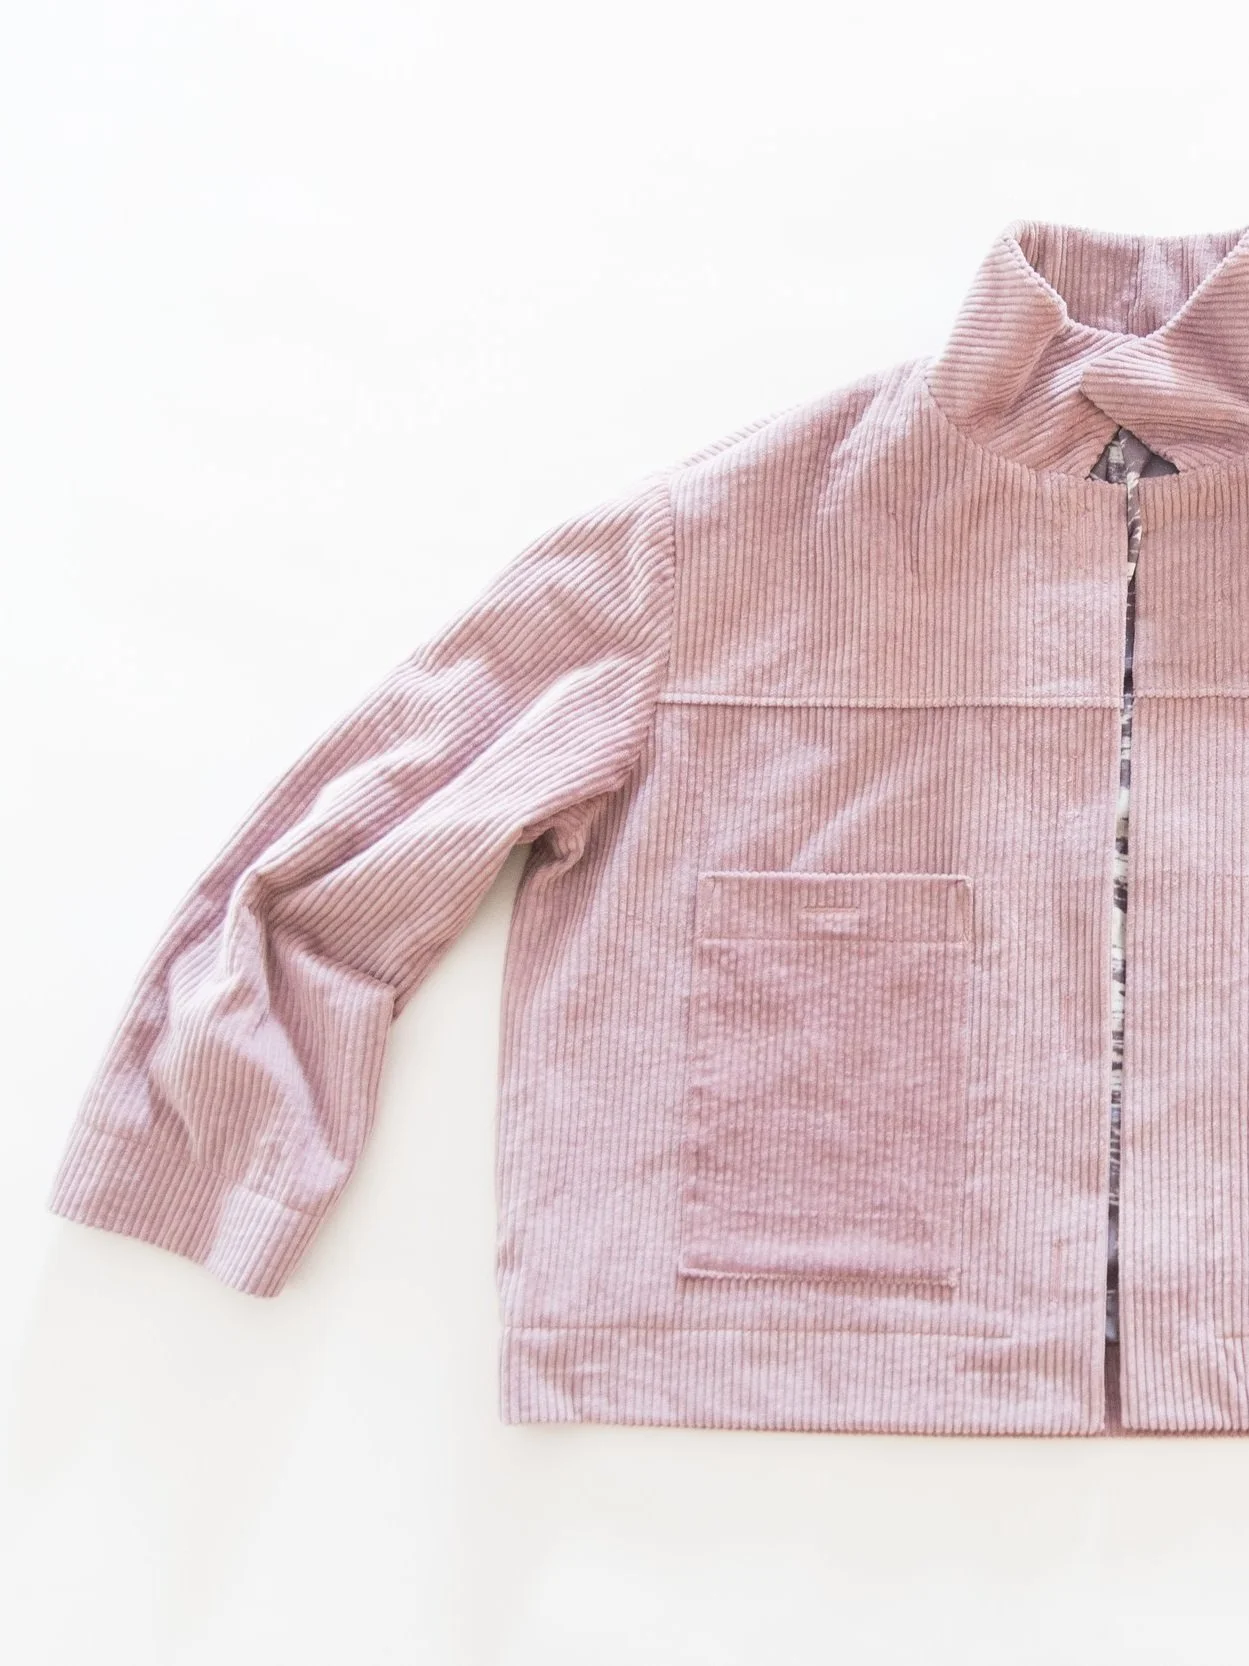
Step 25
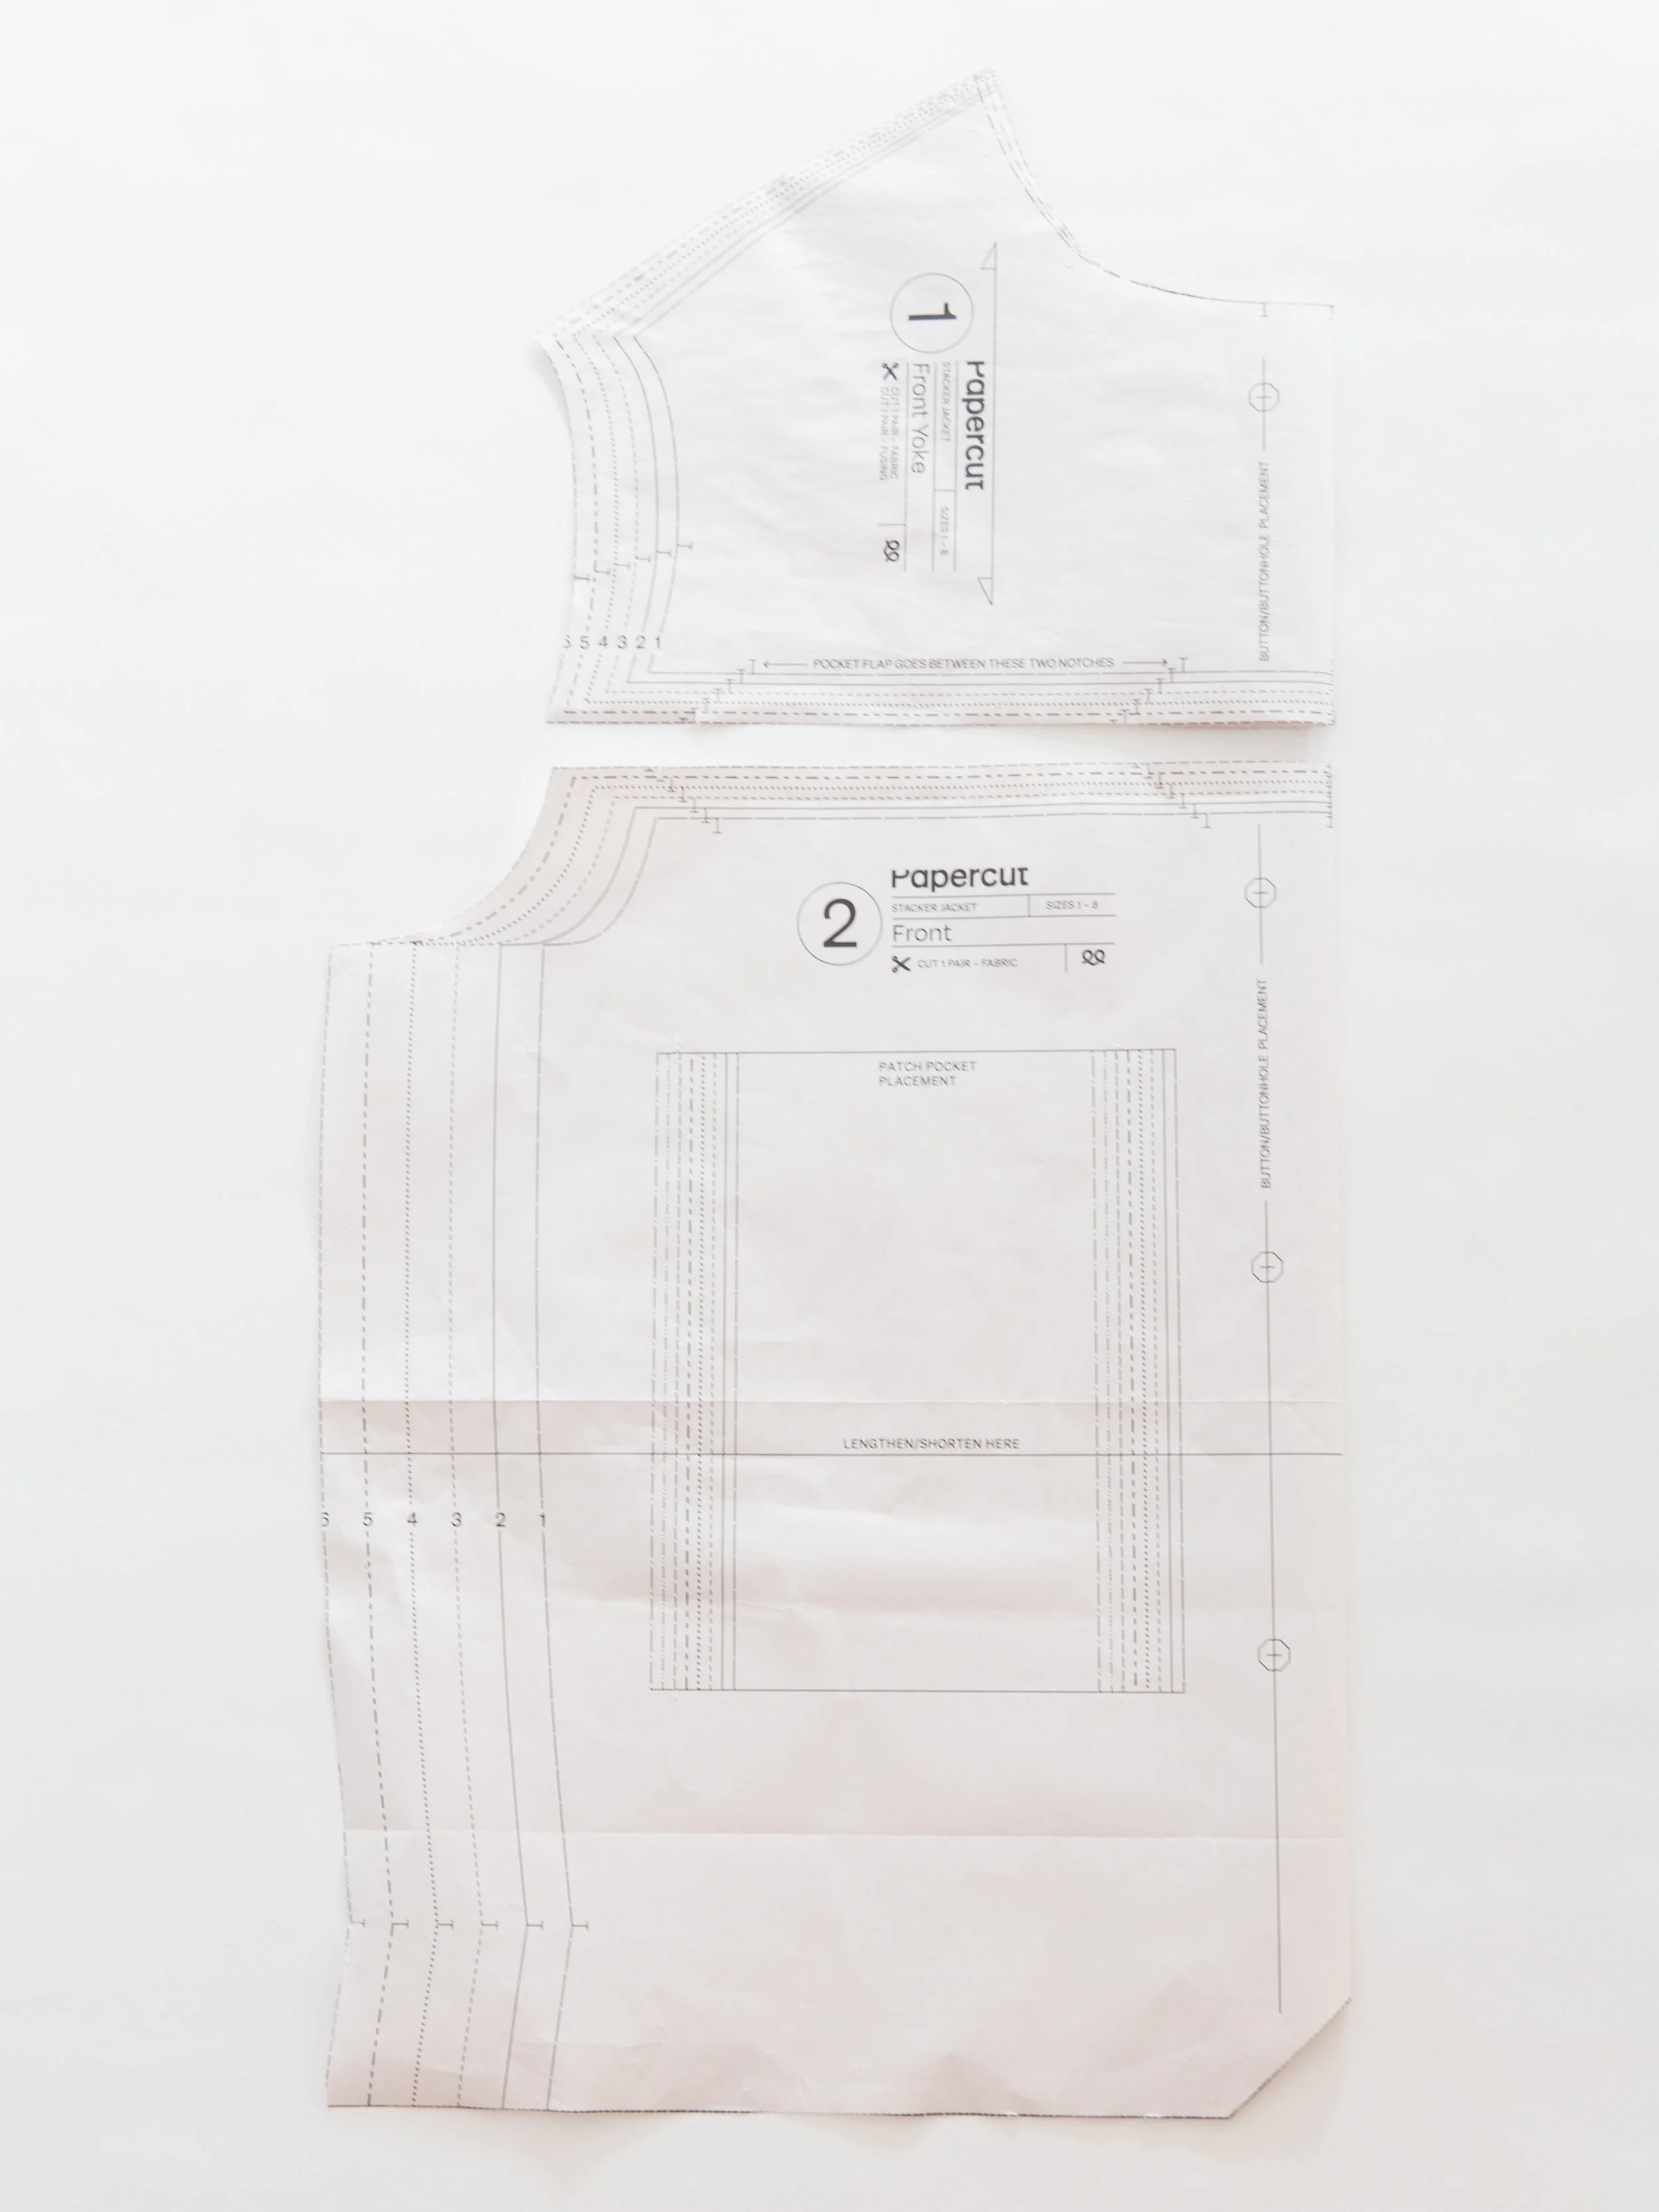
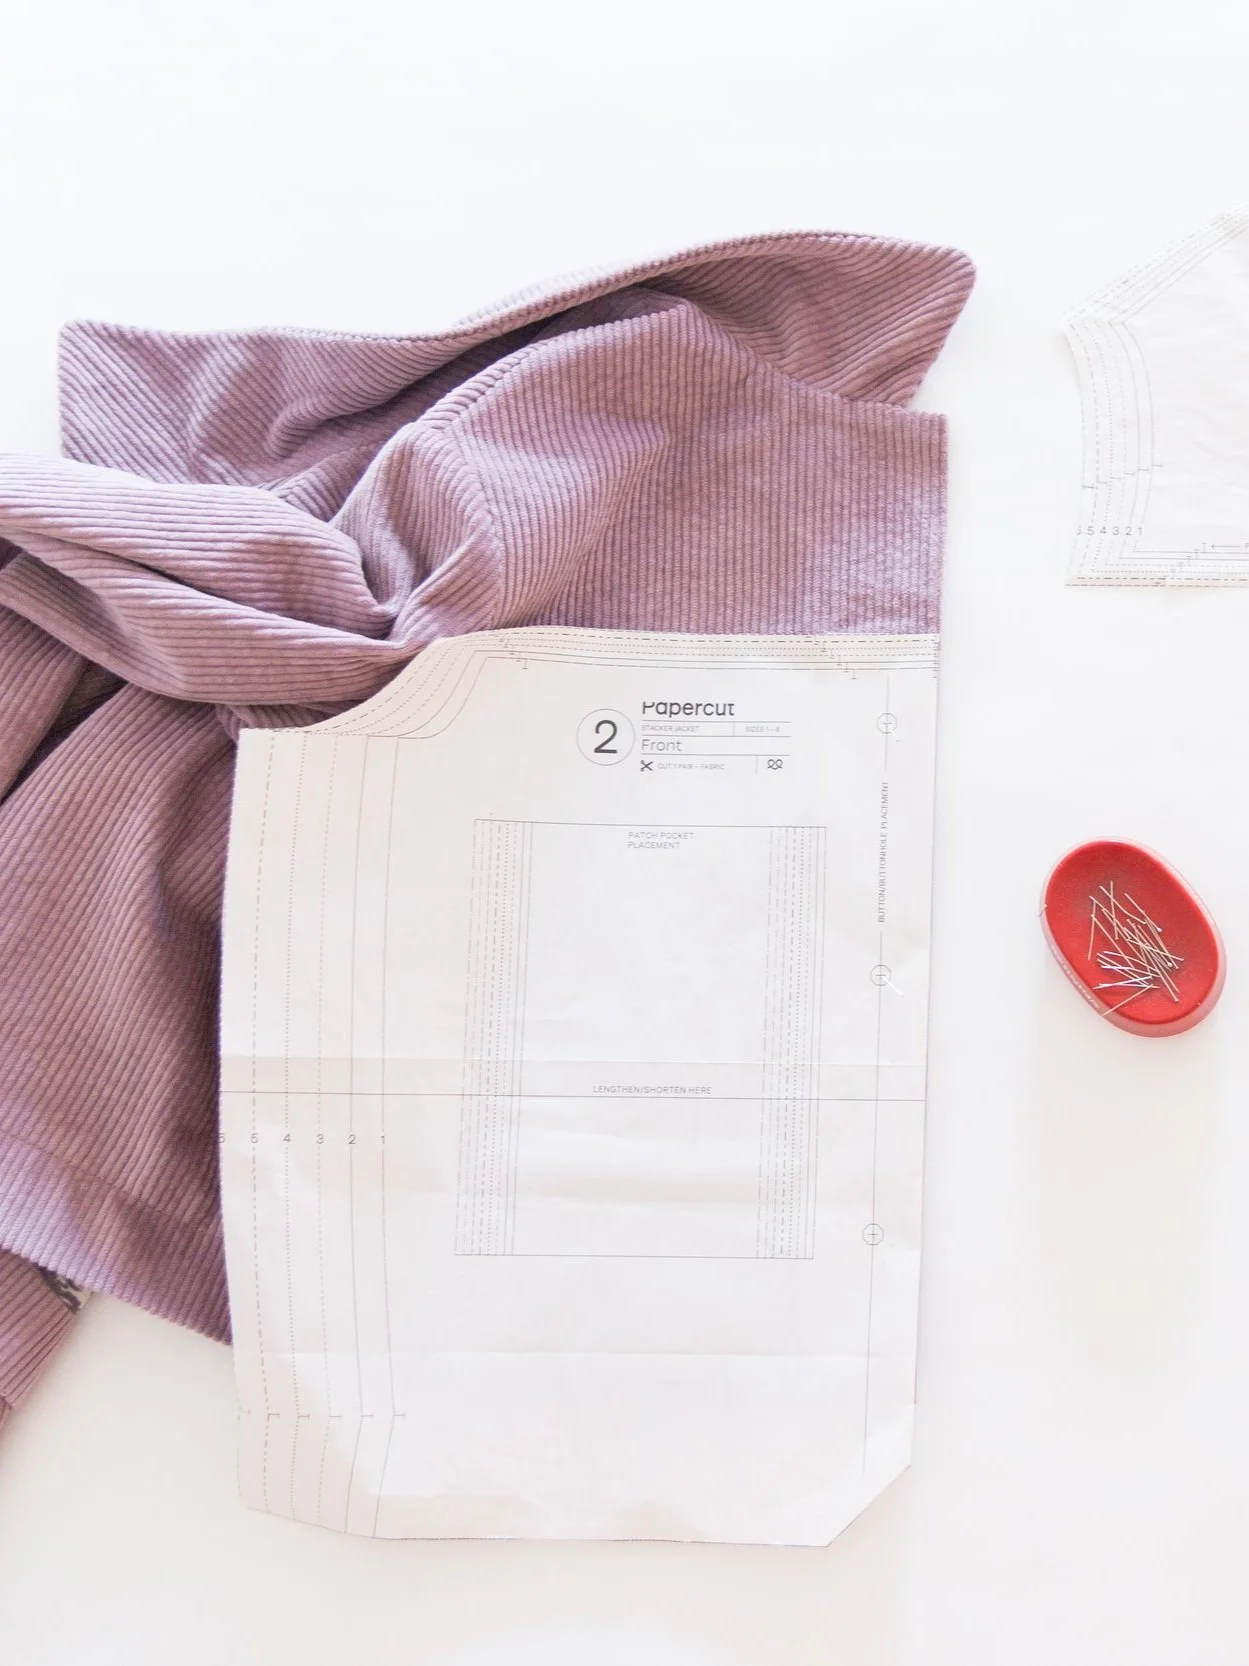
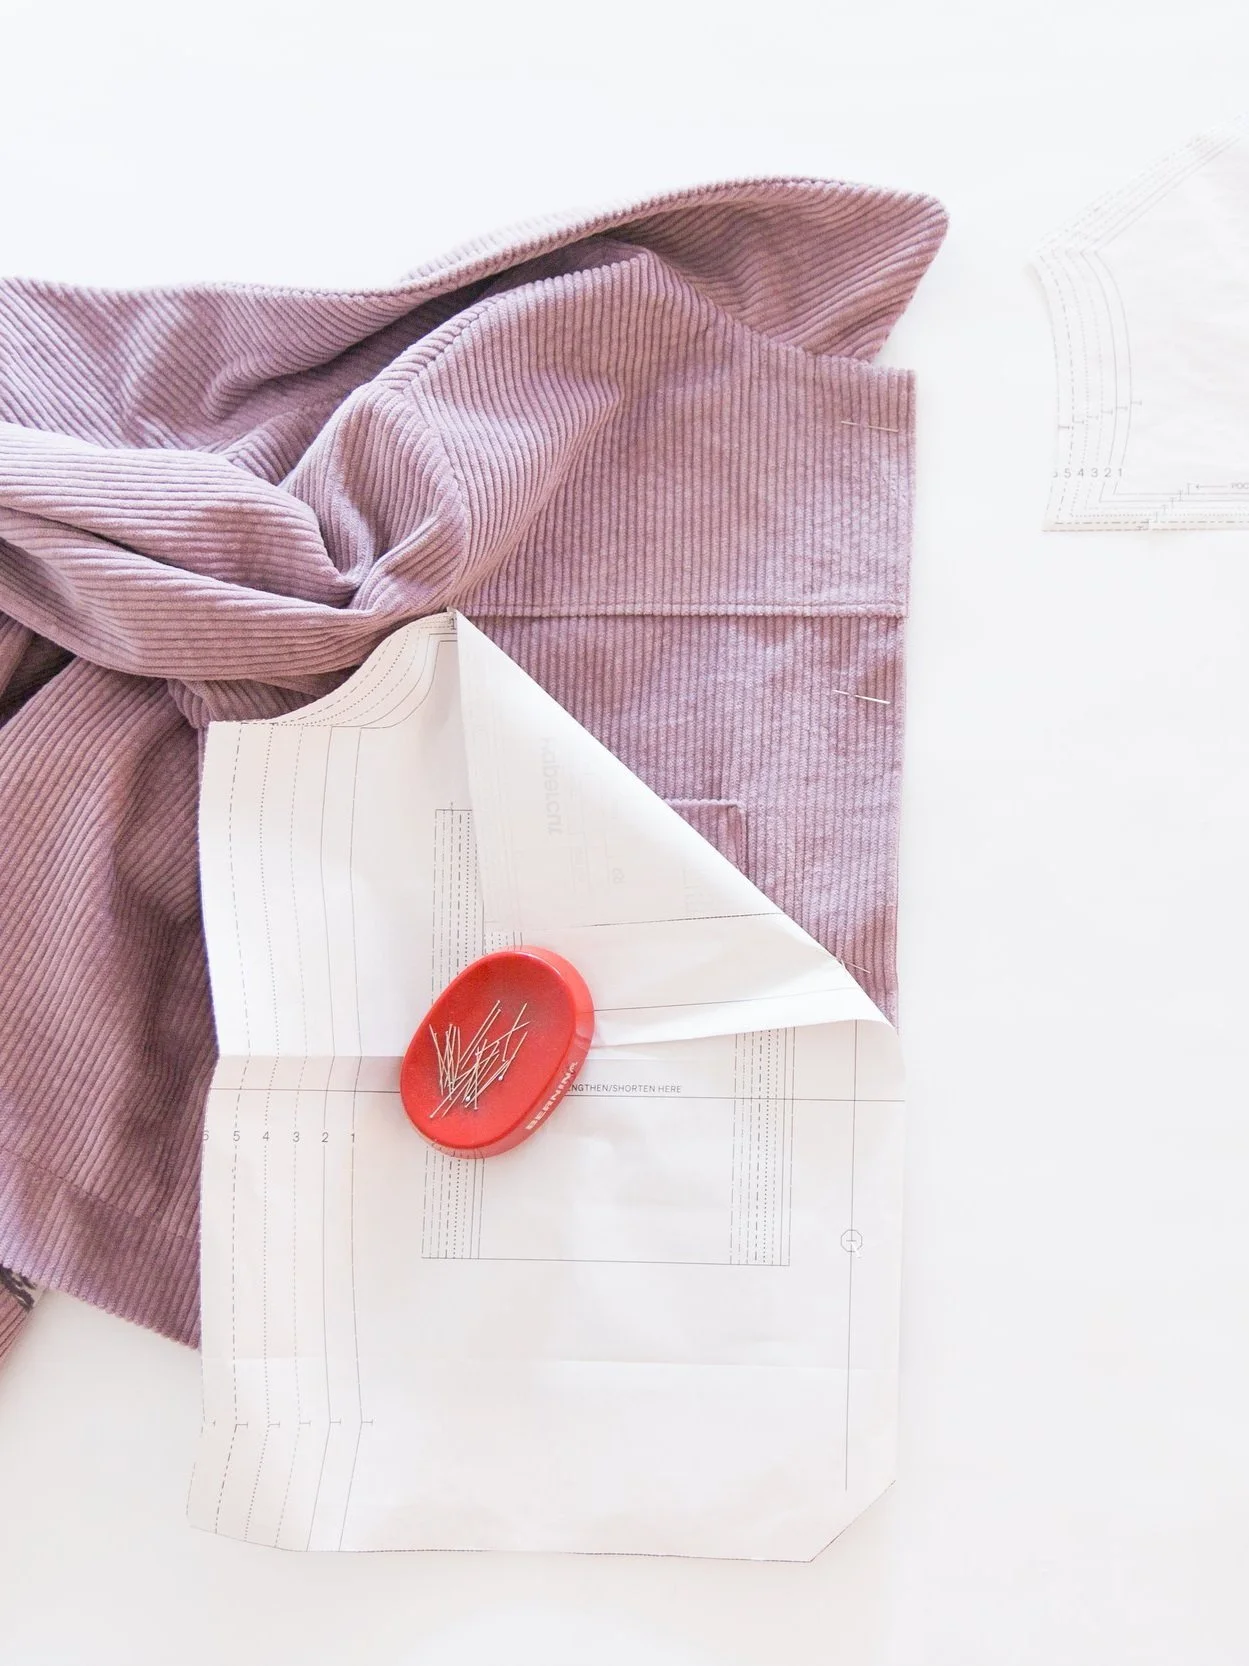
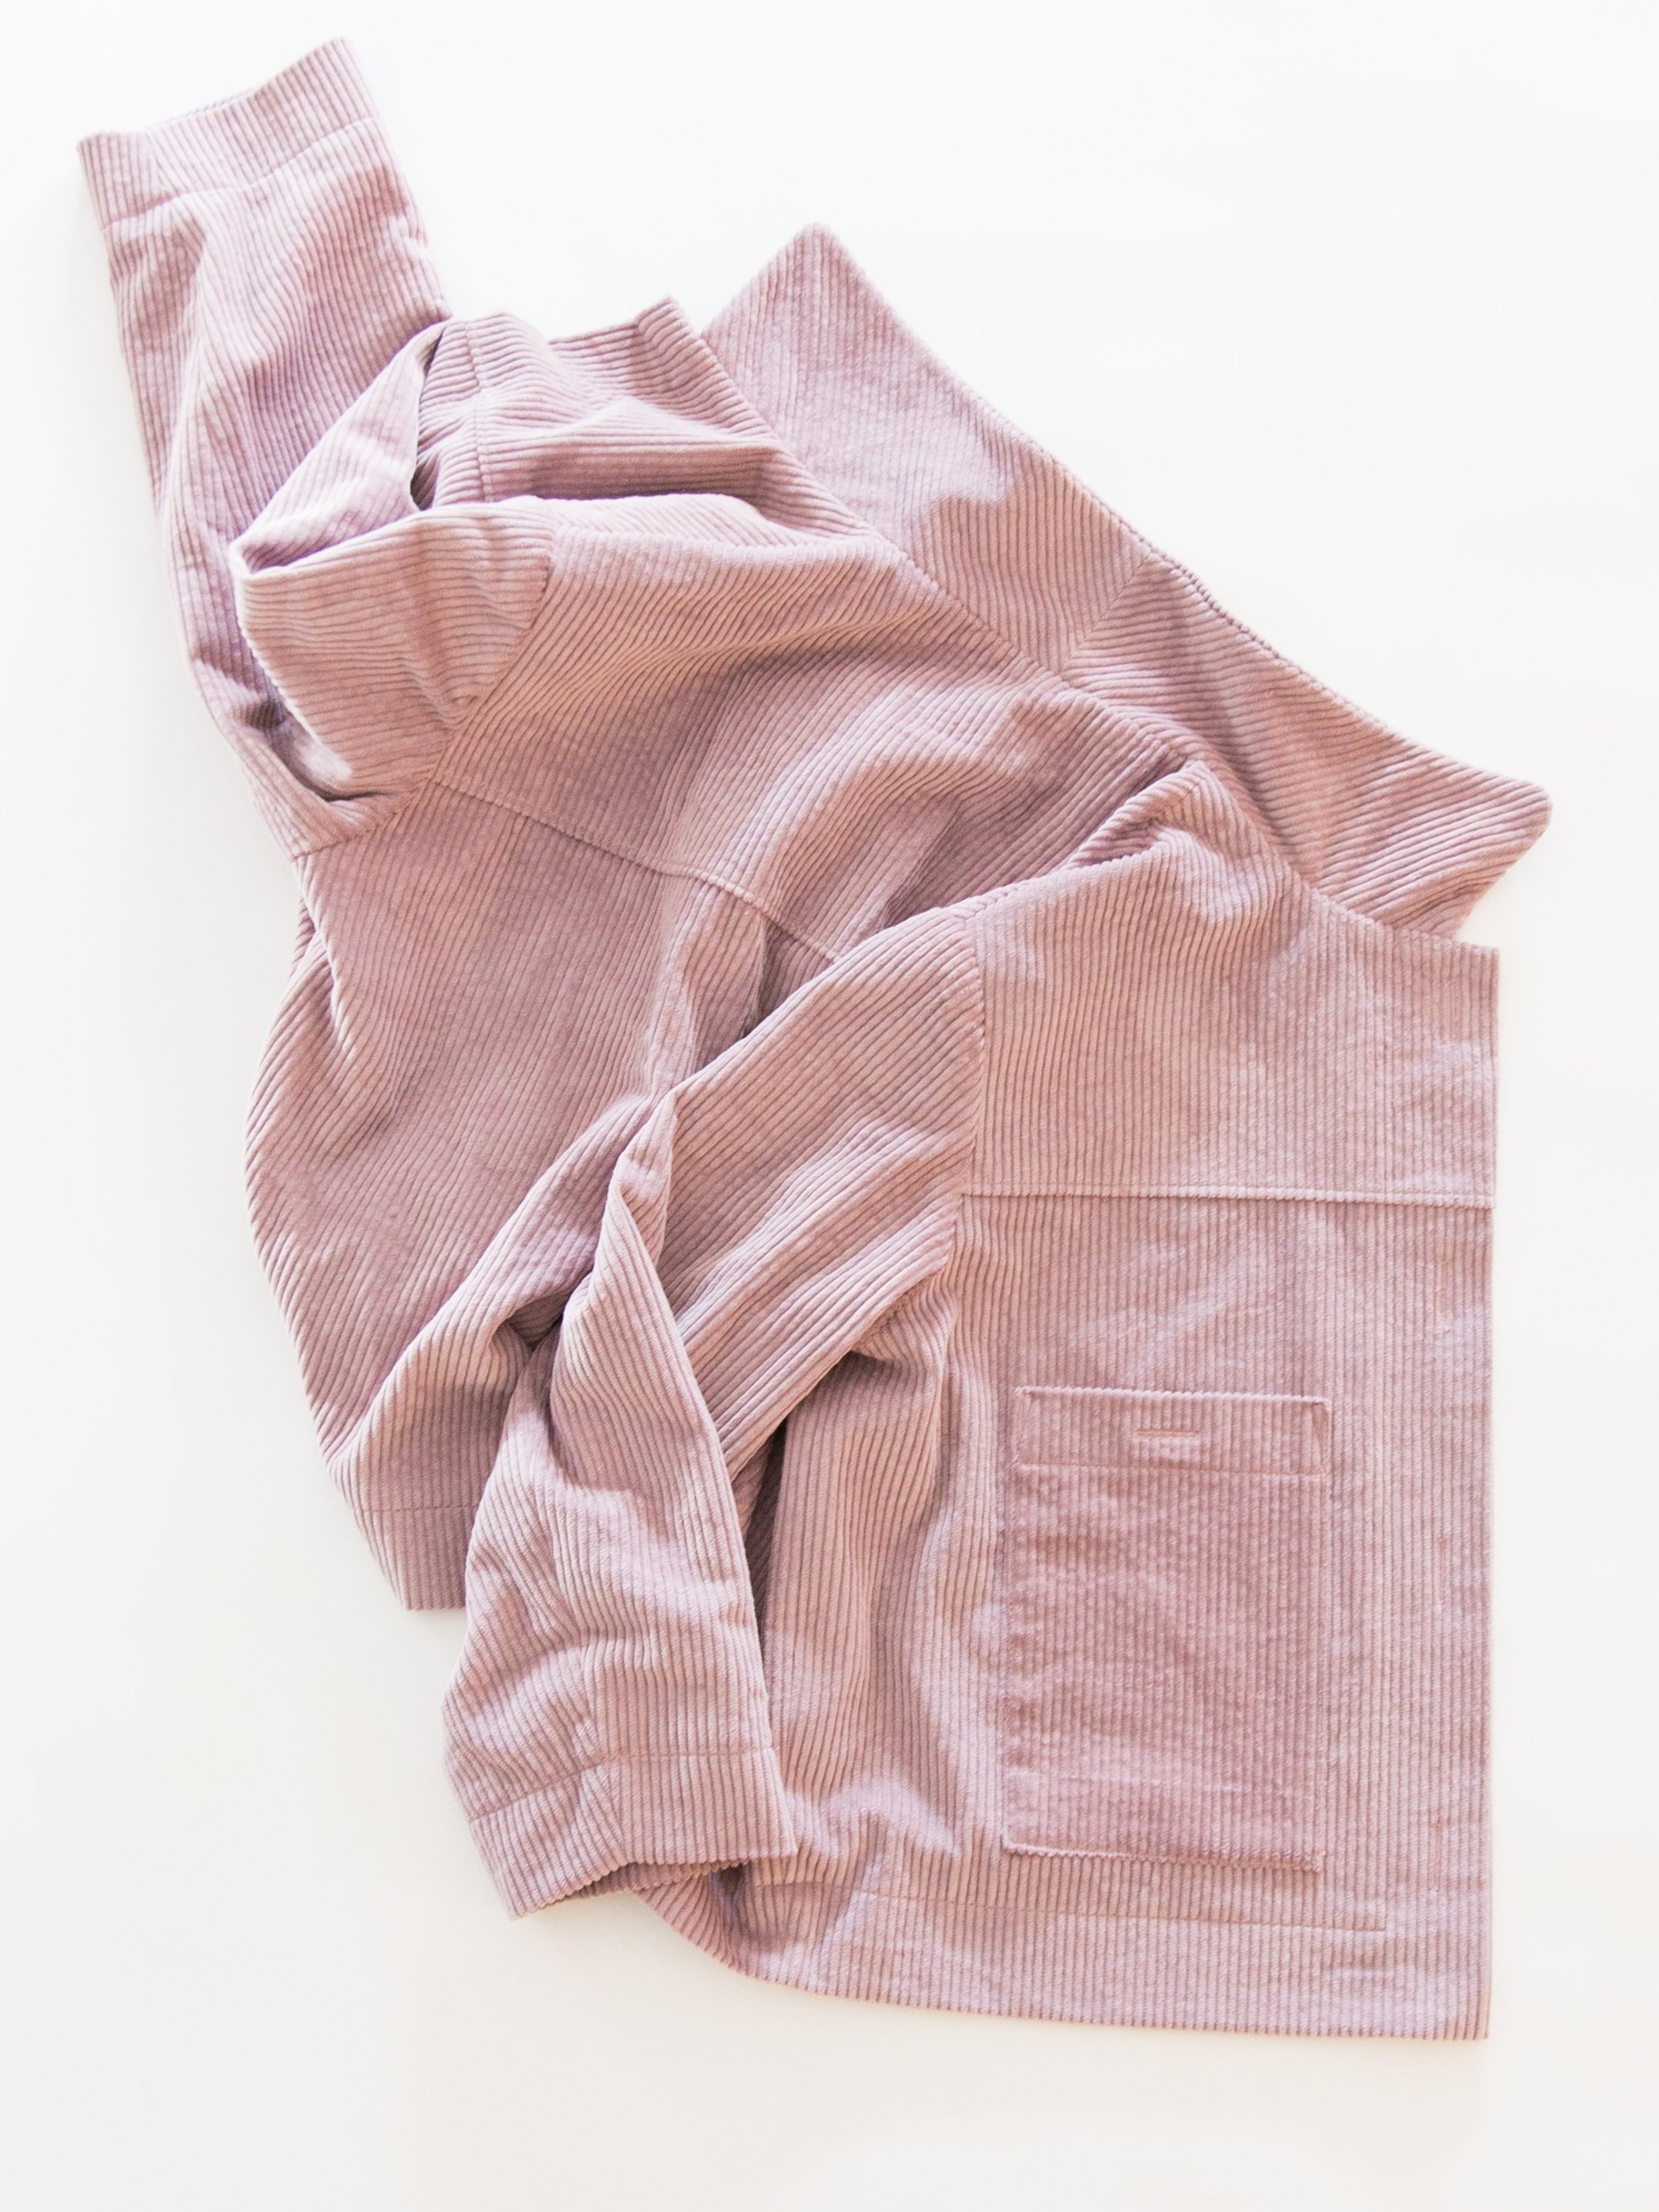
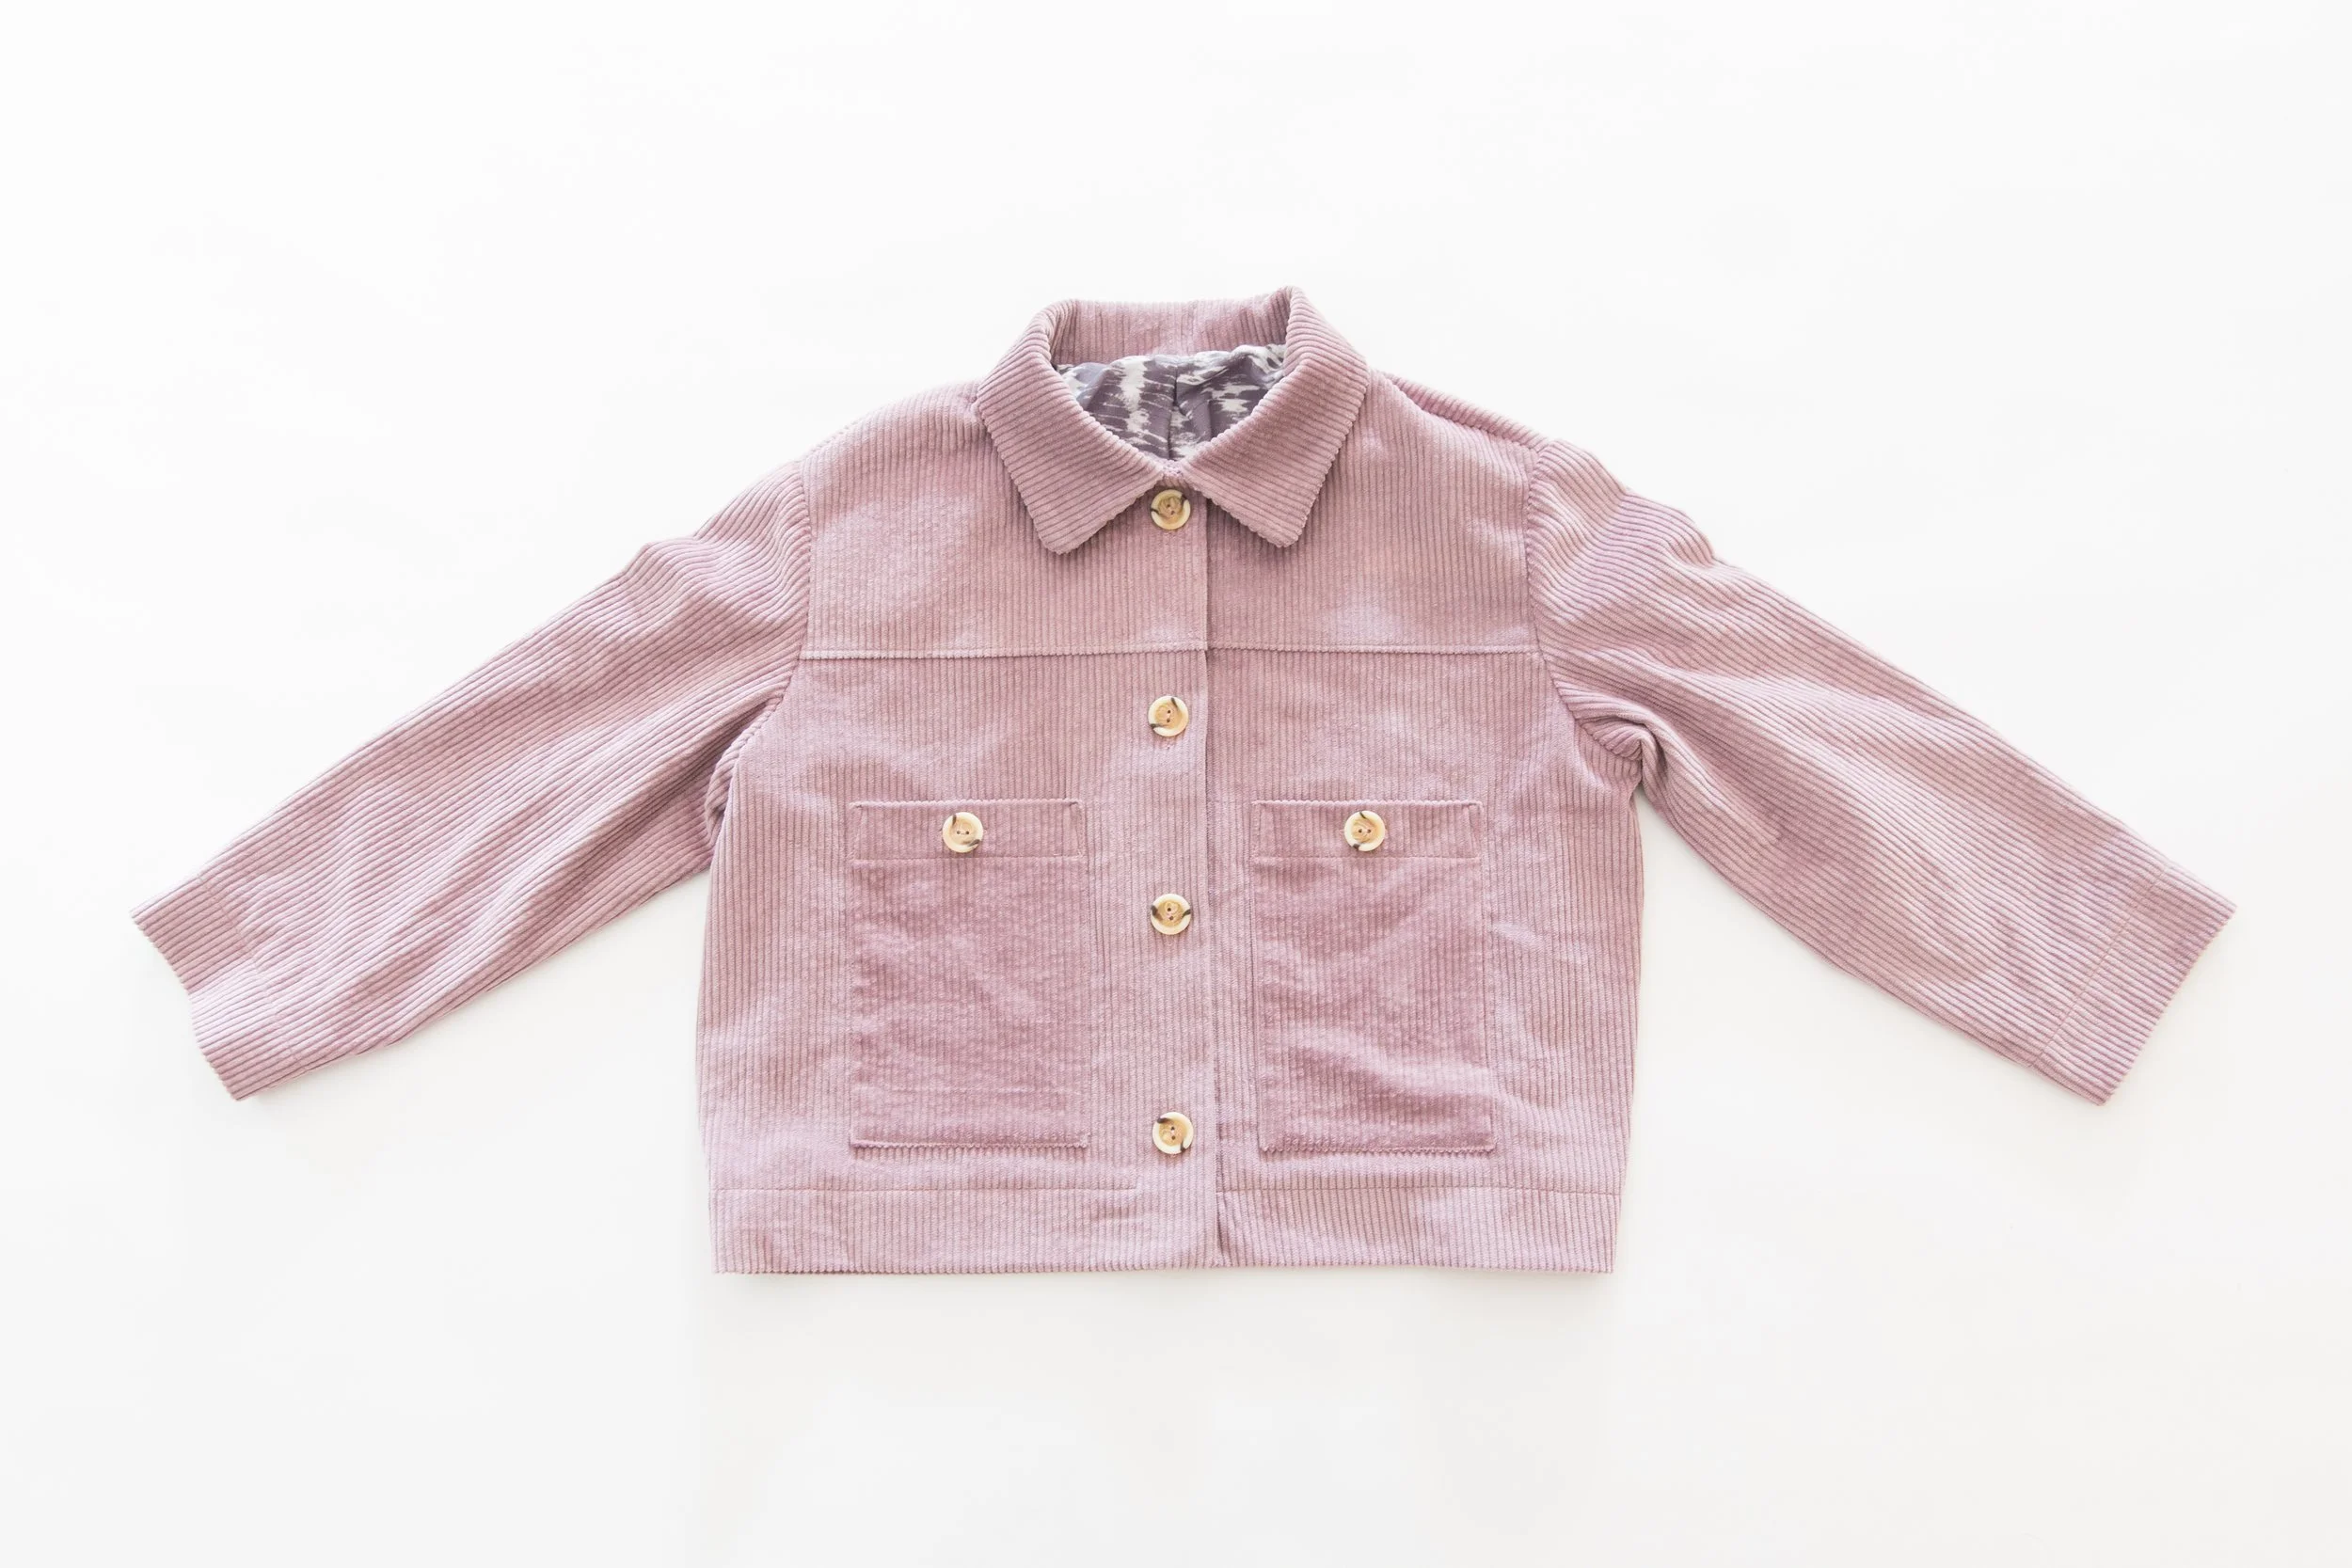
Transfer buttonhole markings from pattern piece 1 and 2 with tailors chalk or pins onto the front on your jacket. Start by folding the pattern pieces along the centre front foldline, marked on your pattern piece with notches. Lay the pattern piece on your jacket front alining at the centre front and mark in the buttonhole placement. Sew buttonholes. The buttonholes should be horizontal. (Oops! Somehow we managed to do ours vertically, not to worry, they will still work!)
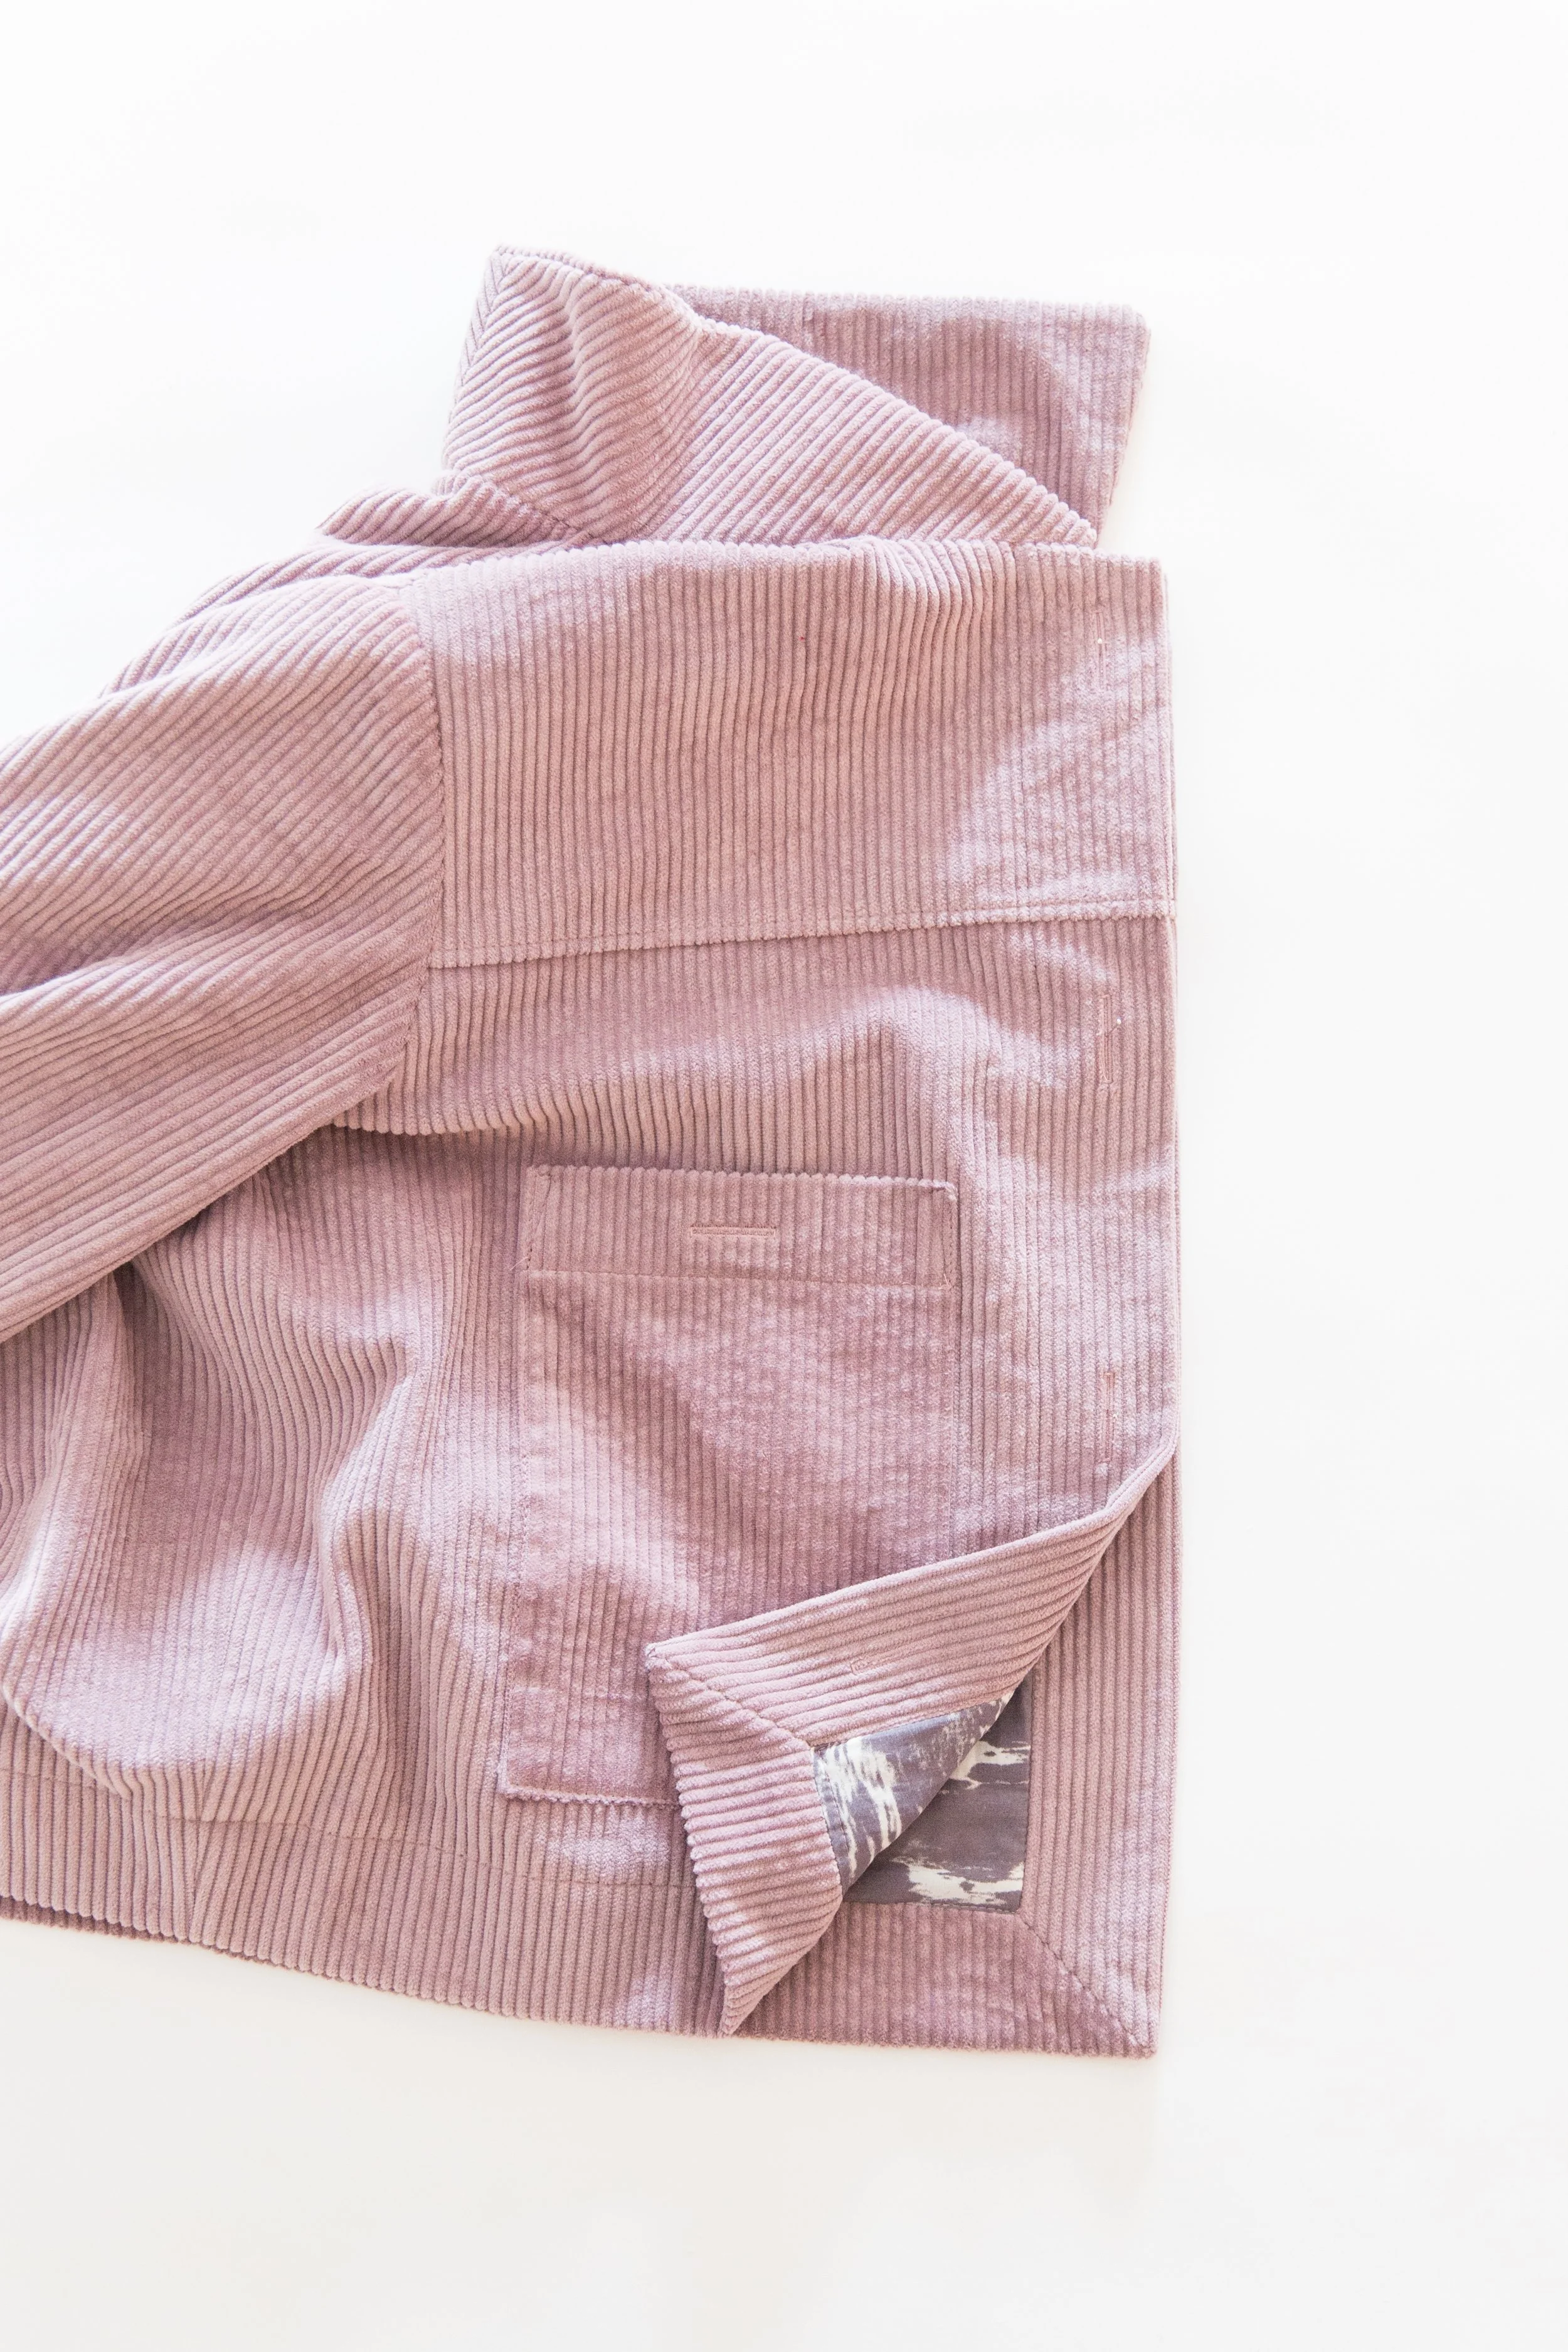
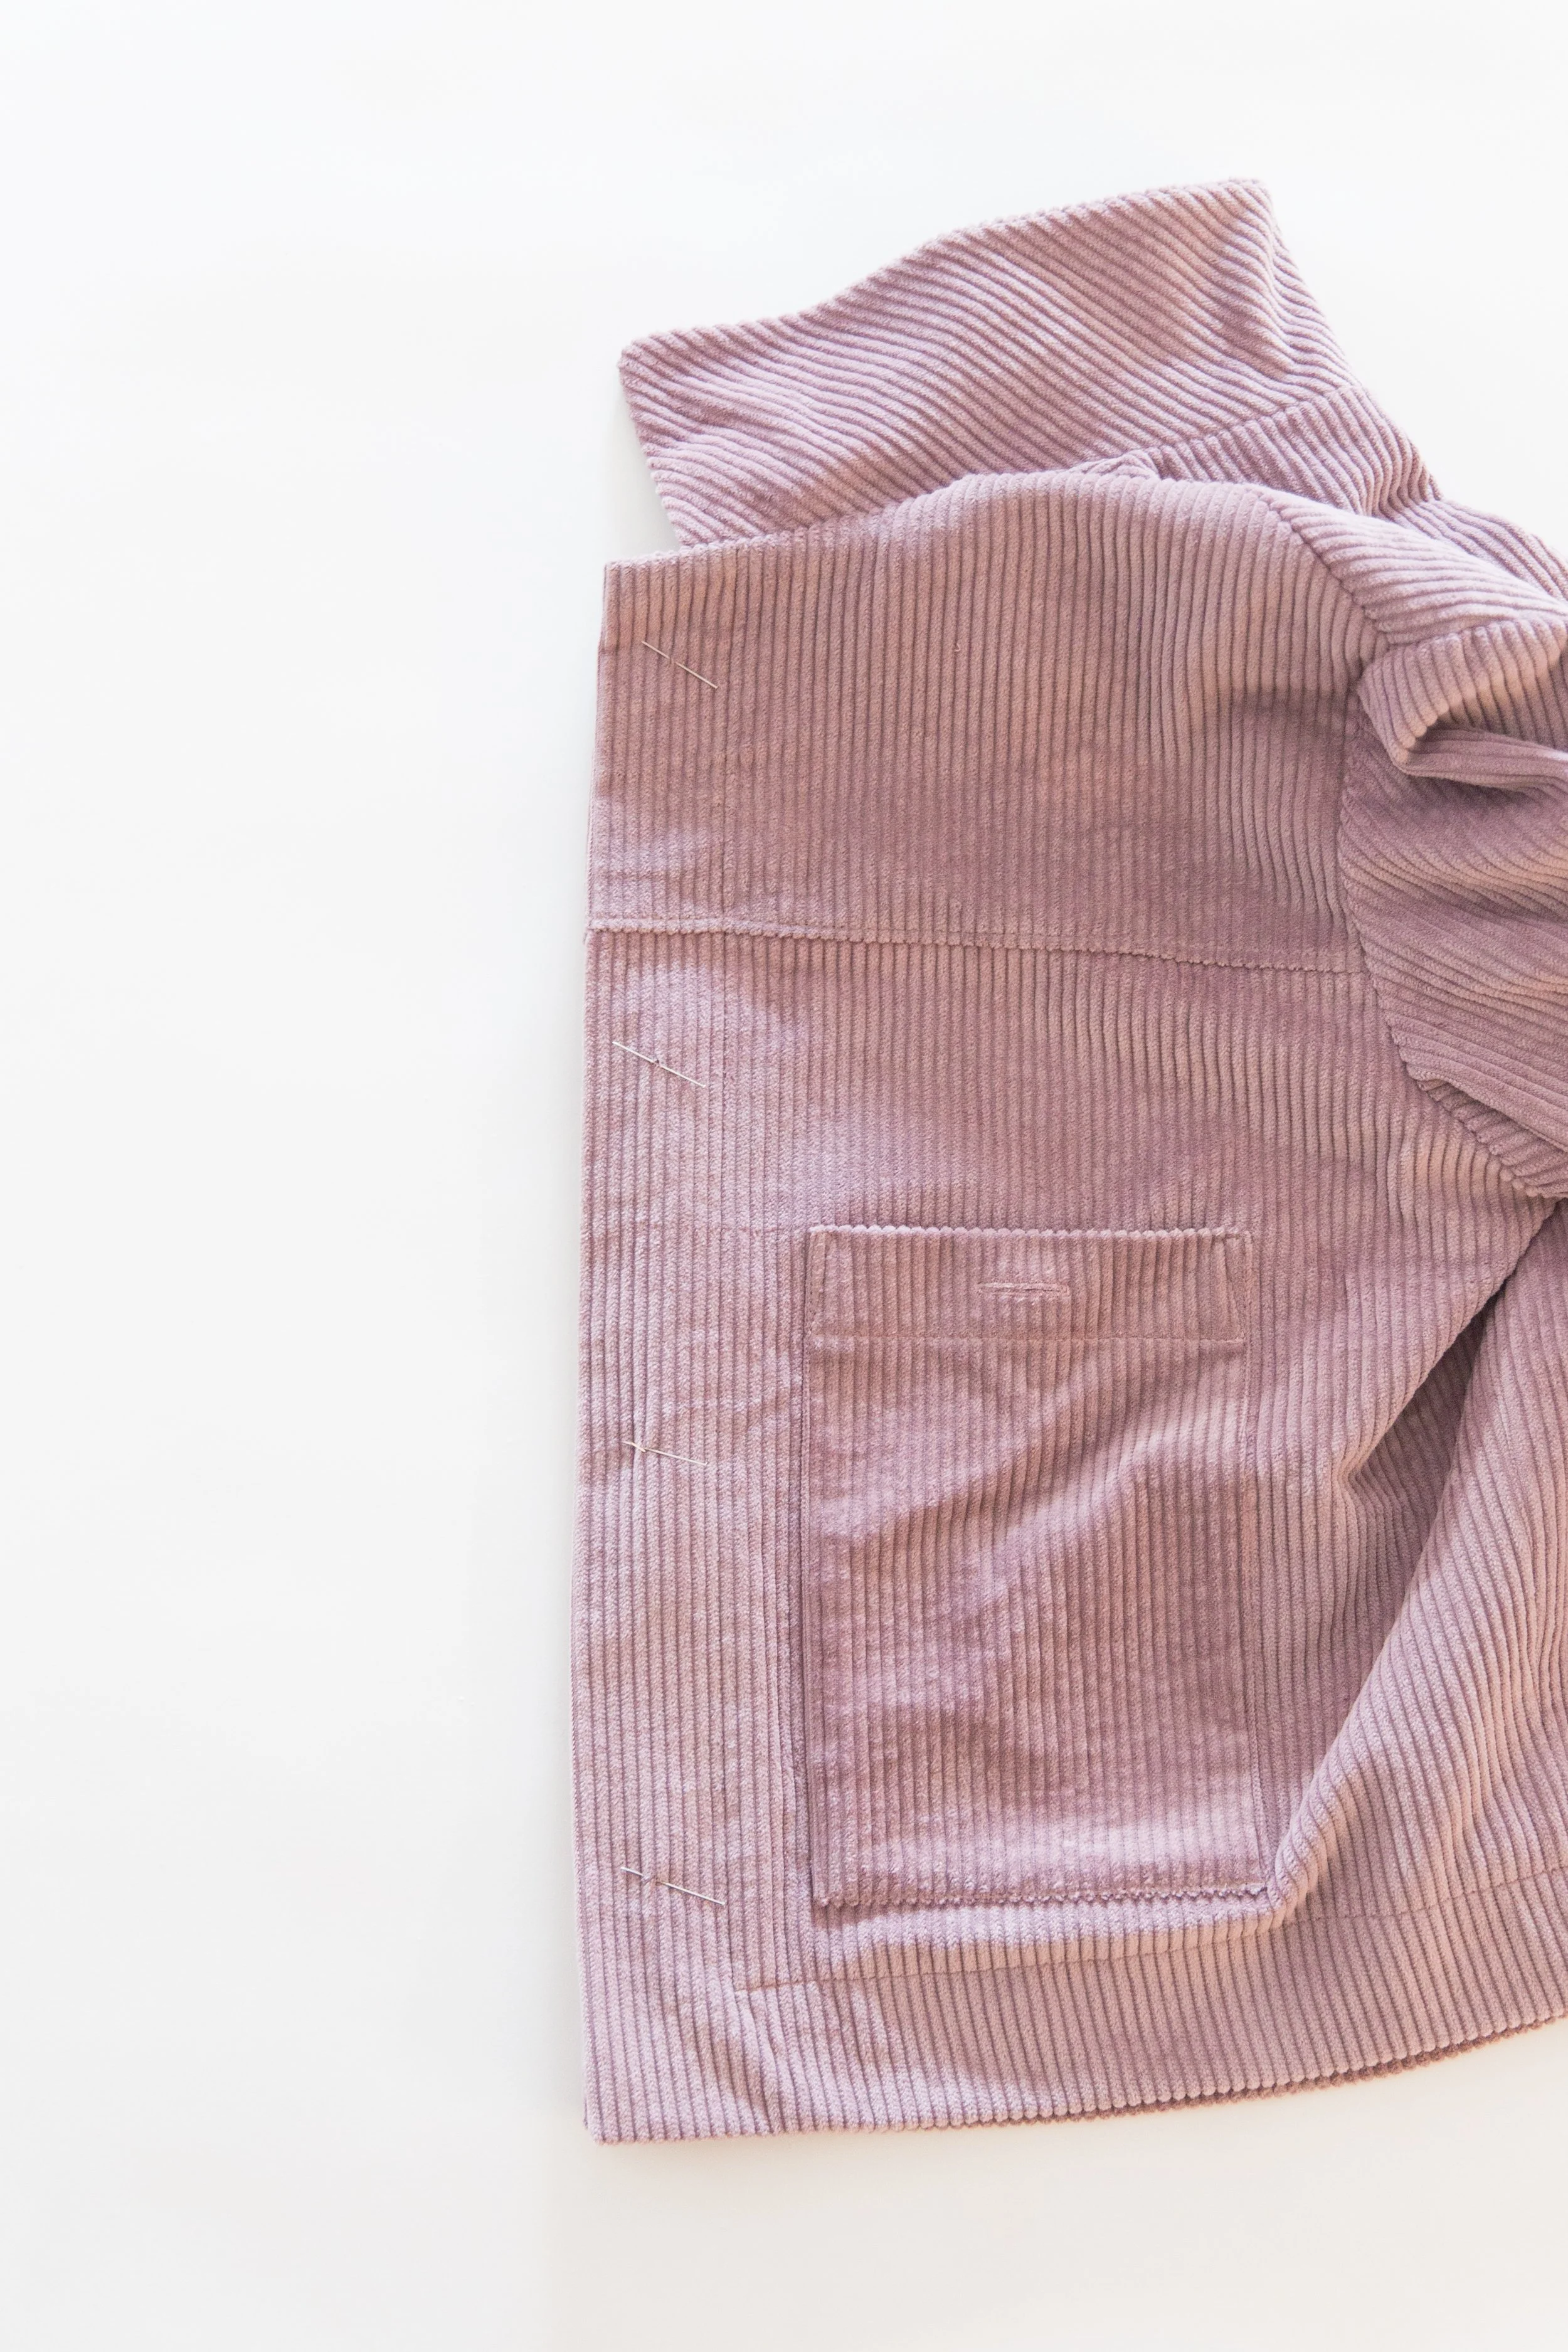
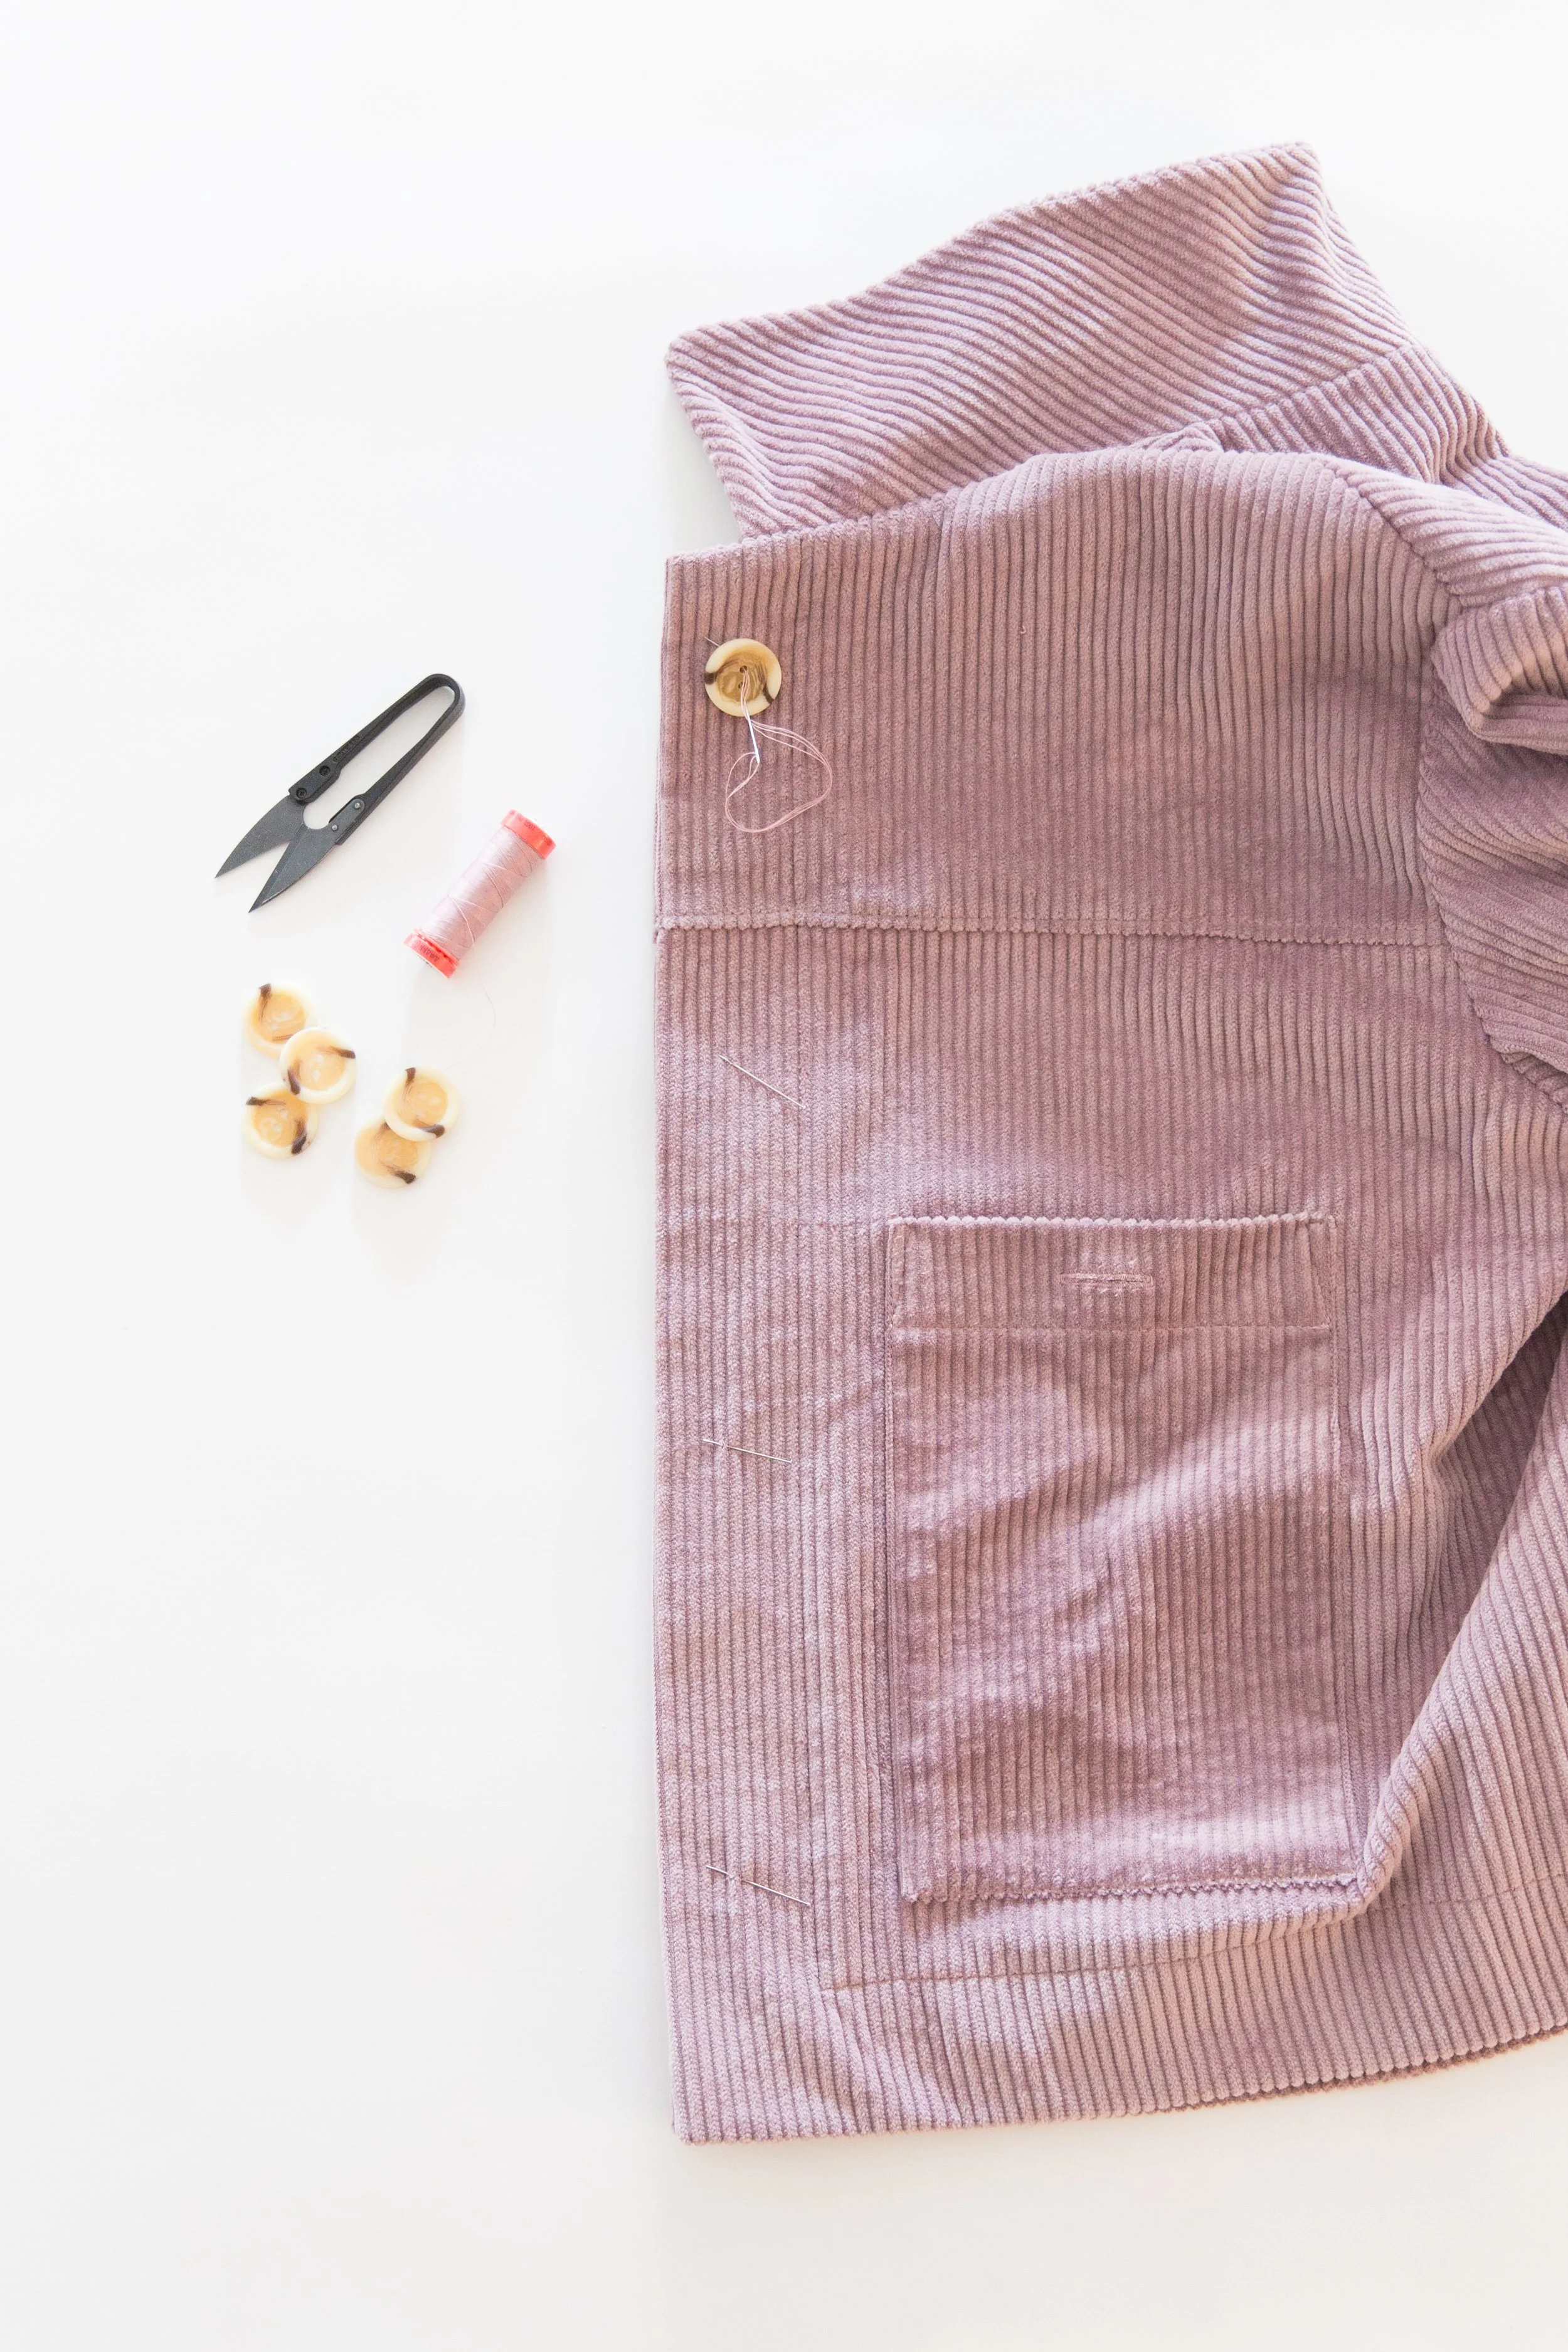
Step 26
Before sewing on your buttons, place the side with the buttonholes over top of the other side and use pins to mark where your buttons should be placed then sew on your buttons.
 You did it!